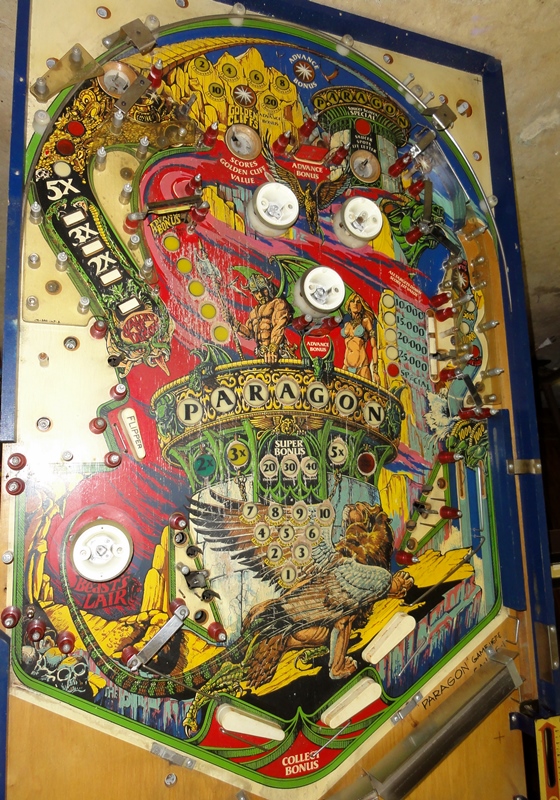
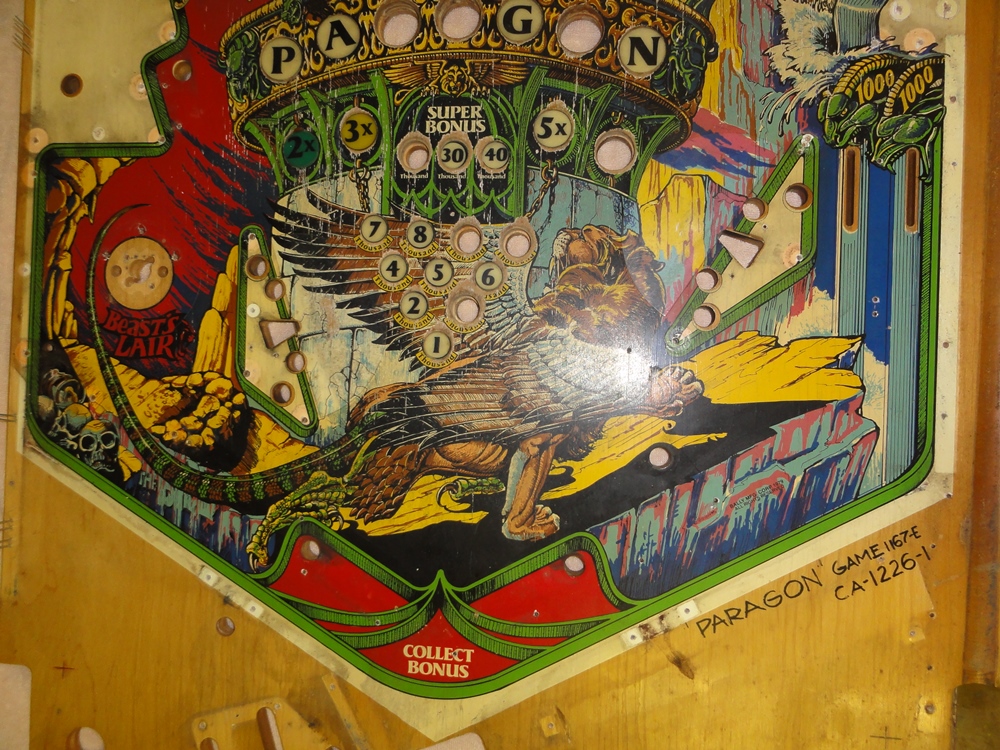
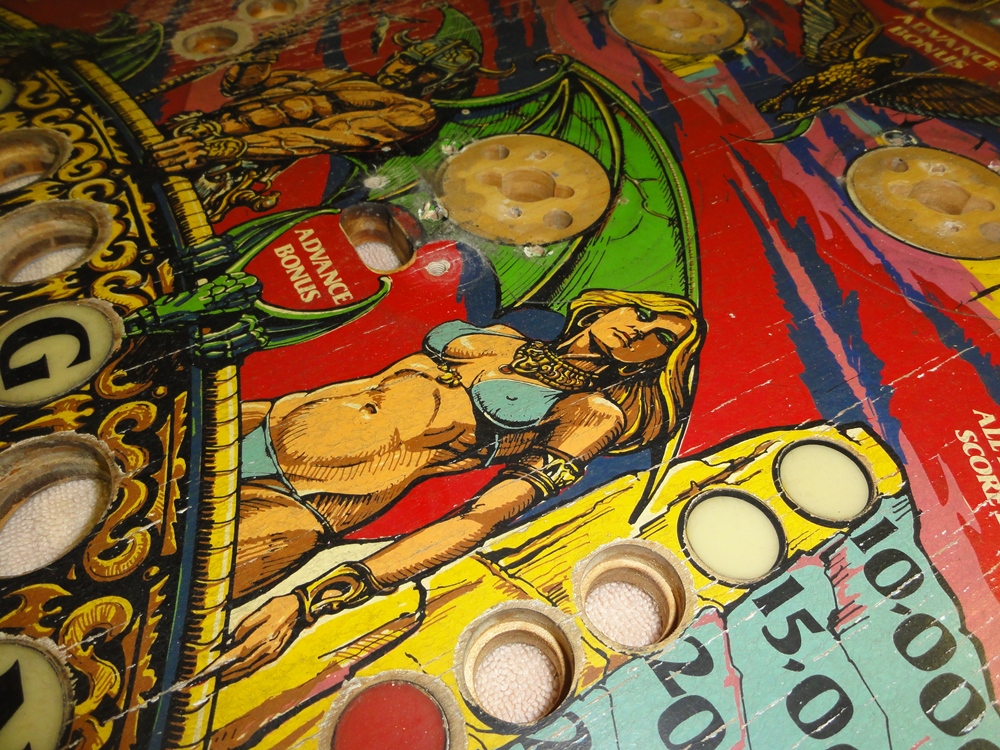
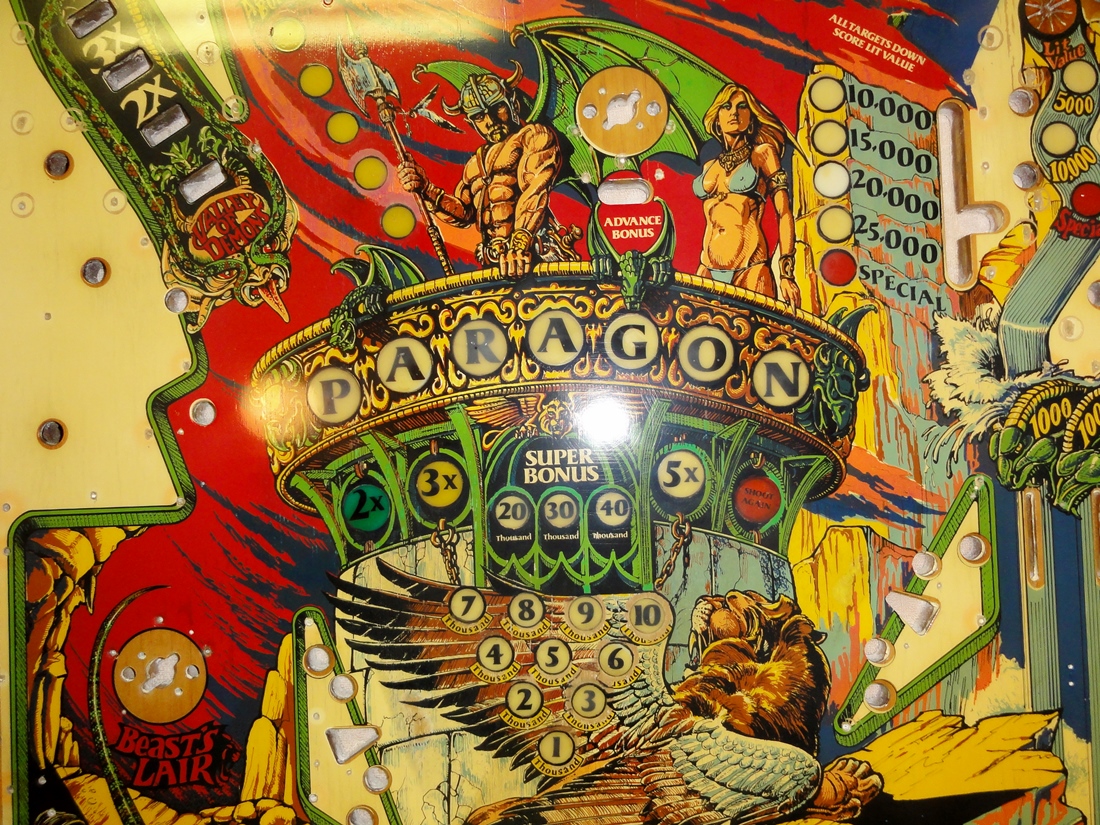
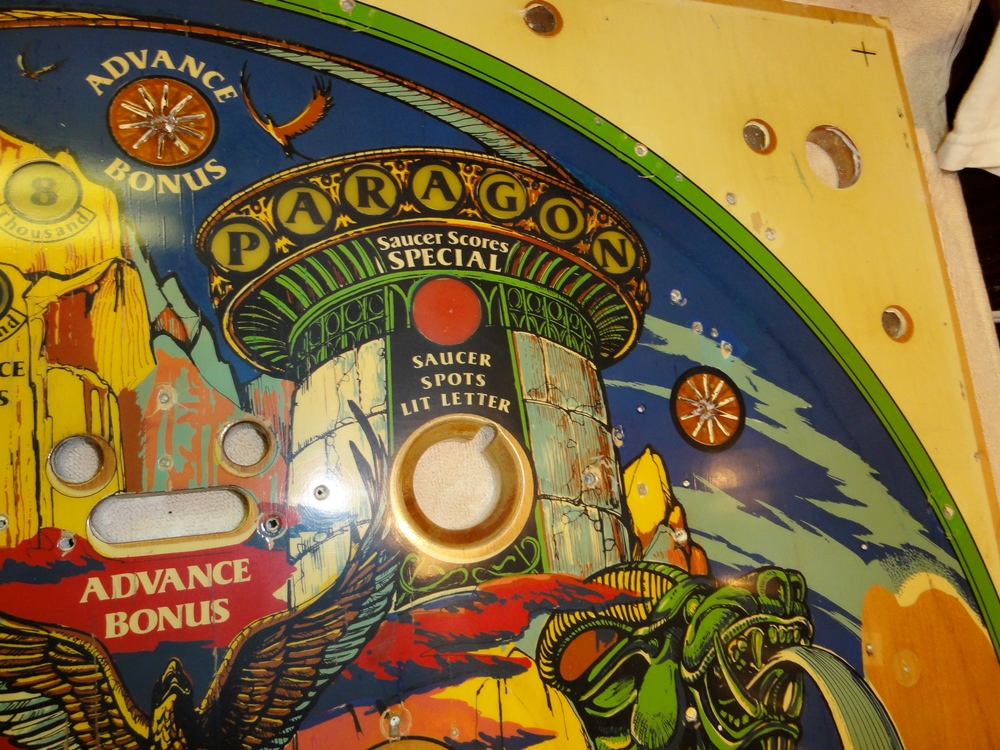
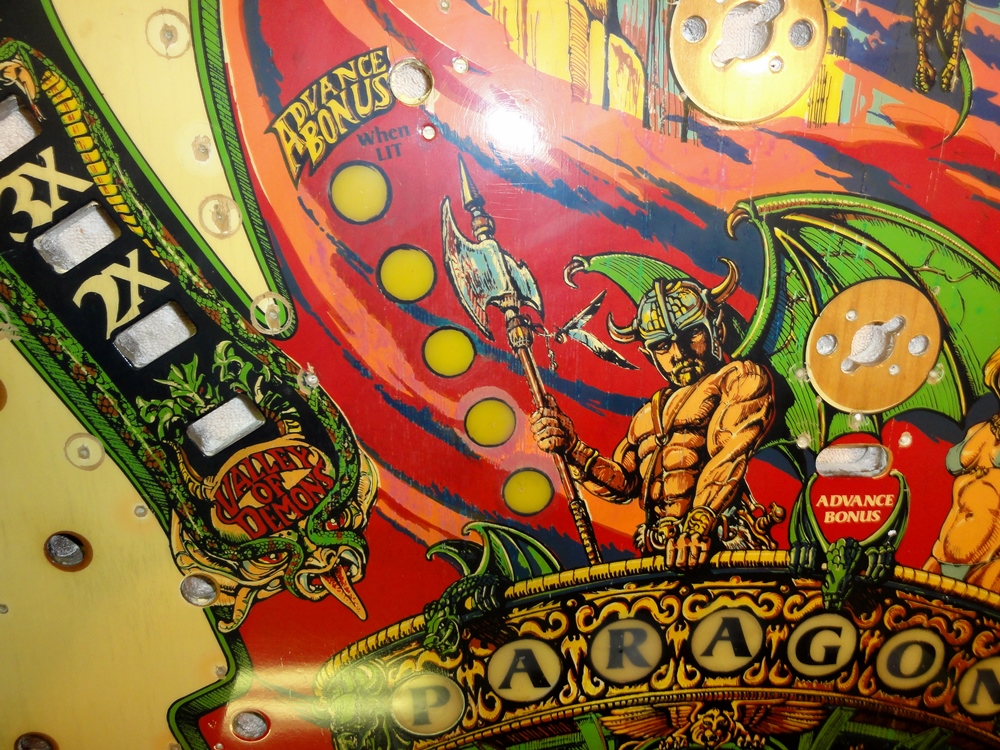
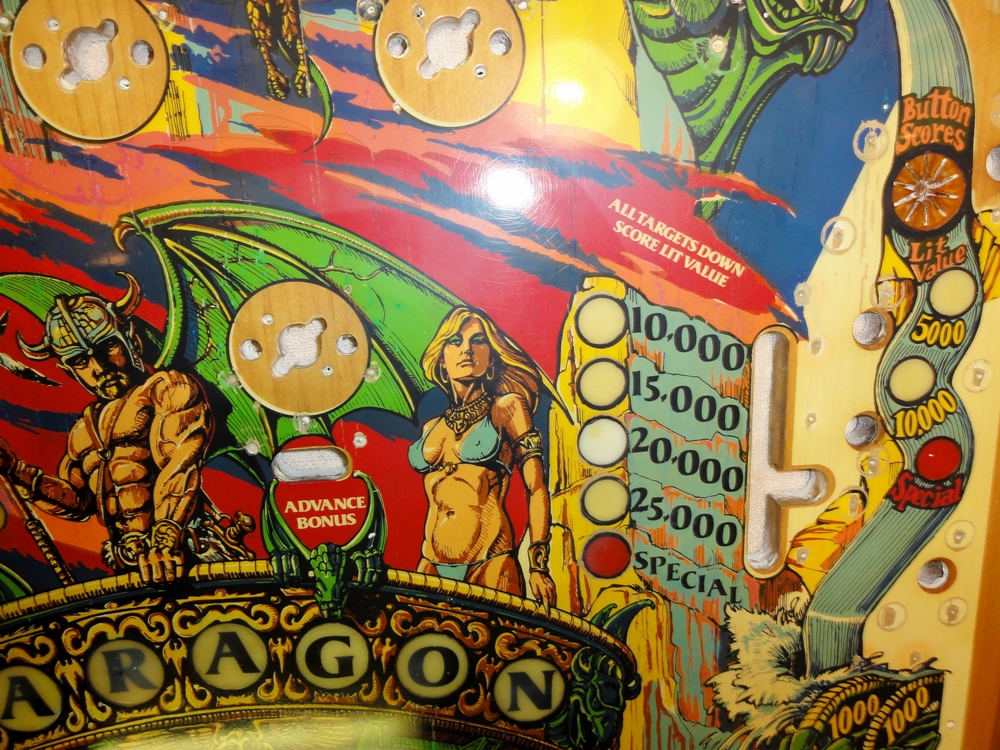
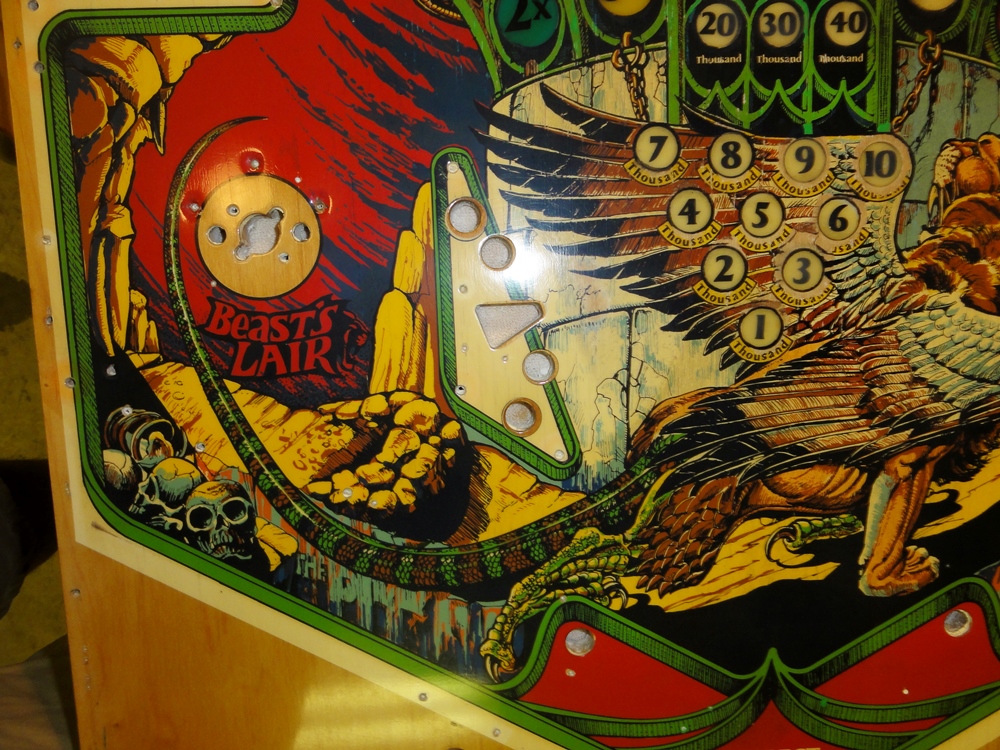
Anyone who played pinball in the early 80's remembers Paragon. It's known for it's iconic artwork, for being Bally's first widebody, and for introducing in-line drop targets. After looking for while, I finally purchased one back in 2011. I cleaned it up and got it running 100% If you're curious - HERE is the page about that experience.
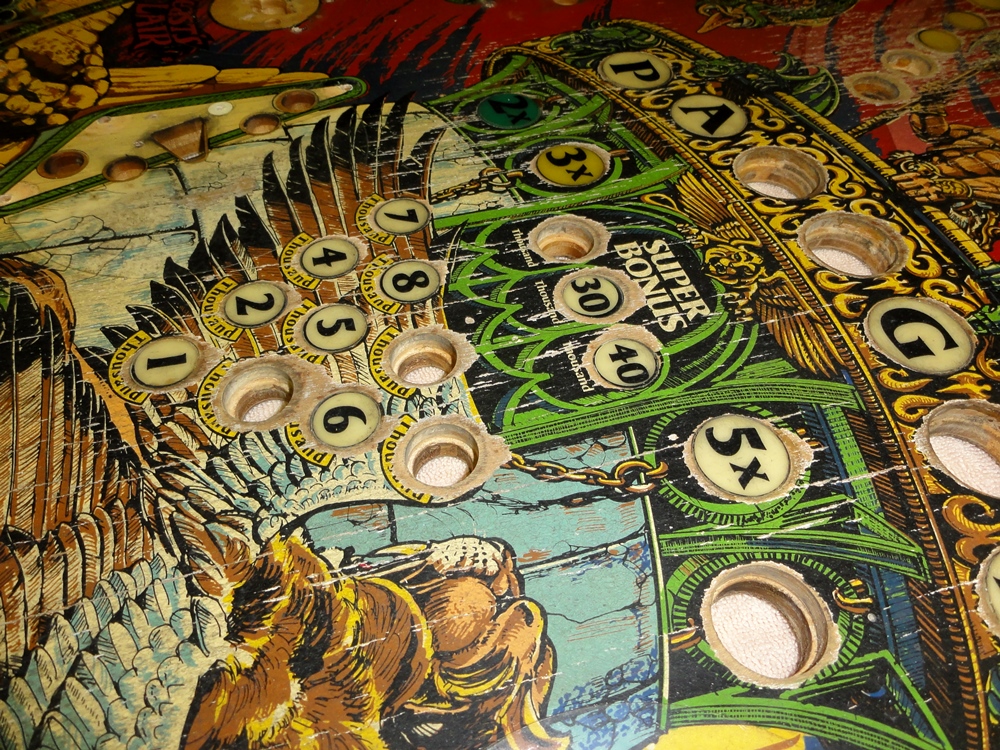
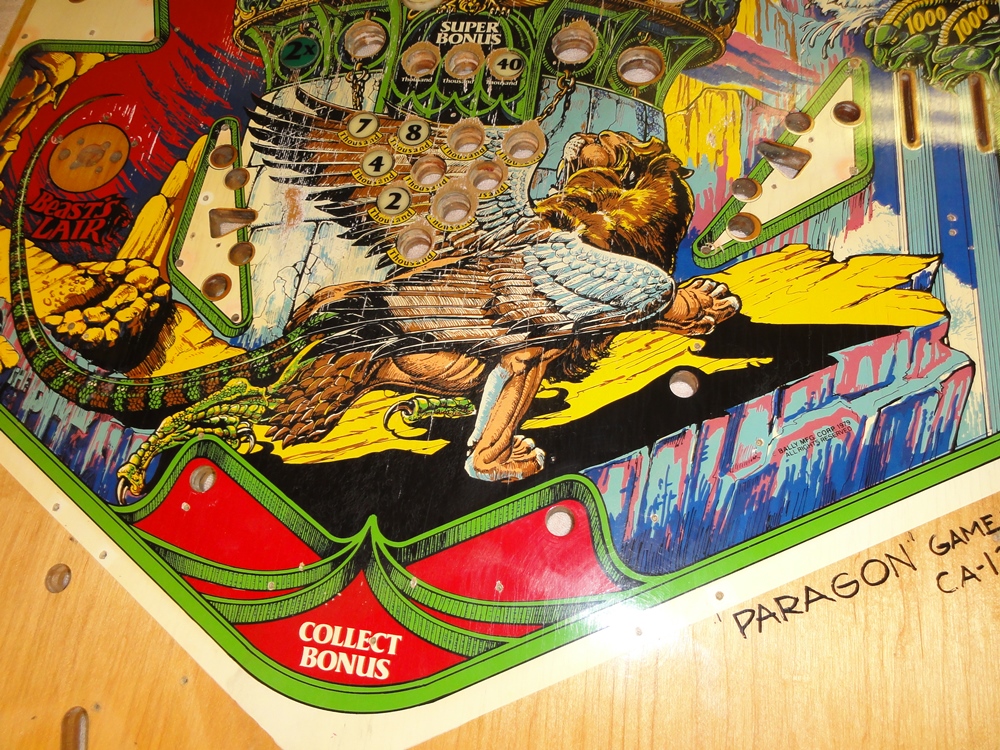
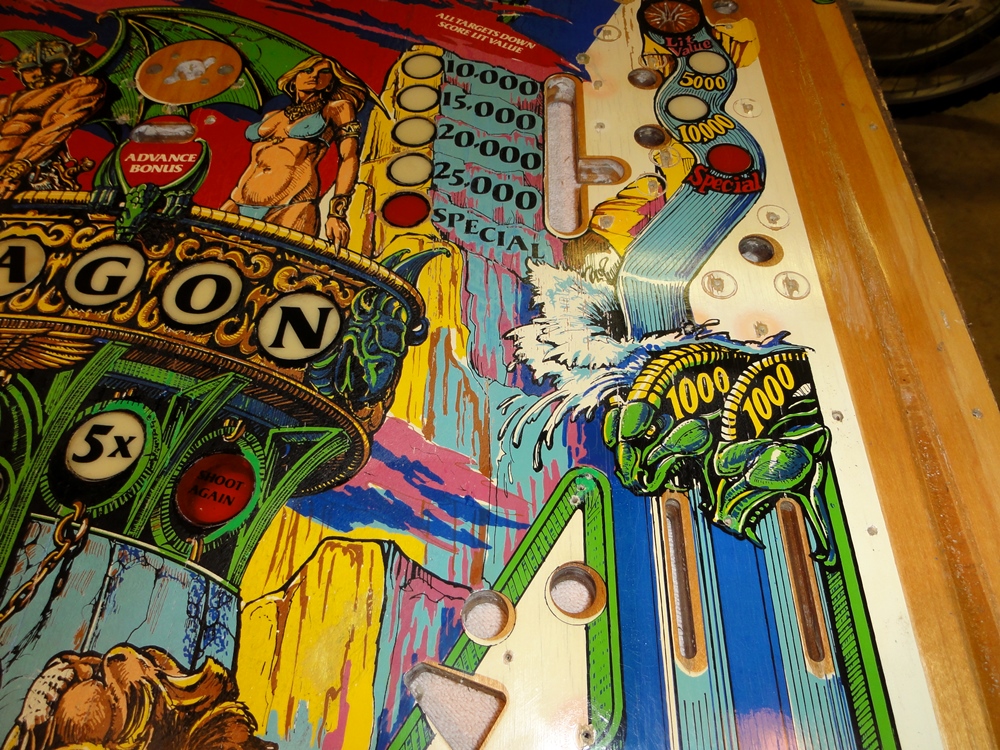
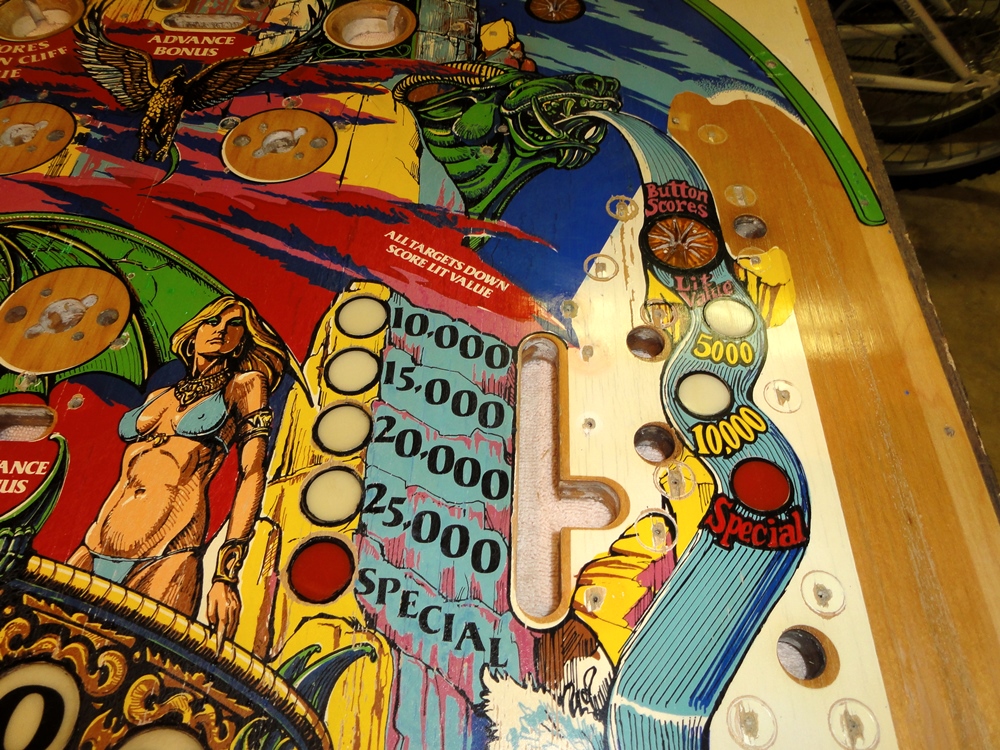
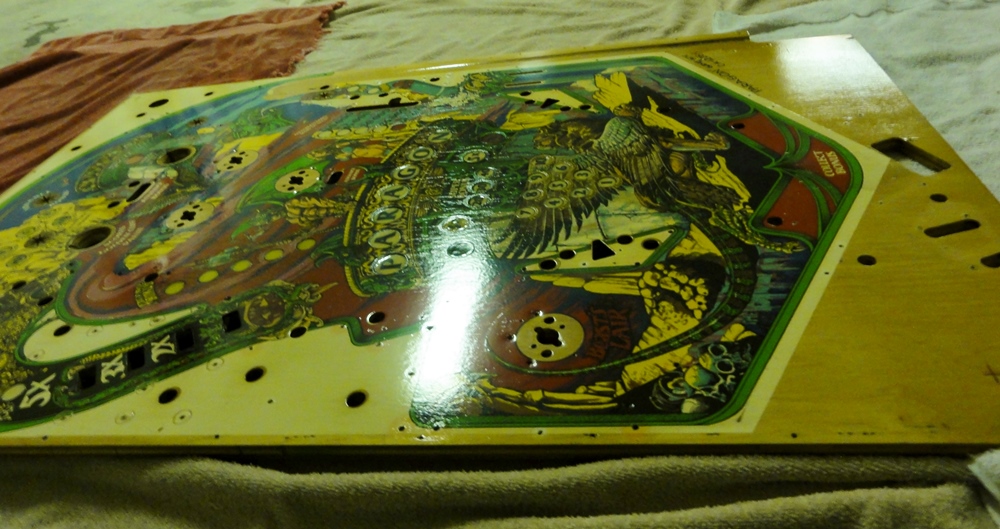
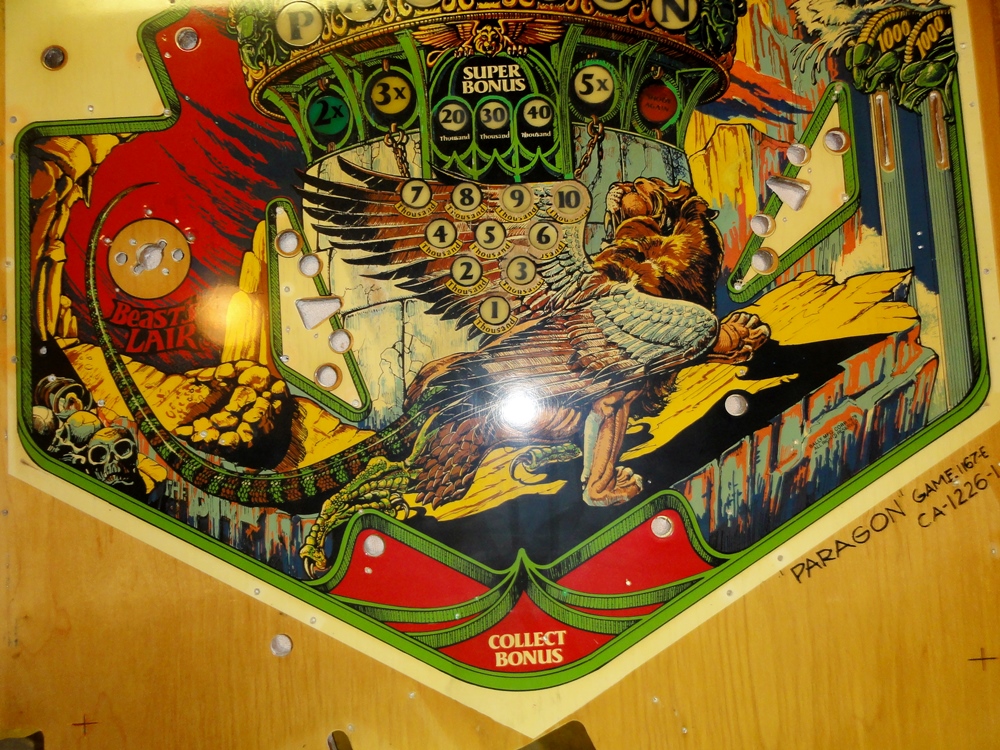
Since then, I've been on the lookout for a better playfield. The one in my Paragon had the usual wear around the bonus area, and the inserts were badly cupped. The problem was, every playfield I found in decent condition cost almost $1,000. Heck, I'd already overpaid for my Paragon, so spending another grand for a used playfield was out of the question. Finally, around March of 2013, one came up on eBay that looked OK, and I figured if I could get it at a decent price I'd go ahead and try to restore it. It was fully populated too, so if nothing else I'd have a good set of spare parts. I ended up winning the auction for around $300. When the playfield arrived, it was in worse condition that I had hoped. The planking was terrible, and inserts were falling out. I don't blame the seller - it was sold 'as is' and I could have asked for more pictures,and honestly I was happy to have it. I was looking forward to a fun project.
DISCLAIMER: I've coined the term 'players restoration' to describe my work. I'm not a professional. I don't have a spotless work area and tons of tools. I do what I can in my garage. My goal is to make it look good and play like new. So....with that said - on with the pics.
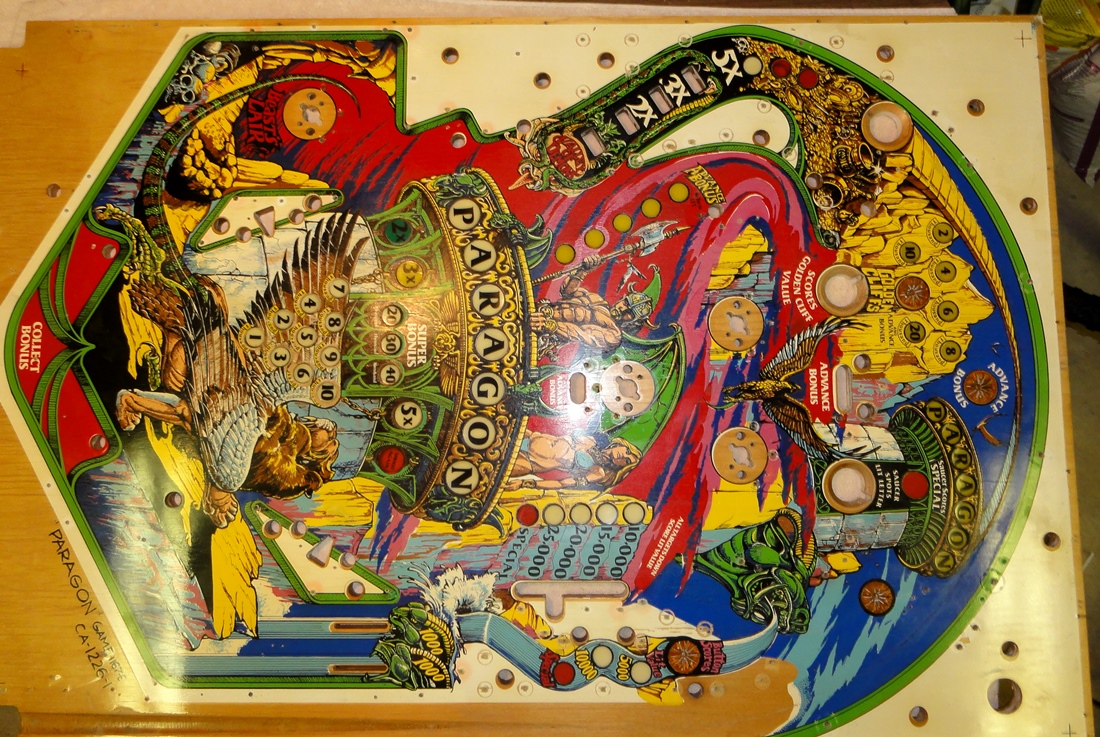
This is the playfield I got off
eBay for around $300
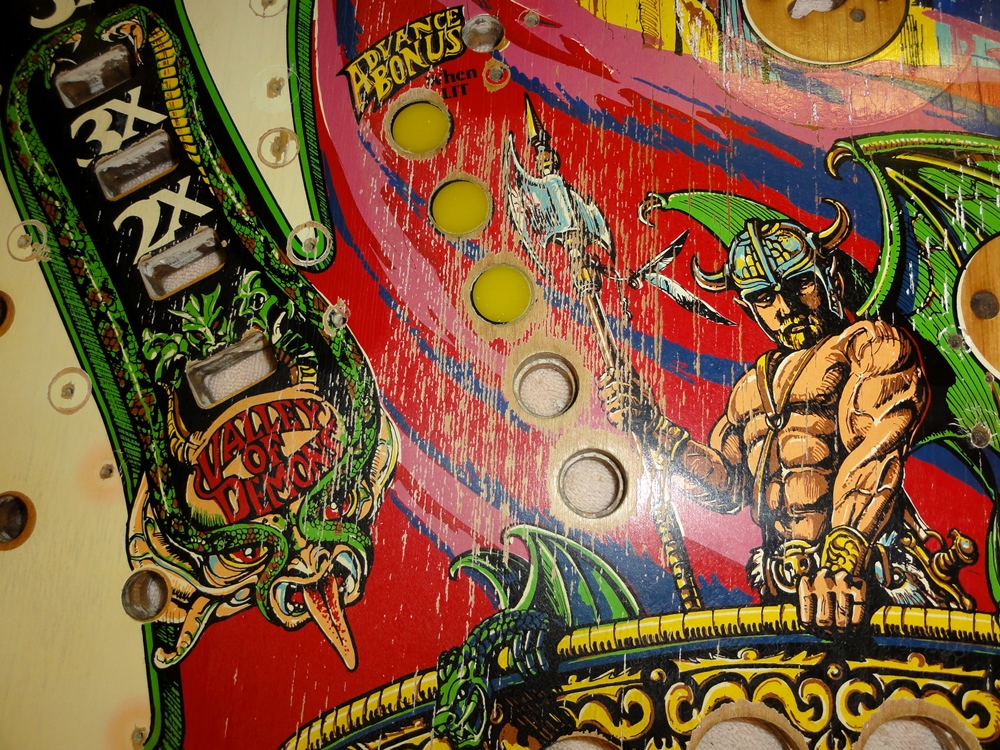
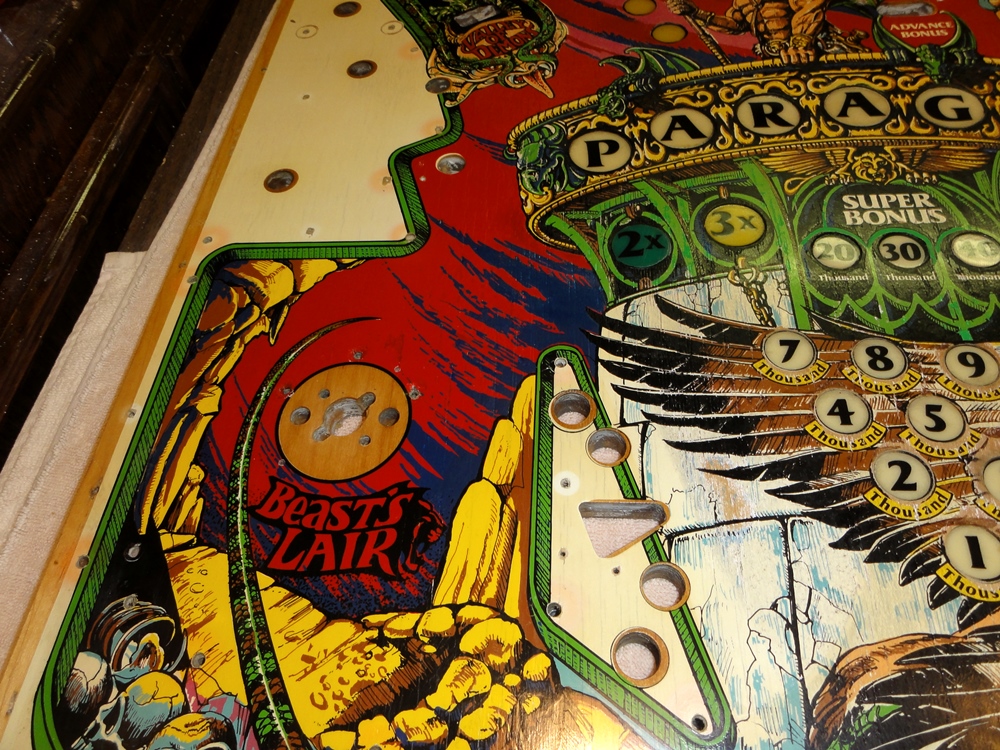
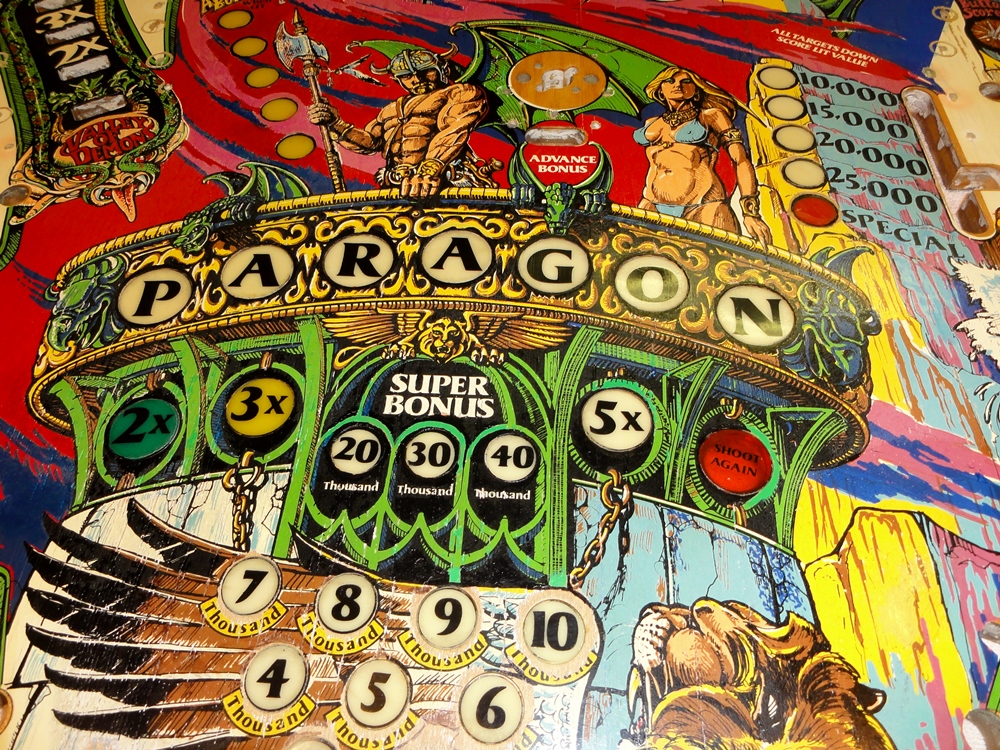
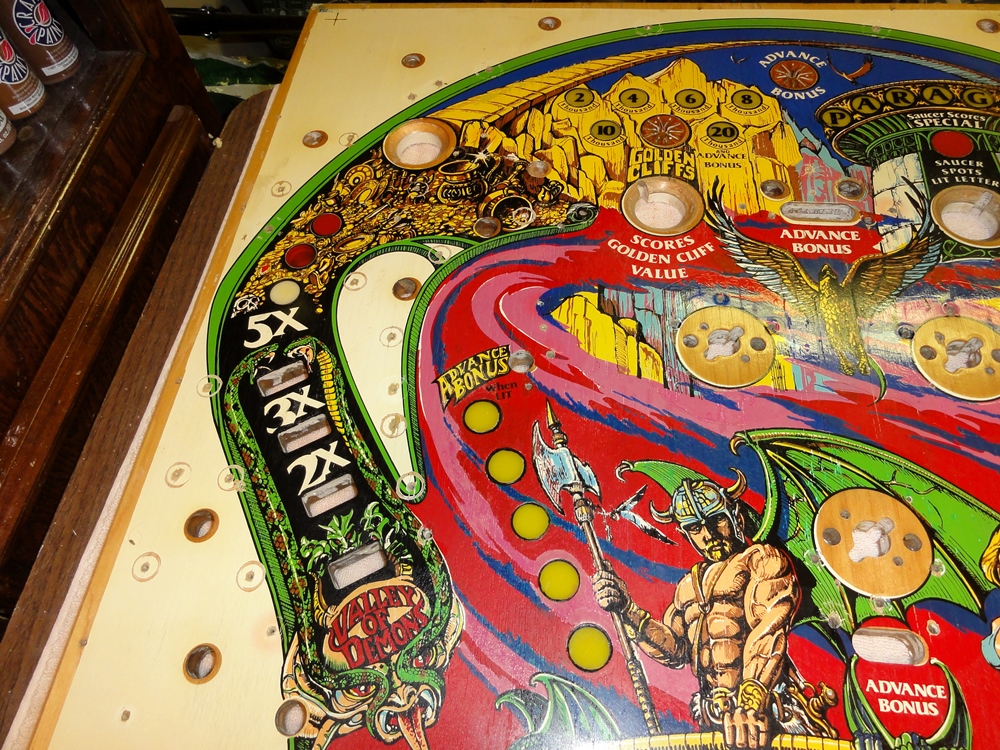
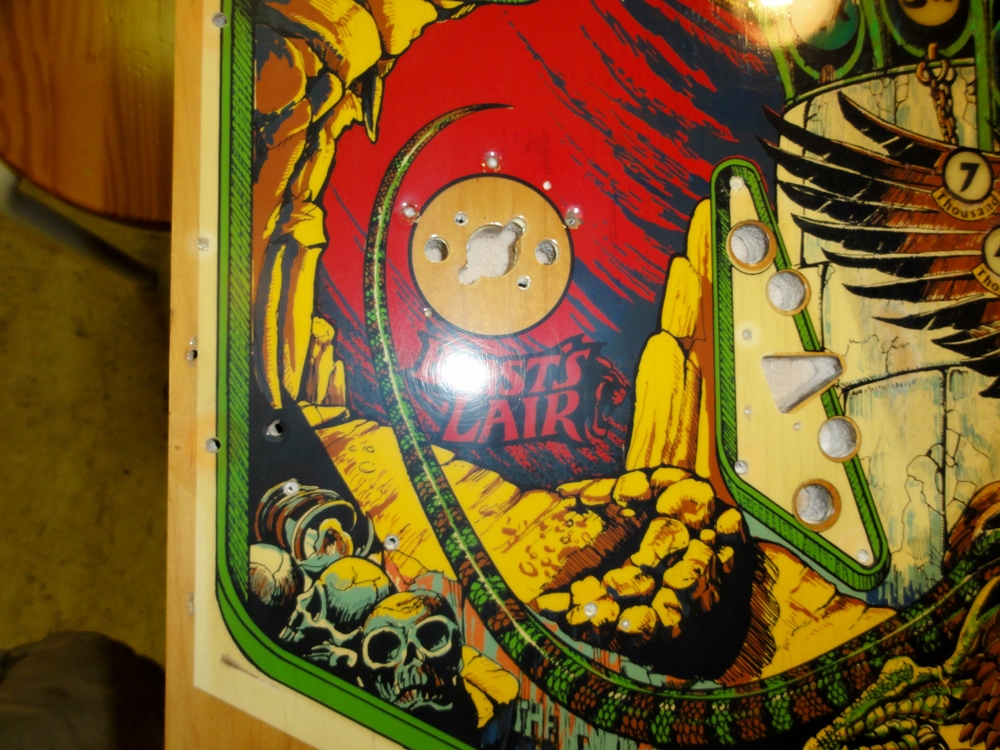
You can see the planking - the worst of which is around the spinner lights.
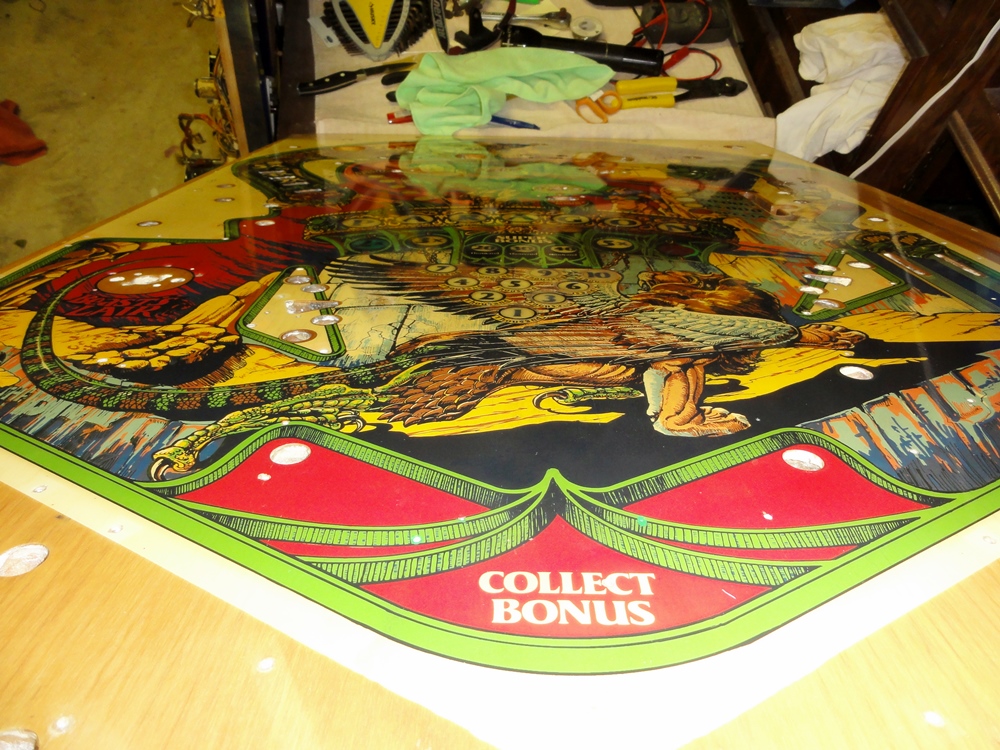
Planking everywhere...and the usual wear around the bonus inserts
Time to strip it, and begin the restoration....
Playfield is completely stripped of parts and ready to be cleaned.
Here I'm starting to clean it - I used Novus, followed by Magic Eraser with
Alcohol.

Man, this is going to be tough to repaint....
The inserts were falling out. Good thing they were all there.
It's clean.

Before painting....all the inserts had to be re-glued
Inserts have been re-glued, and repainting has started. Notice the black around
the P A R and a few other inserts.
NOTE: I screwed up by not putting down a thin layer of clear coat before painting.
This resulted in some of the paint (especially the pink) soaking into the wood
and loosing it's color somewhat.
Repainting complete. Not great, but not bad!
I didn't take a lot of pictures while repainting It was fun though - even Jacqui
helped.
Touch up painting can be fun after a few drinks.
Everything was done by hand, so I avoided a few areas.
I figured a crappy hand done repaint would look worse than some wear, so I just
left it.
I thought about doing decals, and maybe should have tried that...but....well...maybe
next time.
Yes, you can see imperfections - but compared to what it looked like to begin
with - it was a big improvement IMHO.
Overall, I was really happy with the repainting. The reds and pinks were probably
the hardest to match.
Again, it's not perfect - but I was really happy with it.
Time for clearcoat!
And again, I should have done a thin layer before repainting....you'll see...
1st coat of clear doesn't even start to even out the planking...many coats will
be needed.
2nd coat sanded....
Filling the inserts with clear.
Since doing this, I've learned it's much better to use a little less, and let
it cure longer.
If you use too much, it never really dries perfectly clear, and retains some
if the milky color you see above.
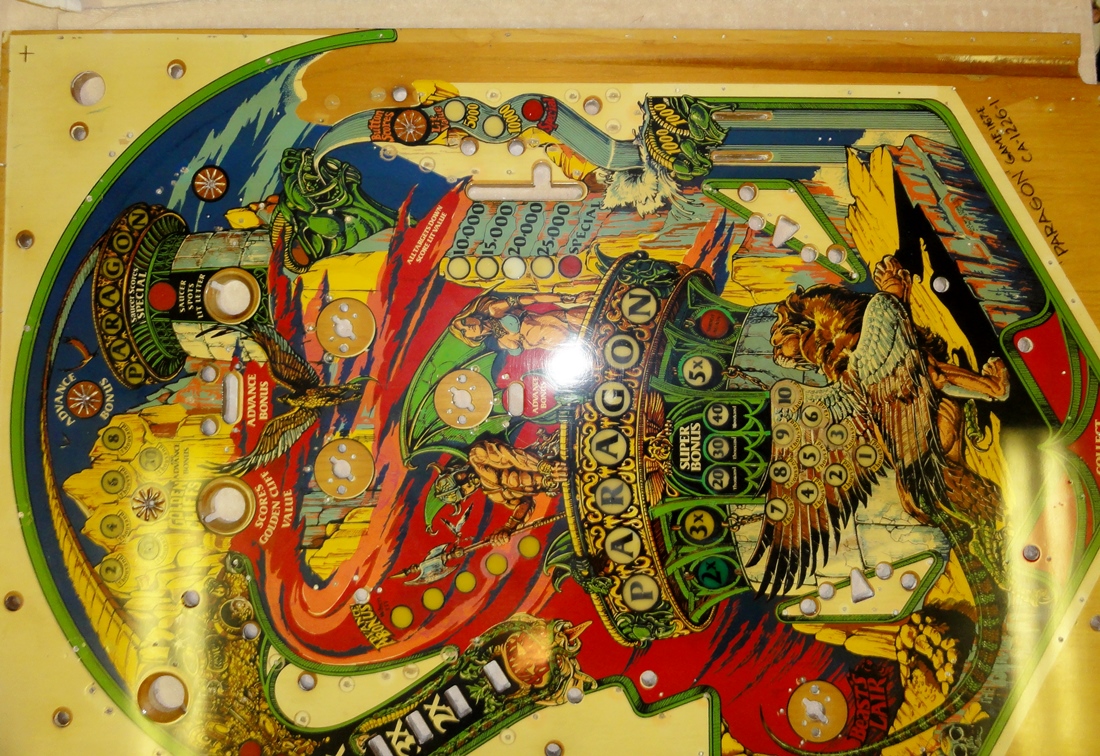
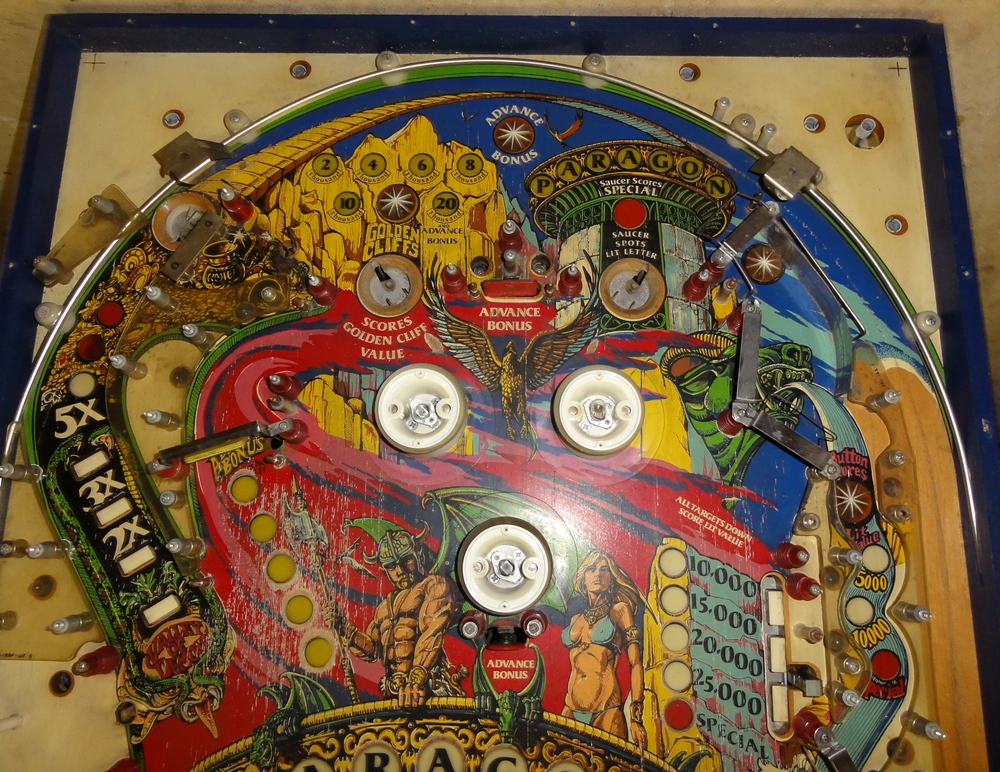
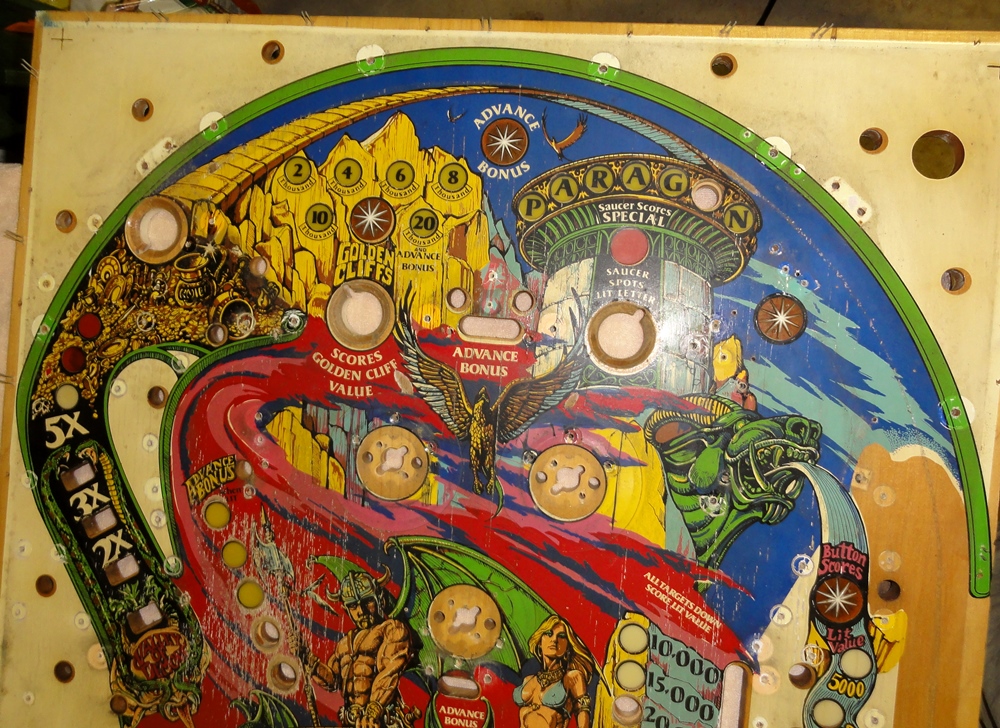
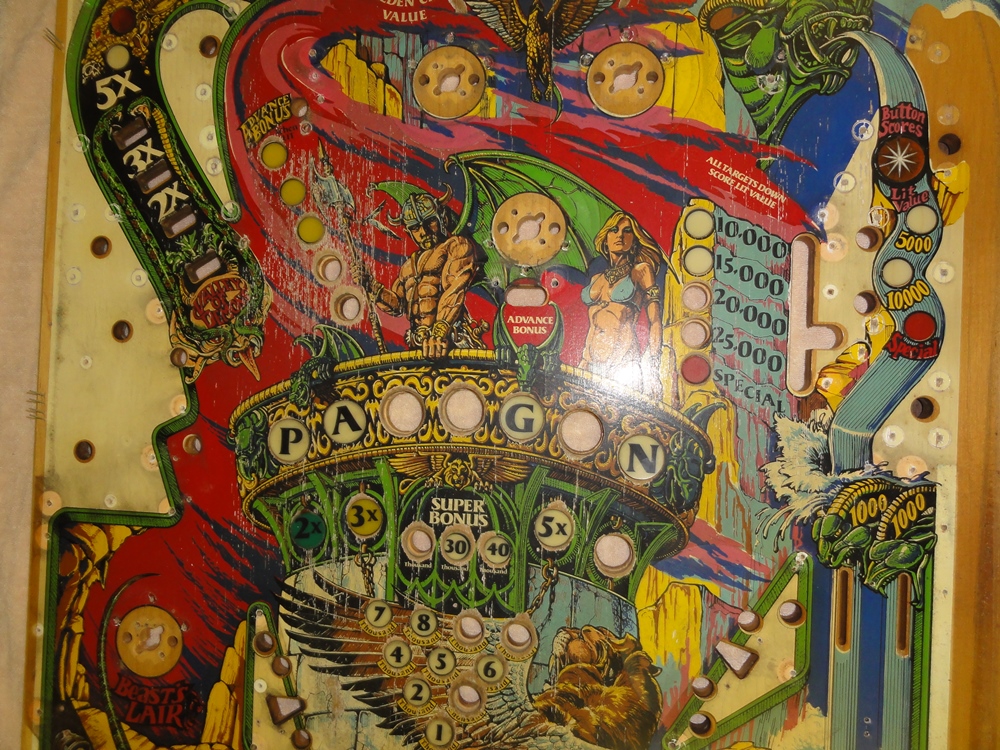
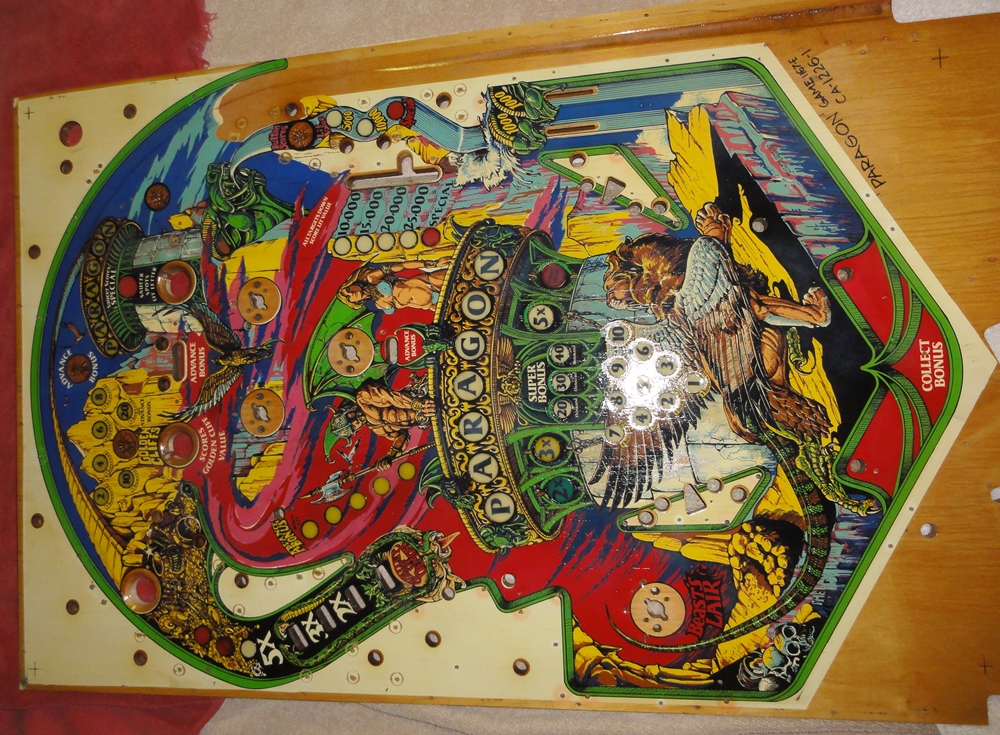
And here's the final product!
All those coats of clear - plus painting on exposed wood - leaves room for improvement.
But overall I was pretty happy.
It looks pretty good, but most importantly it's FLAT LIKE GLASS, and should
play great.
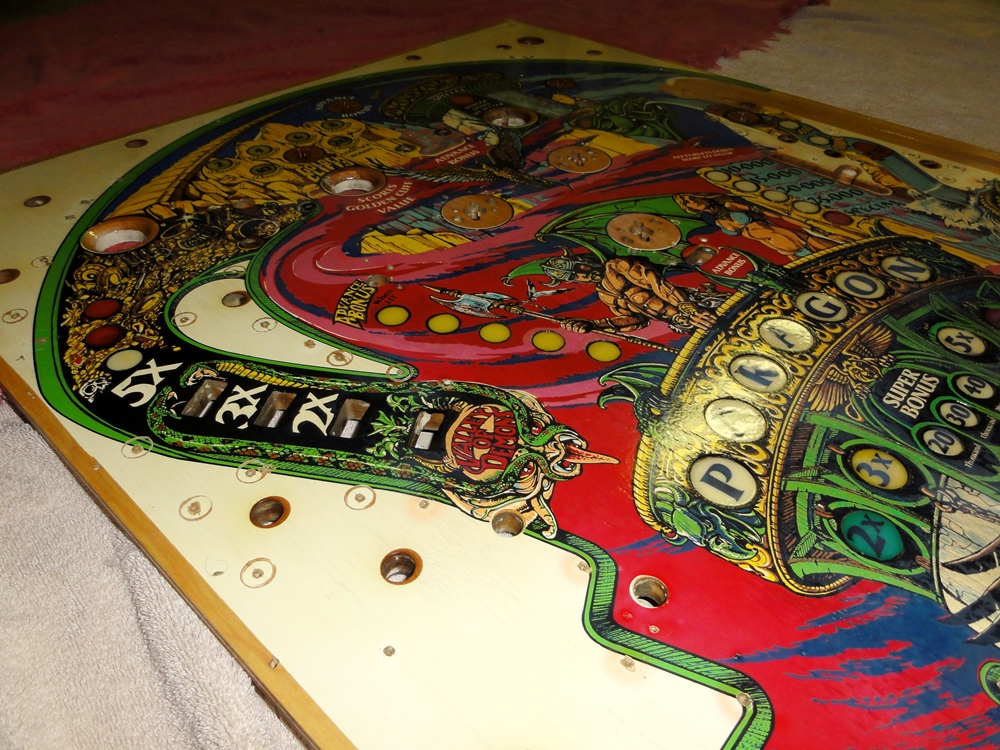
See how the pink doesn't match anymore... lesson learned.
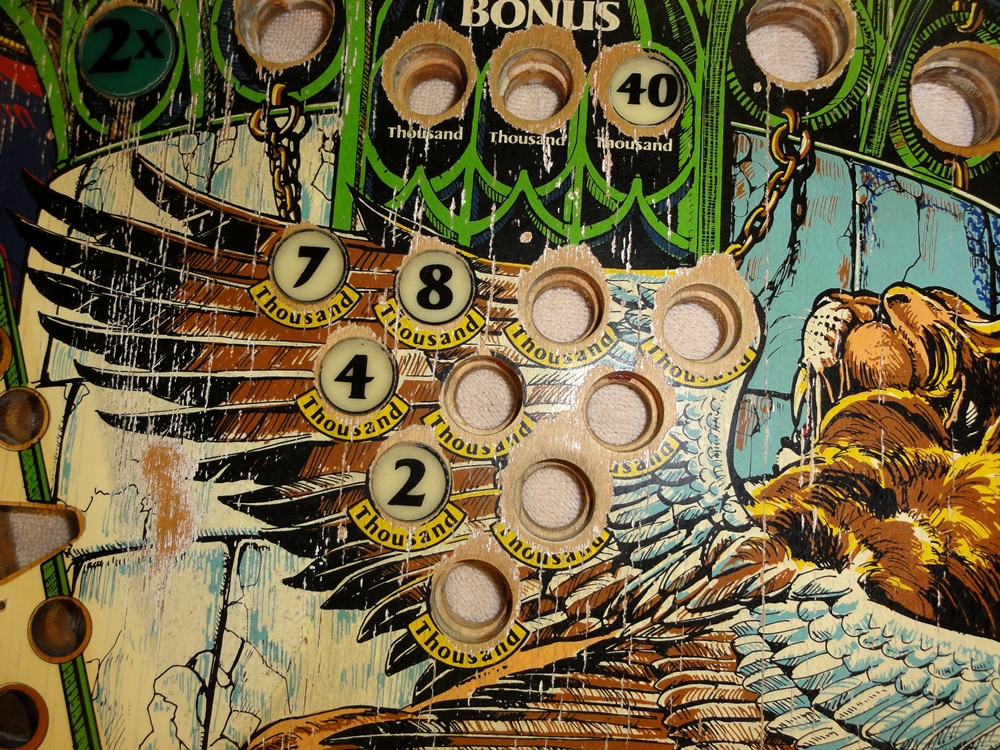
Another screw up - the white 20,000 insert. When re-gluing, this one set just
above the playfield - so it got sanded down.
I should have sanded all of them before re-gluing...or made sure all of them
sat below the playfield.
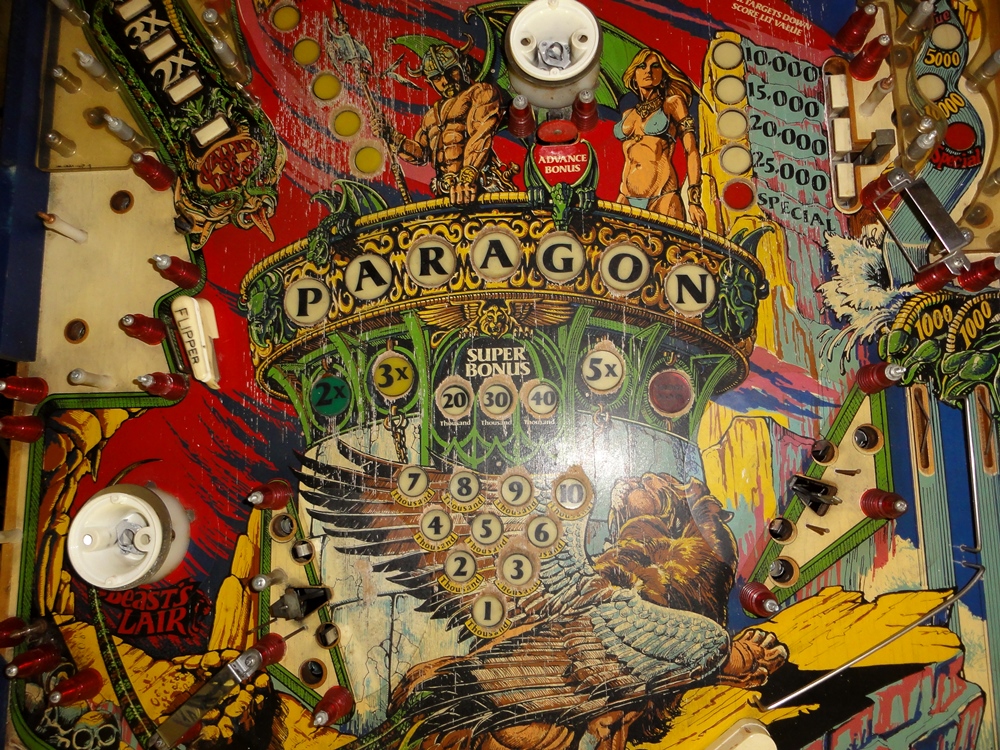
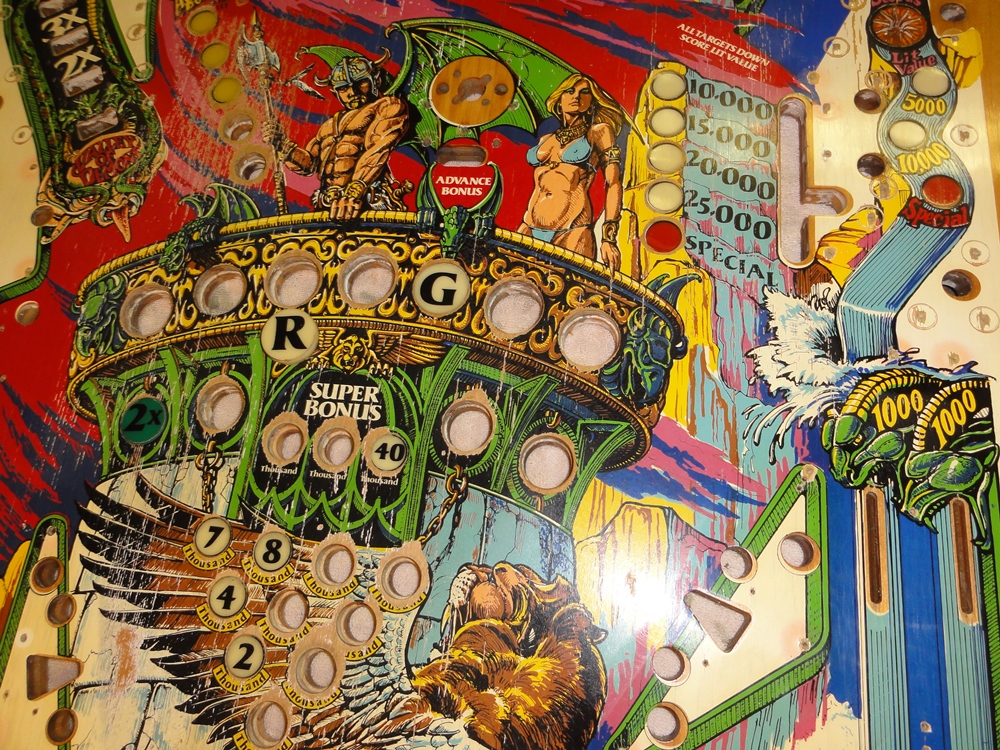
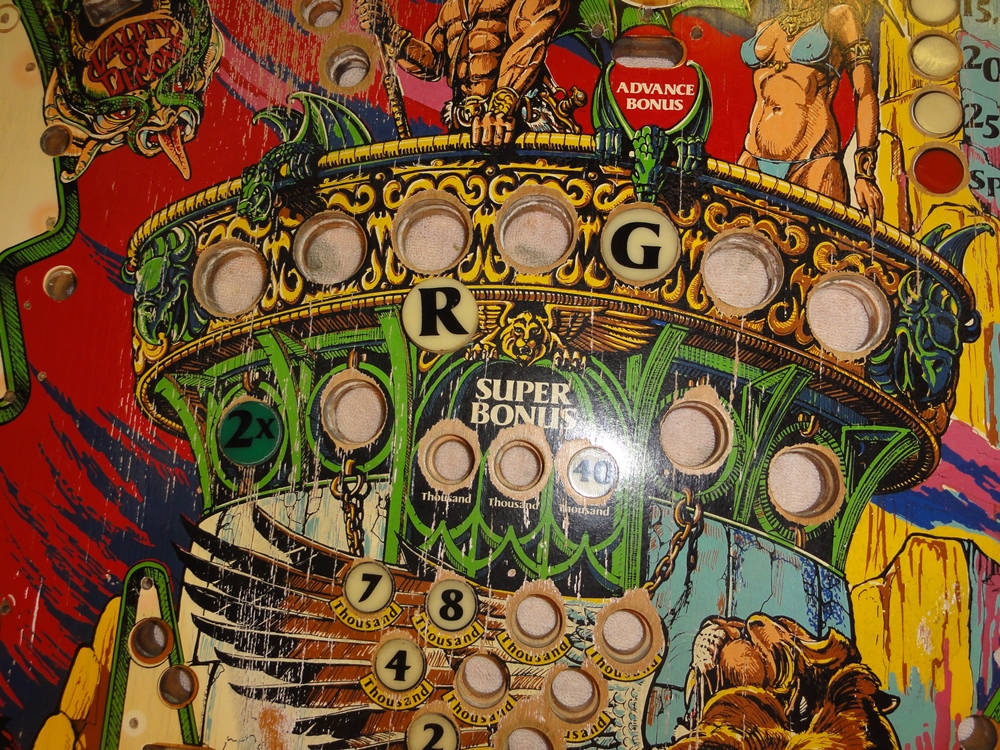
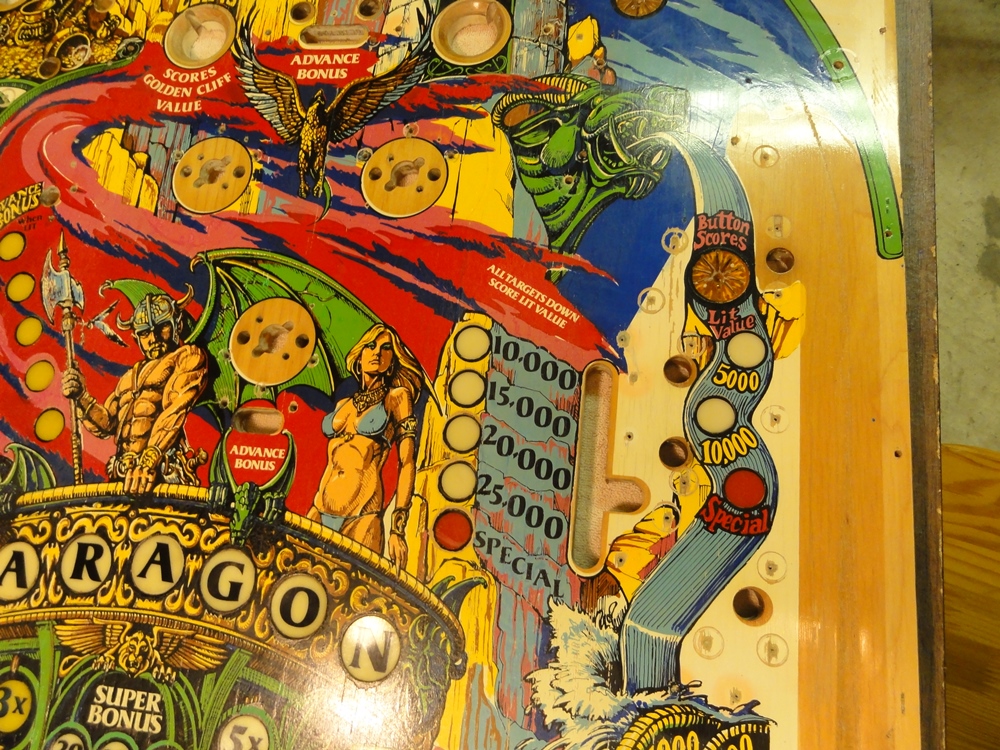
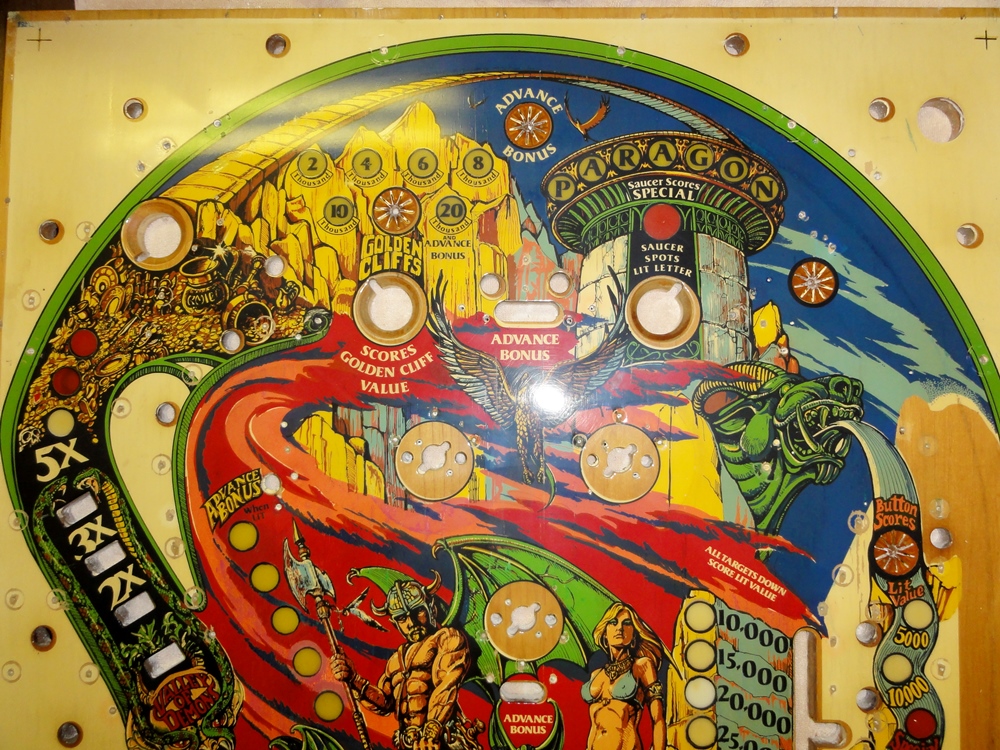
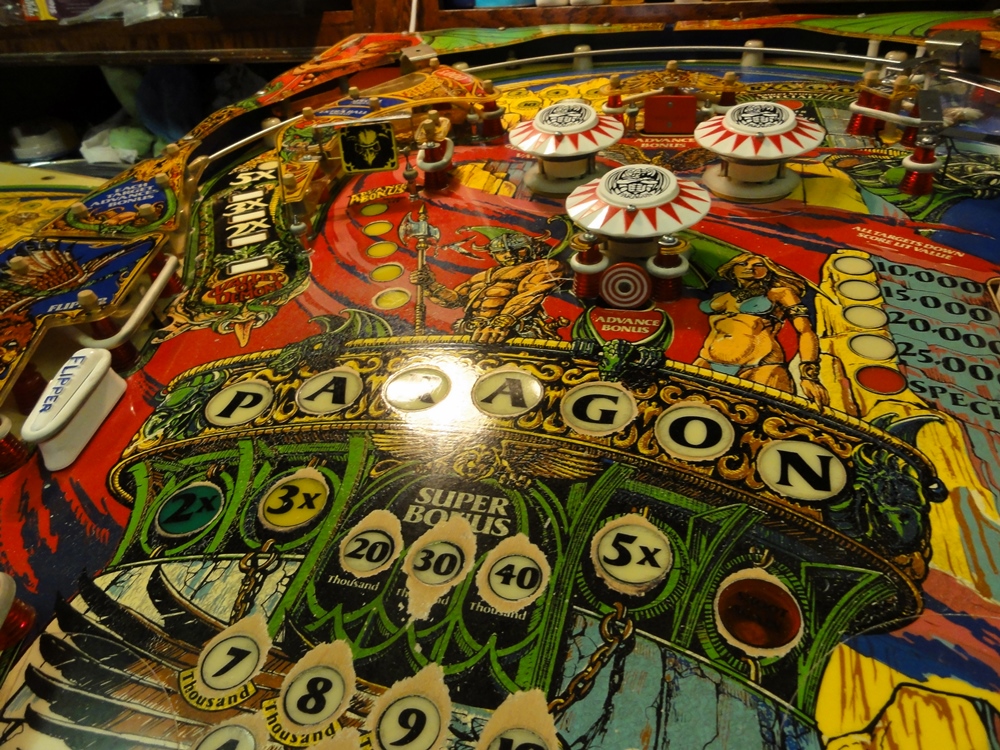
This area came out really well IMHO.
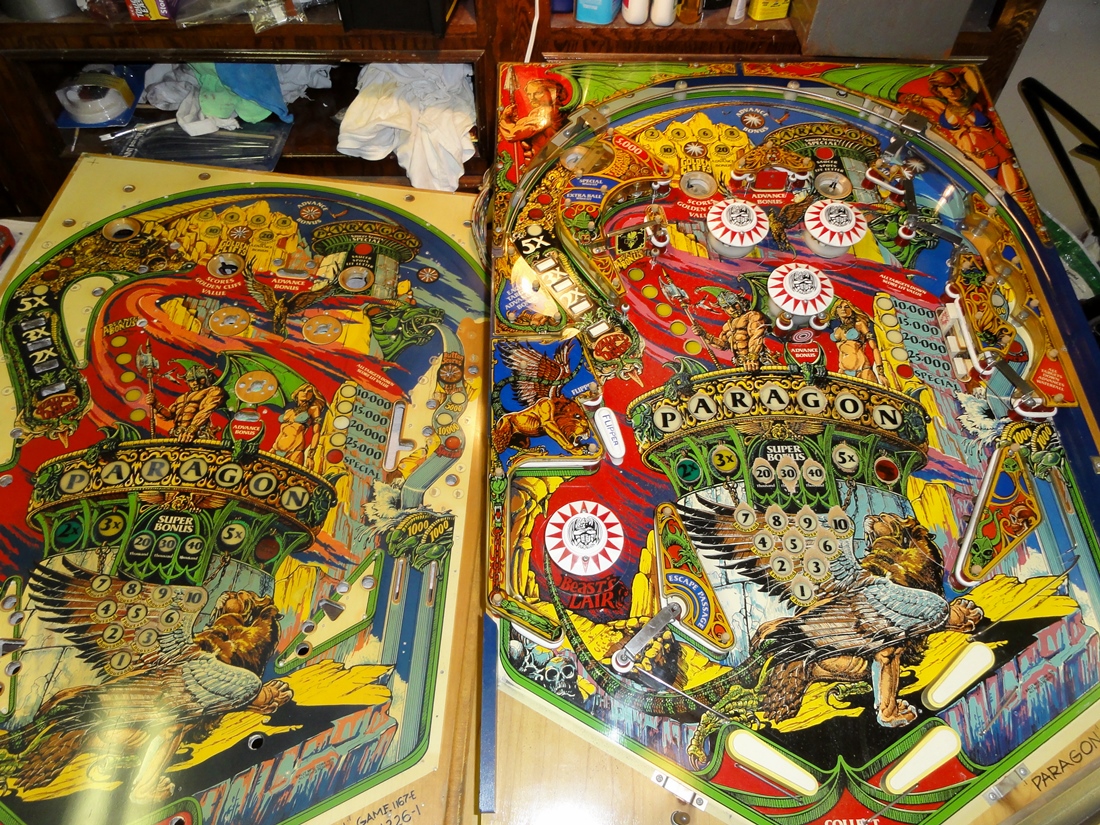
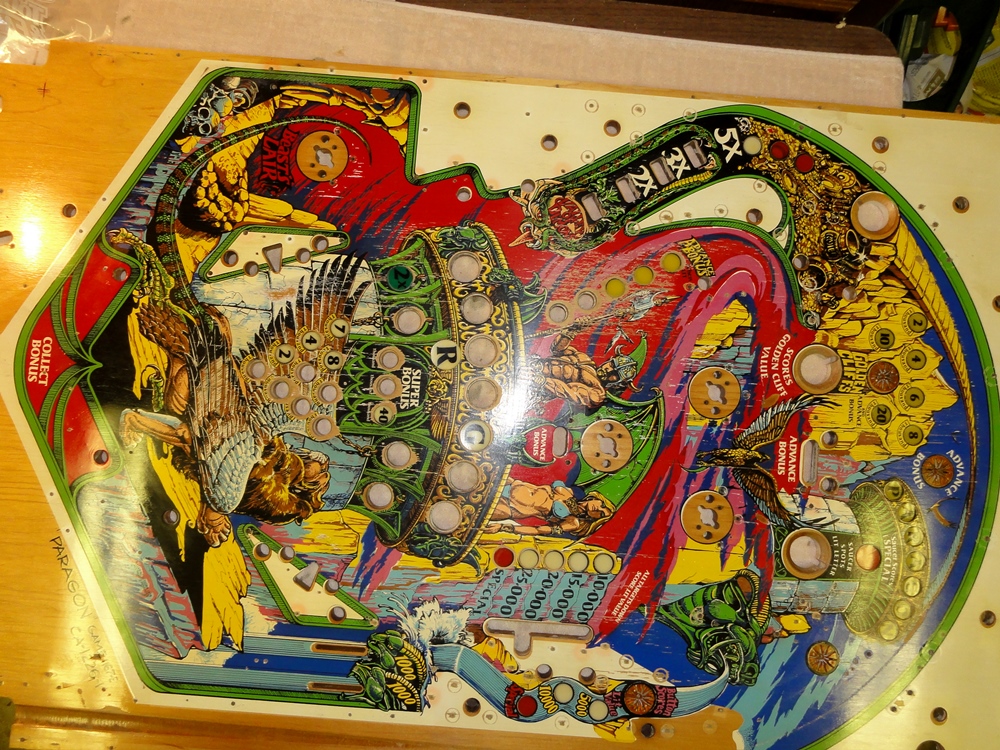
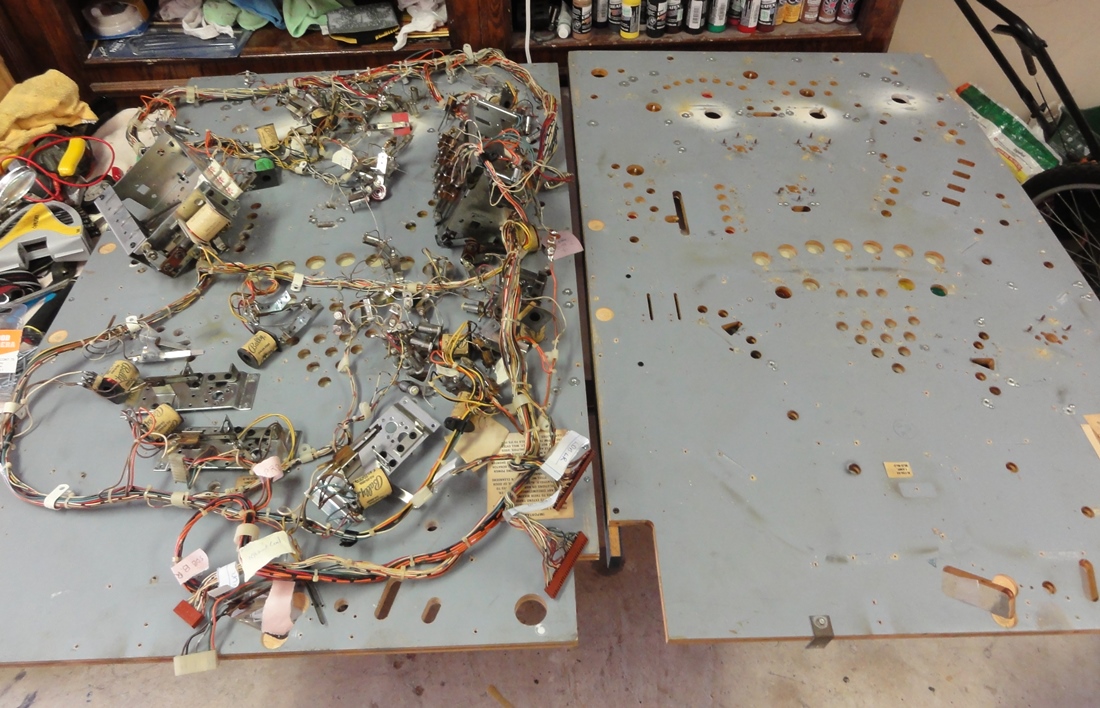
Time to swap playfields!
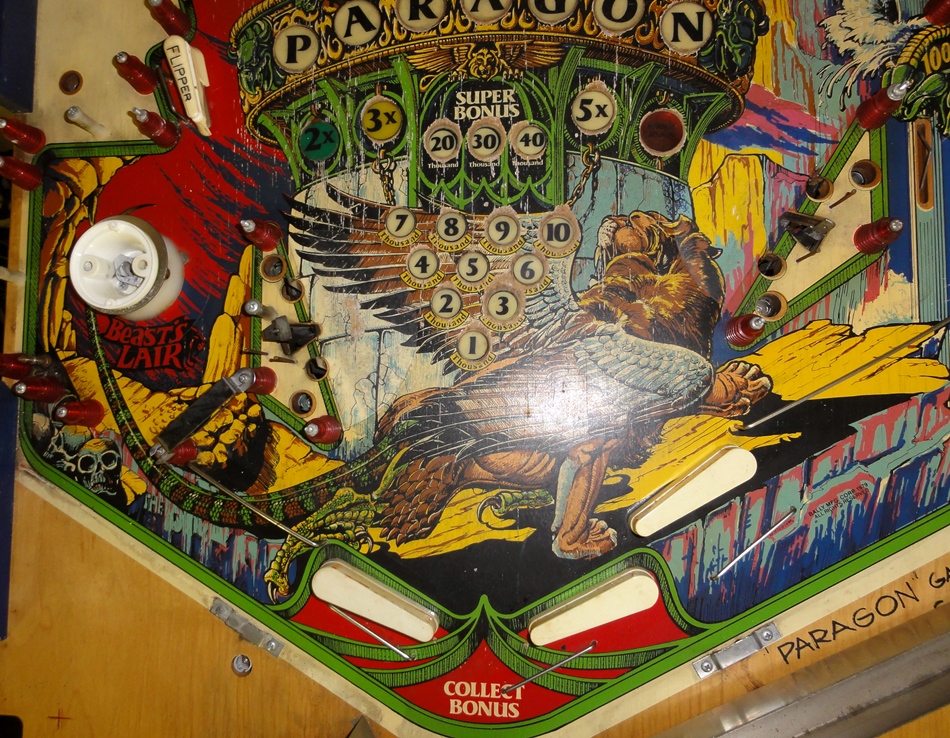
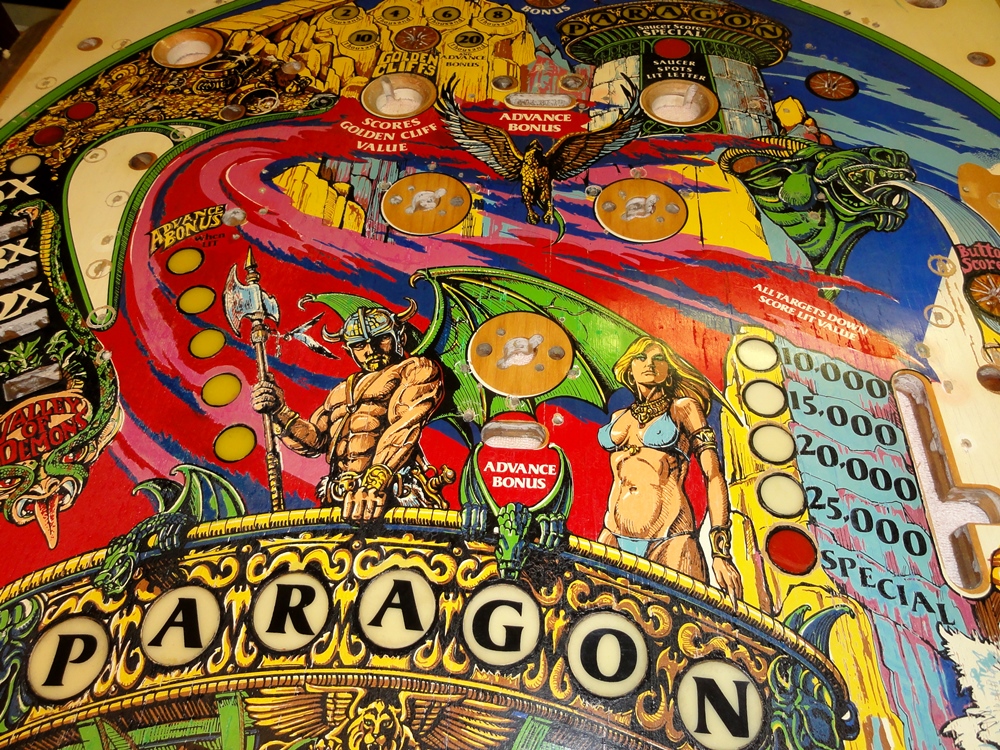
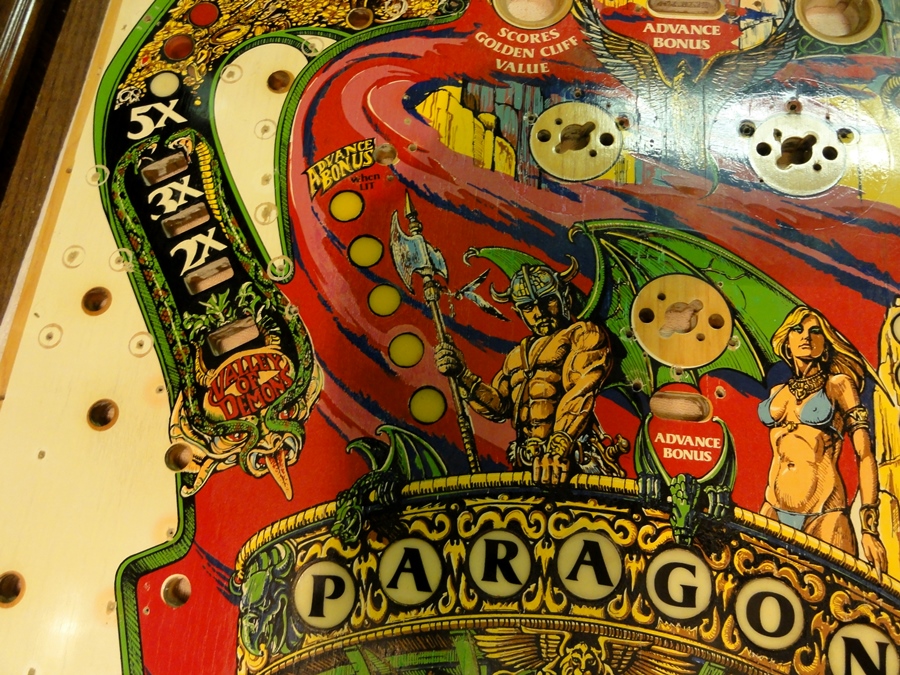
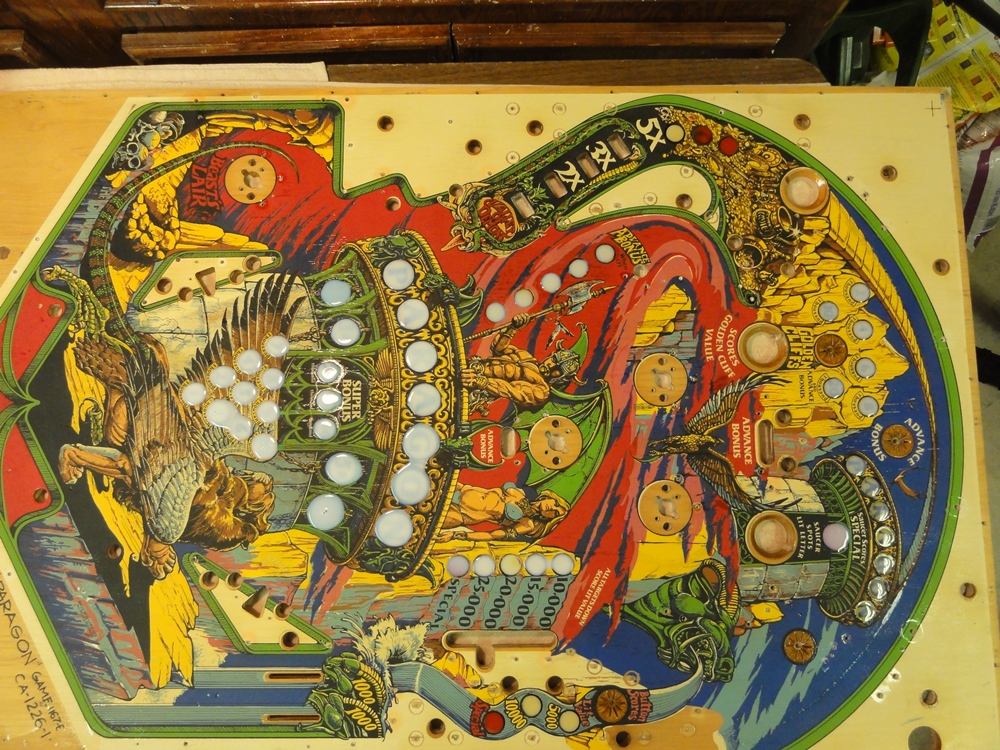
The restored playfield is on the left, and my original on the right.
Yes, the colors on my original are much more vibrant. In part because the restored
playfield was in such bad, faded condition. But I think it's also partly due
to the amount and type of clear coat used.
I used Varathane in a rattle can. If I'm going to do too many more of these,
I'm going to need an air compressor and decent airbrush - and use two parts
auto clear.
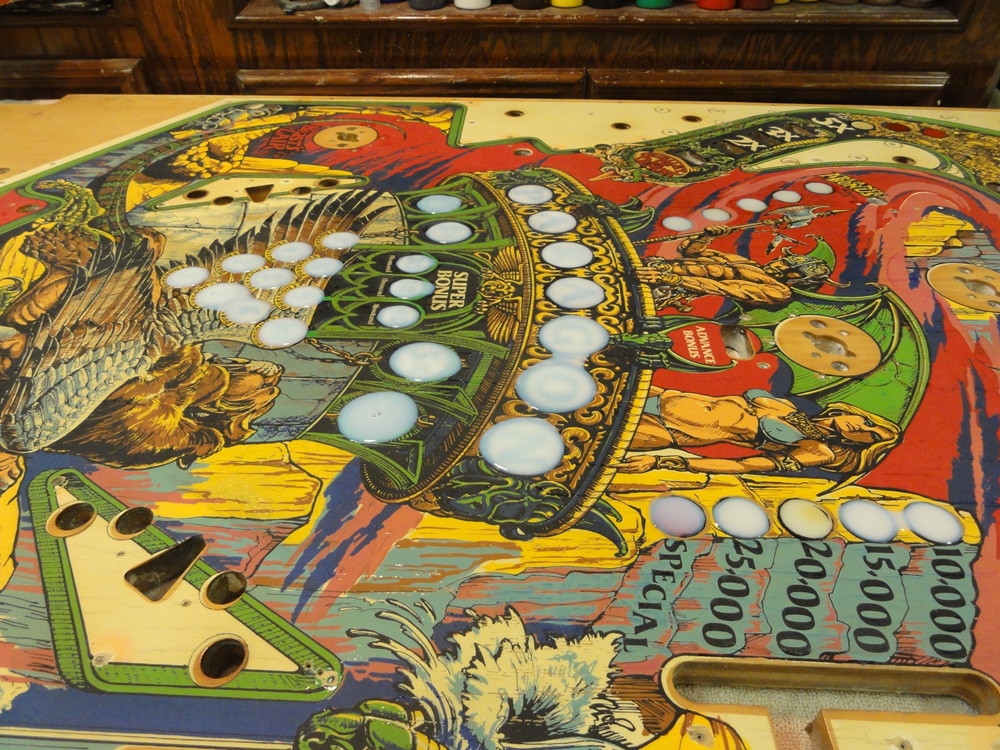
Despite it's vibrant color, you can see how badly cupped the inserts were -
makes playing it tricky, and frustrating sometimes.

This will play MUCH better.

Oh yeah....
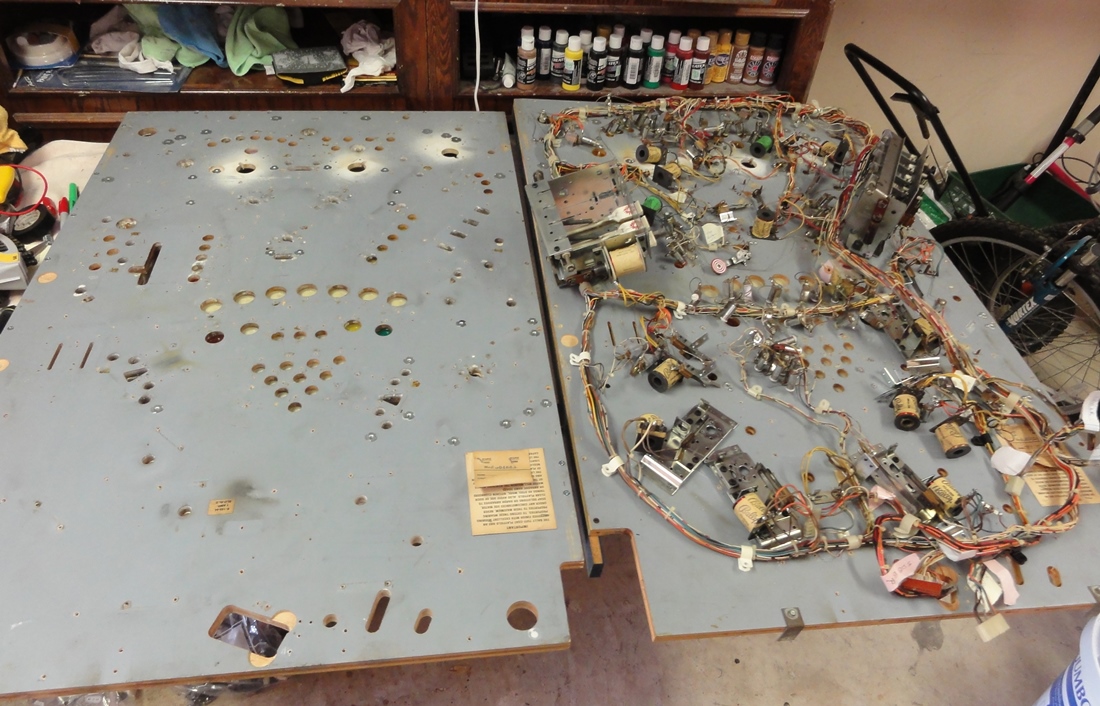
You know the drill - remove everything - repair flippers, pops, slings, drops....
And swap it over. Just reinstall everything, and make sure it works 100% Of
course, that's easier said than done.
But in the end I was rewarded with a GREAT playing Paragon, even if the playfield
is a bit yellowed...
..and yeah, I am tempted to try restoring my original Paragon playfield, but
I'm holding out for CPR to rerun it one day.
...and no, it's not for sale.
OK - that's it - hope you enjoyed.
![]()