
I clearly remember playing Black Knight back in the early 80's, and since I've been collecting it's always been on my 'wish list'. It was the first multi-level game, a classic Steve Ritchie design with four flippers, four sets of drop targets, and the super cool Magna-Saves. Best of all, it's FUN~! When I saw one come up for sale locally, I jumped at the chance. I found out a couple friends had already looked at the game - so I got their feedback before buying. Bottom line, it was in pretty decent shape. It had just been gone over by a reputable tech, and was running on original boards. Since I knew I'd be keeping it, I wanted to give it the complete tear down, clean up, and restoration of the playfield.
I'm going to cut to the chase - and post the 'before and after' pics first. Then for those interested in the restoration process, I'll get to that further on down. Enjoy!
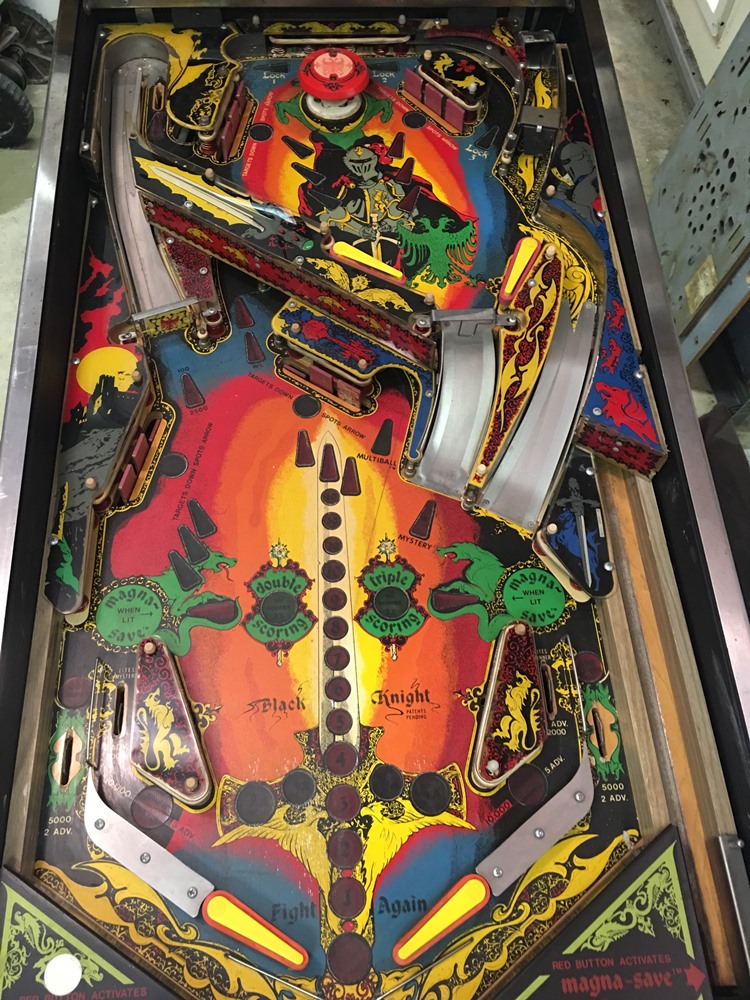
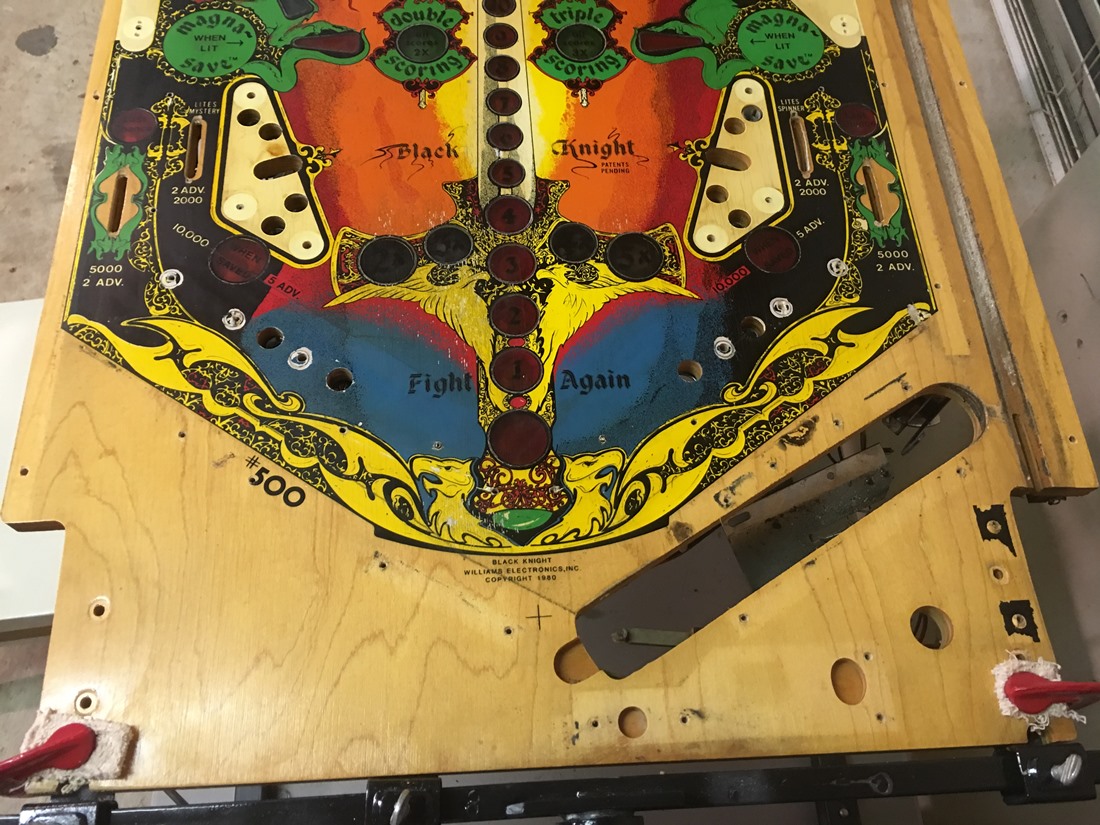
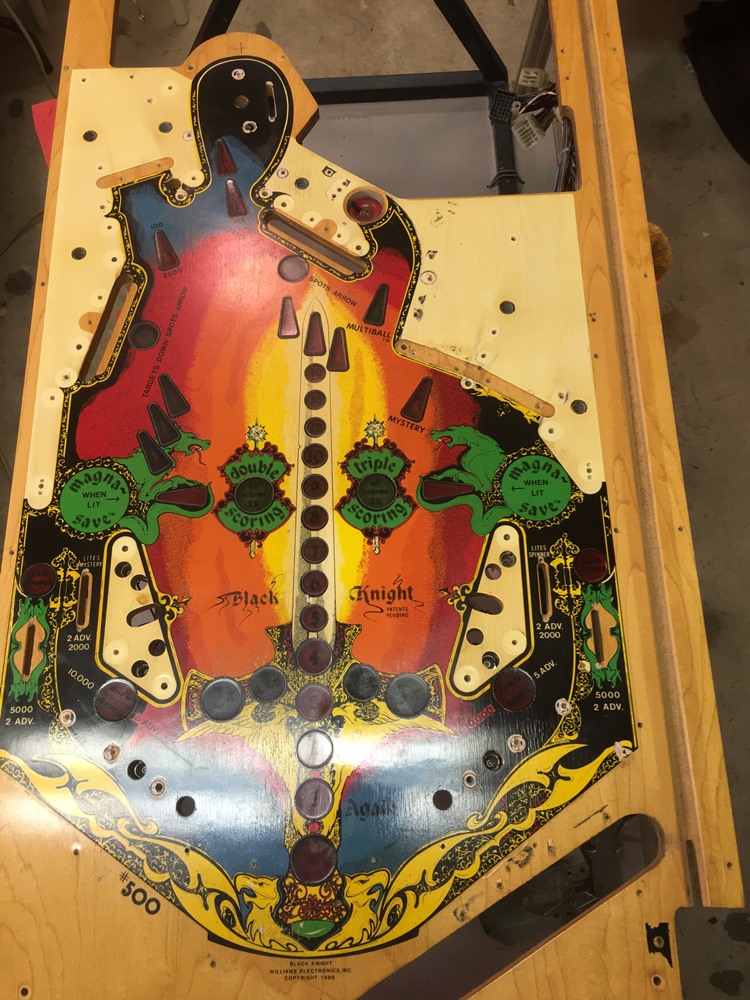
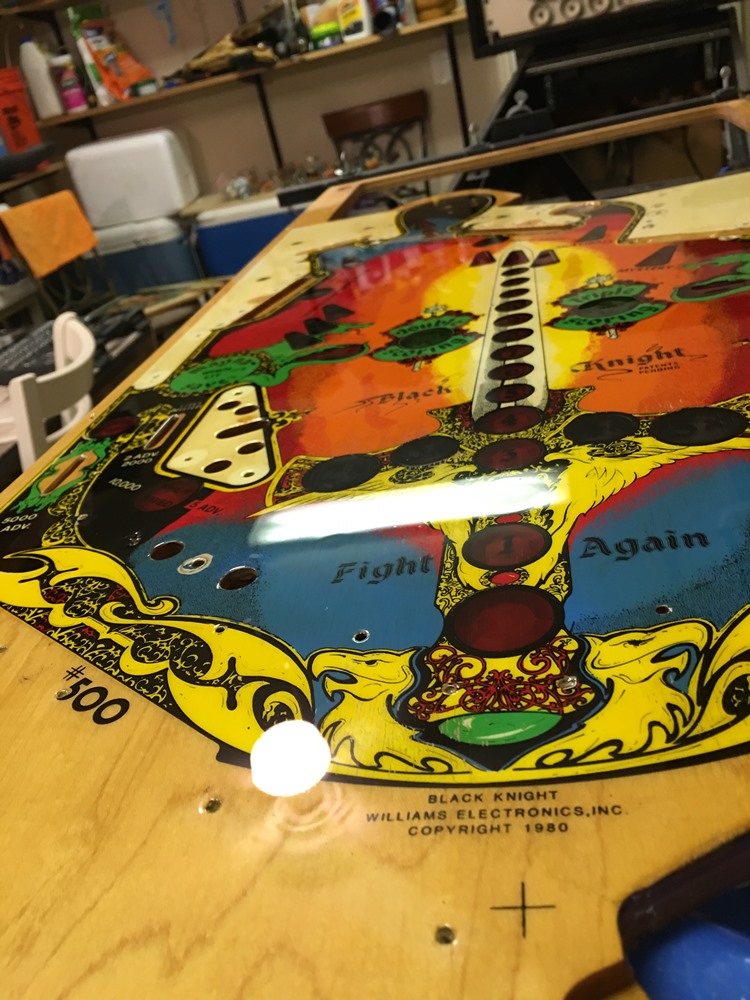
BEFORE

Like I said, it was in pretty good
shape to begin with.
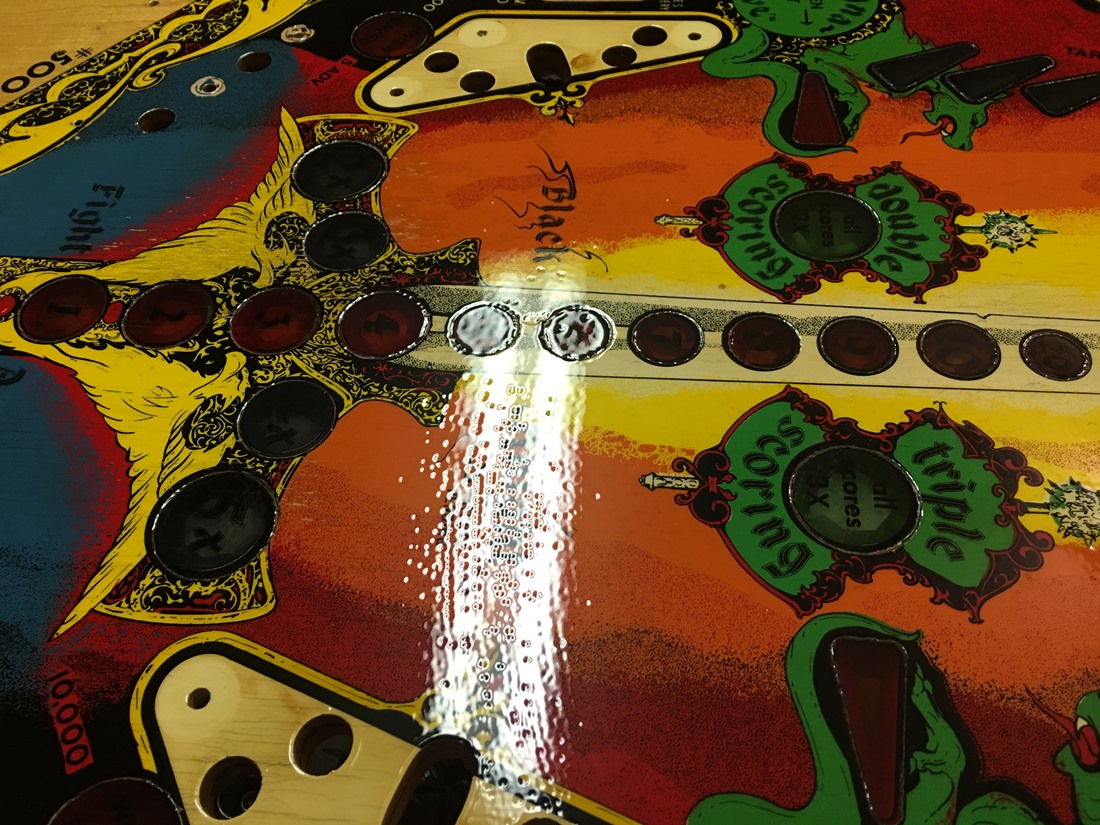
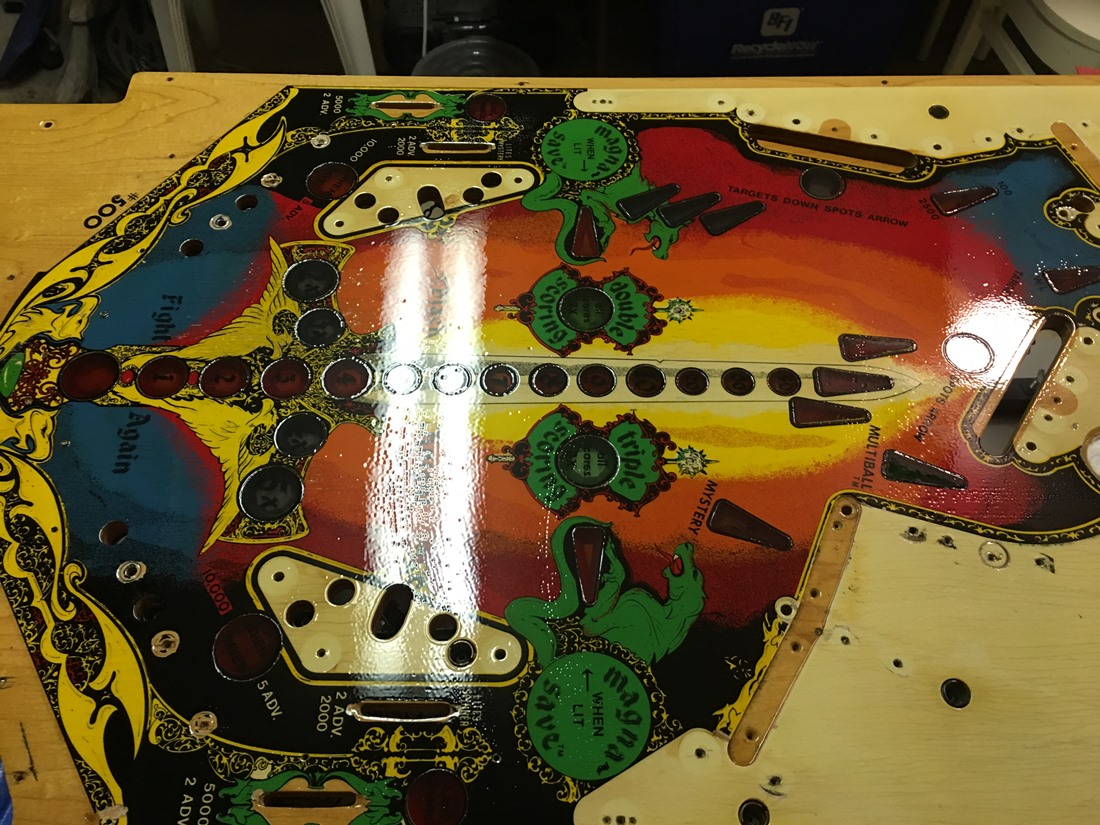
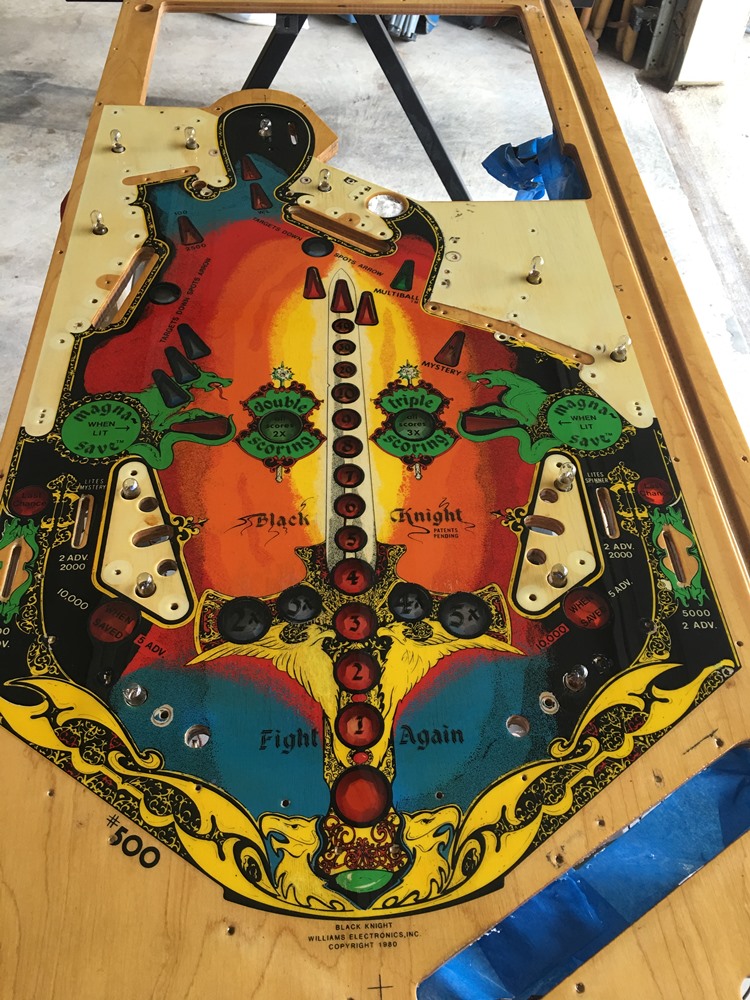
AFTER
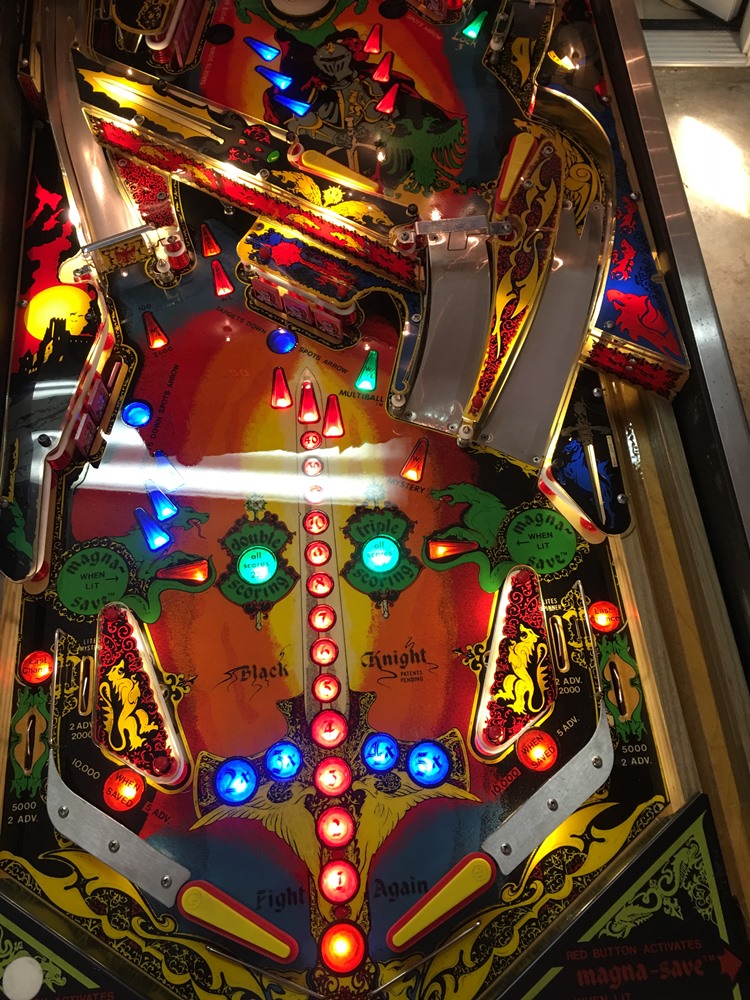
I'm very happy with how it looks,
but most importantly - it plays like it's brand new.
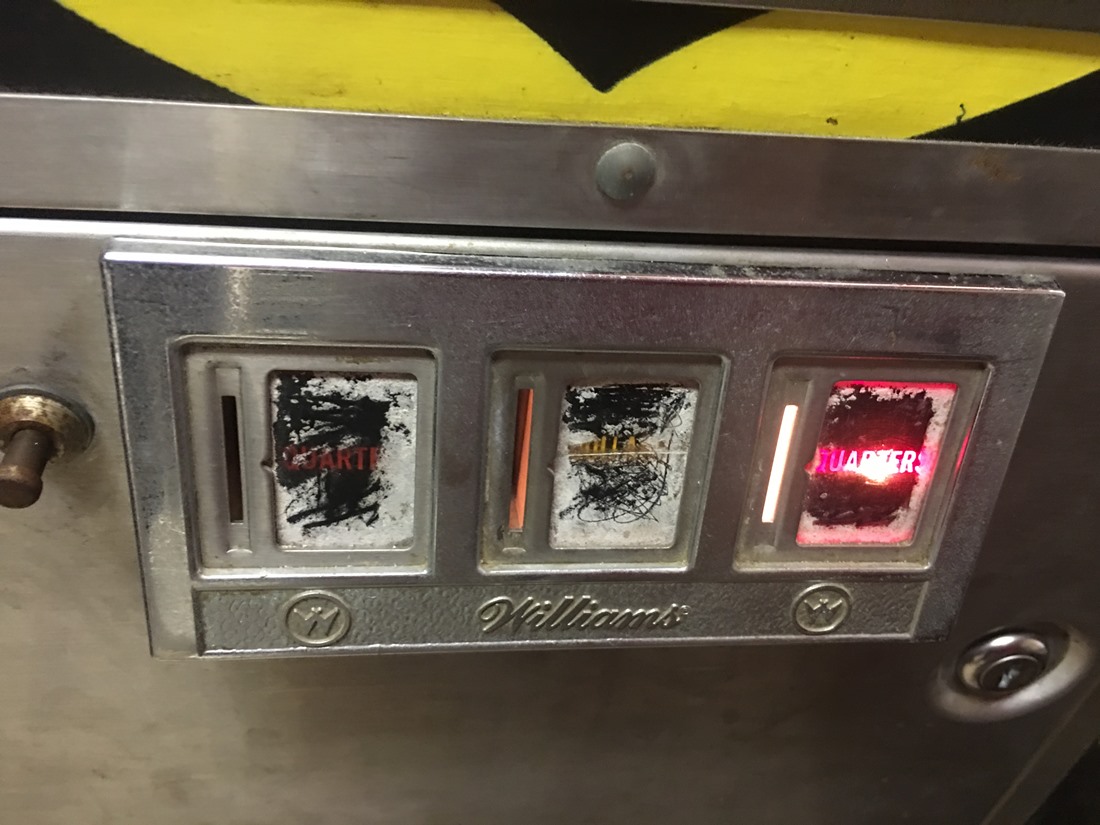
BEFORE
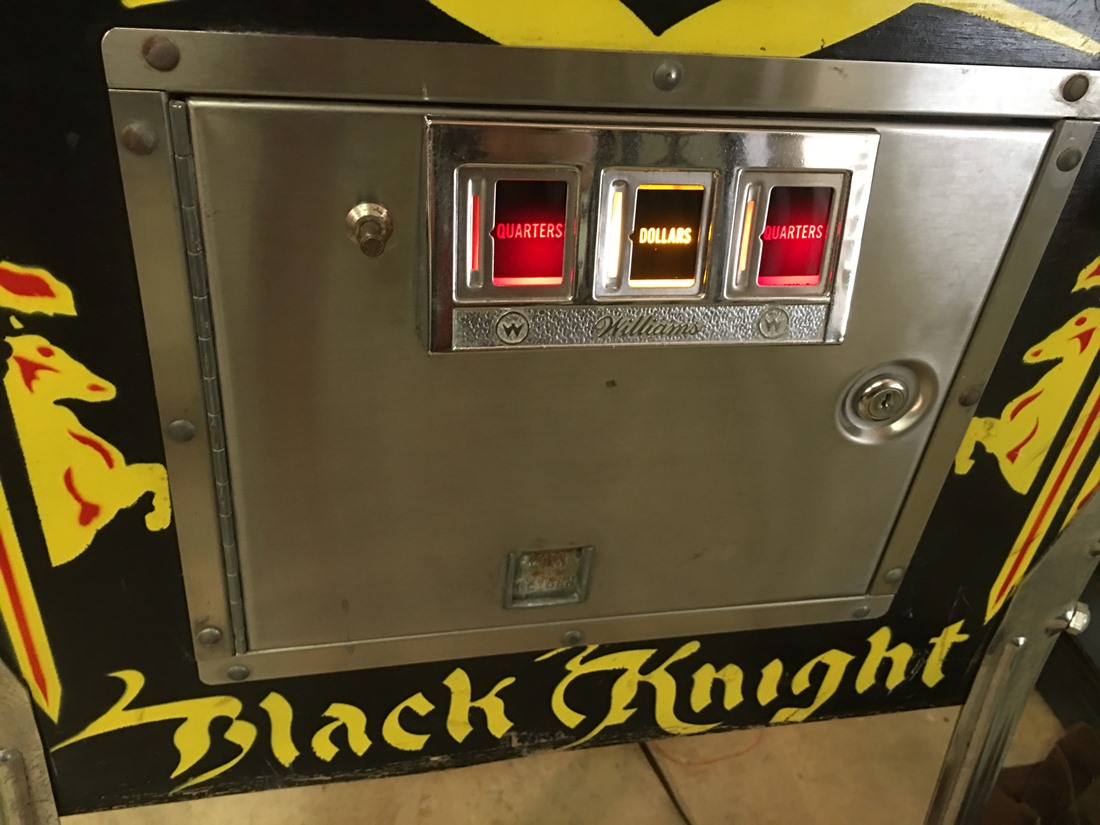
AFTER
BEFORE

AFTER
BEFORE
AFTER
BEFORE
AFTER

BEFORE
AFTER
BEFORE
AFTER
Still with me? Great! Those of y'all who'd like to see a bit more detail on what I did, I'll add comments to all the pics below. ....
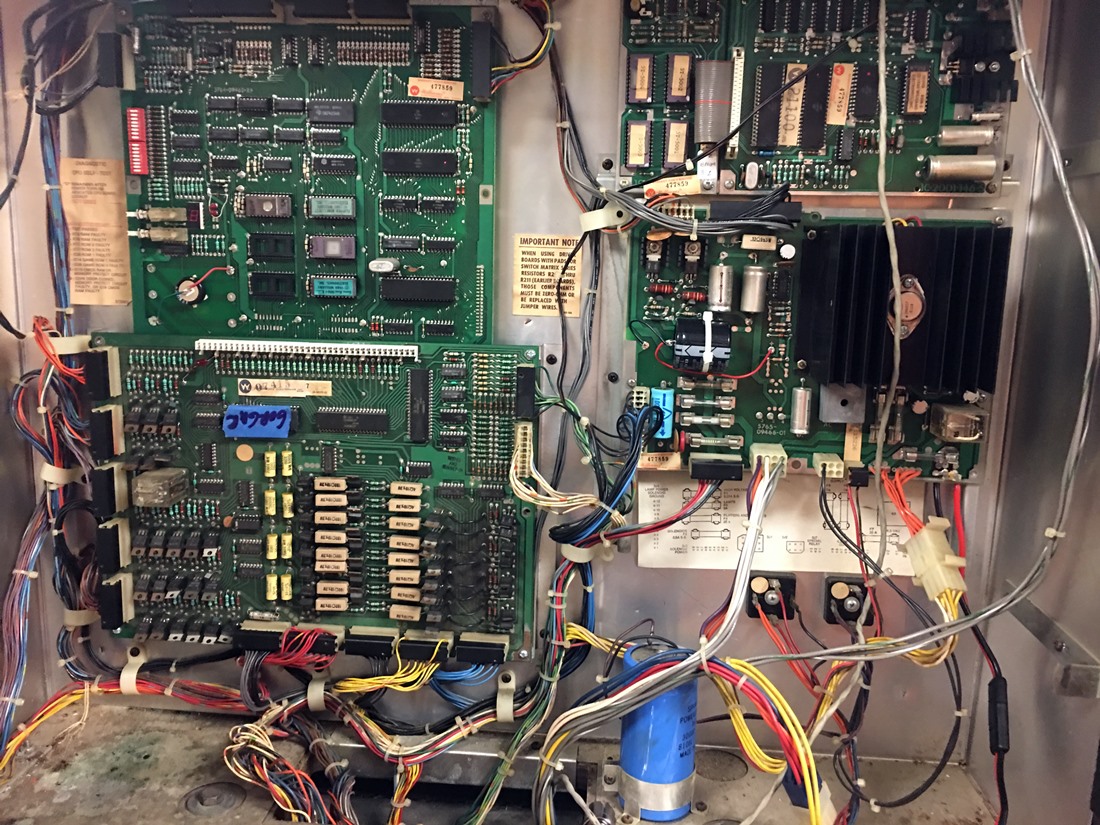
The original boards, as repaired by the Crosby Pinball guys, are running rock
solid - so not much to do here
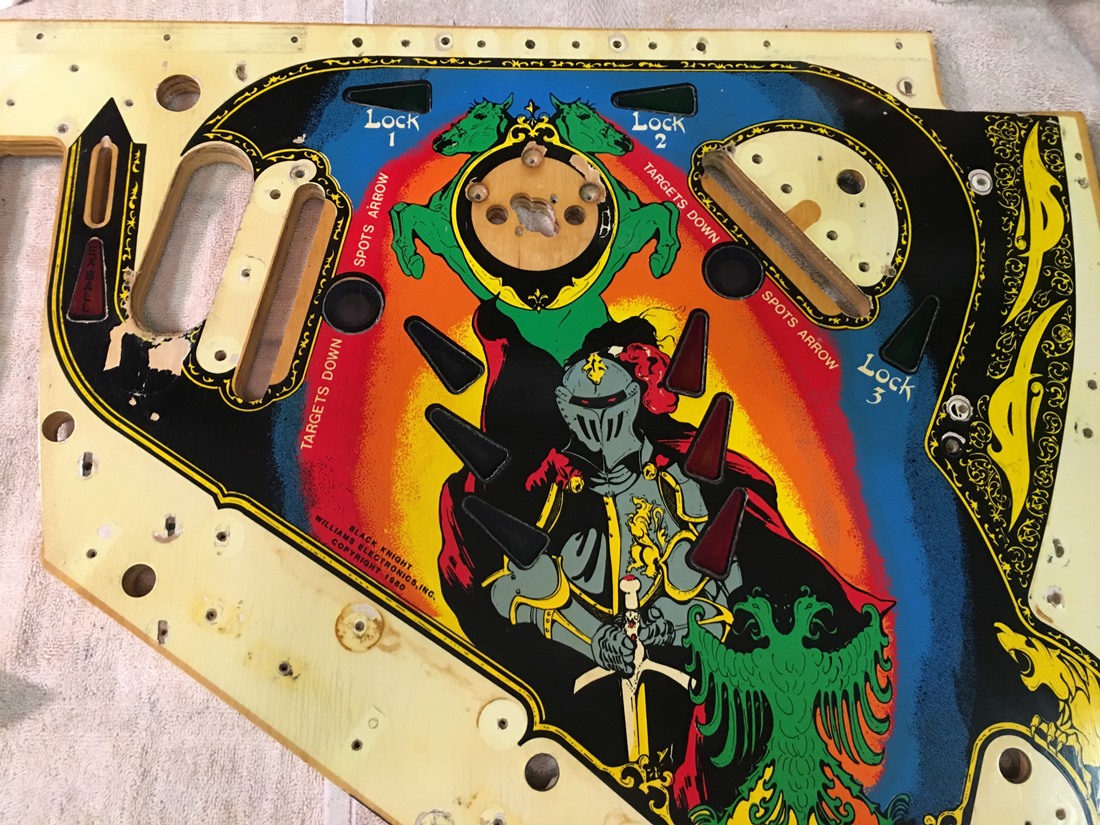
The playfield was in pretty good shape for it's age.
Other than some planking around the flippers, there really wasn't much wear.
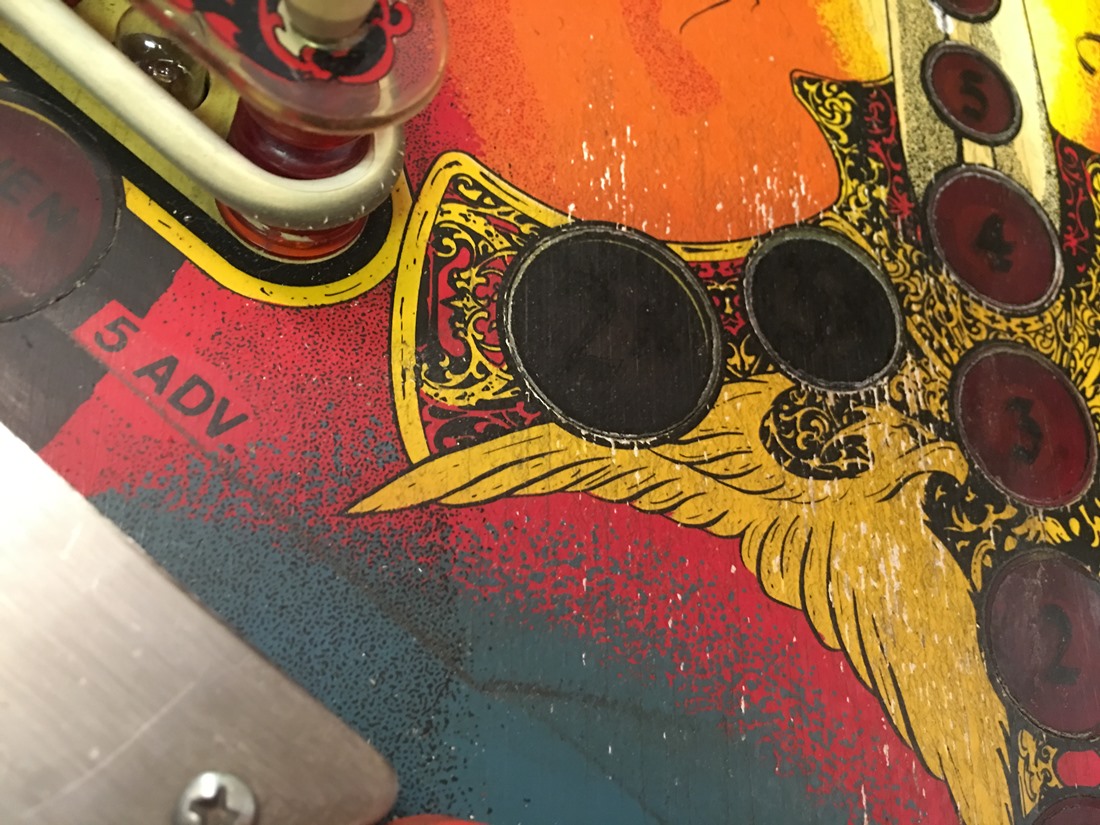
This is planking
(where the paint wears away, and you see the grains of the wood)
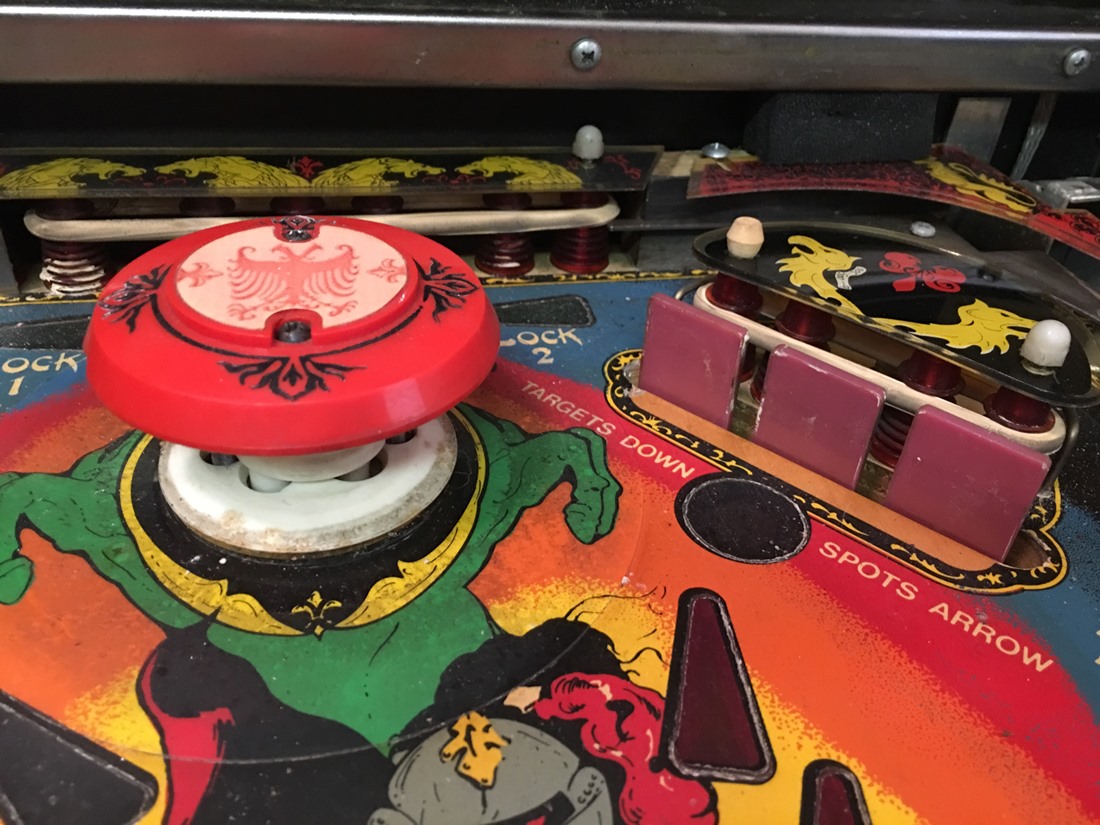
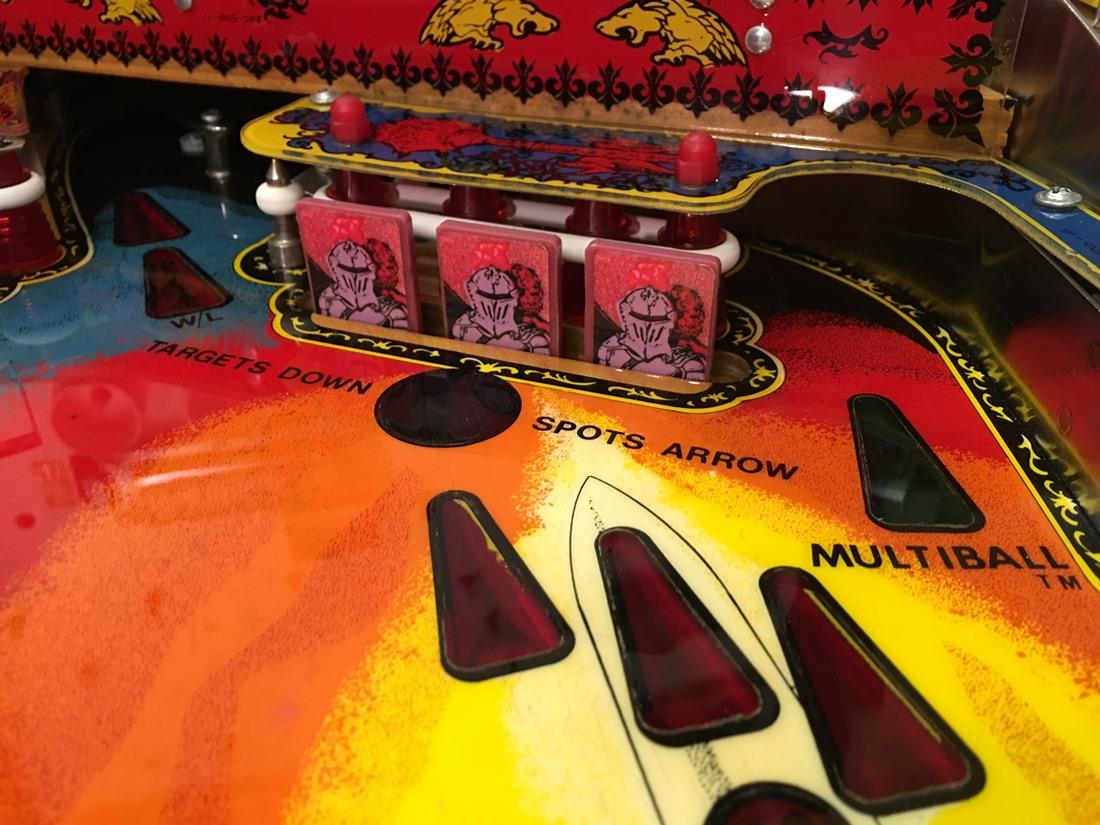
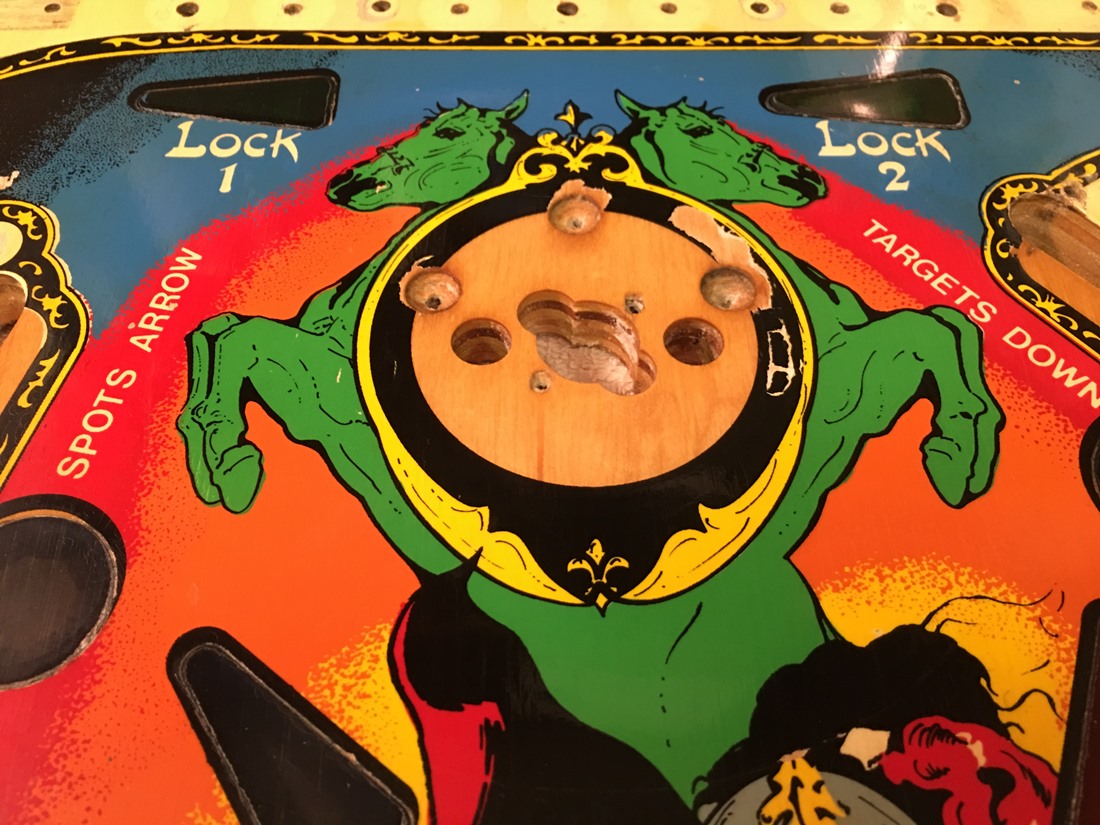
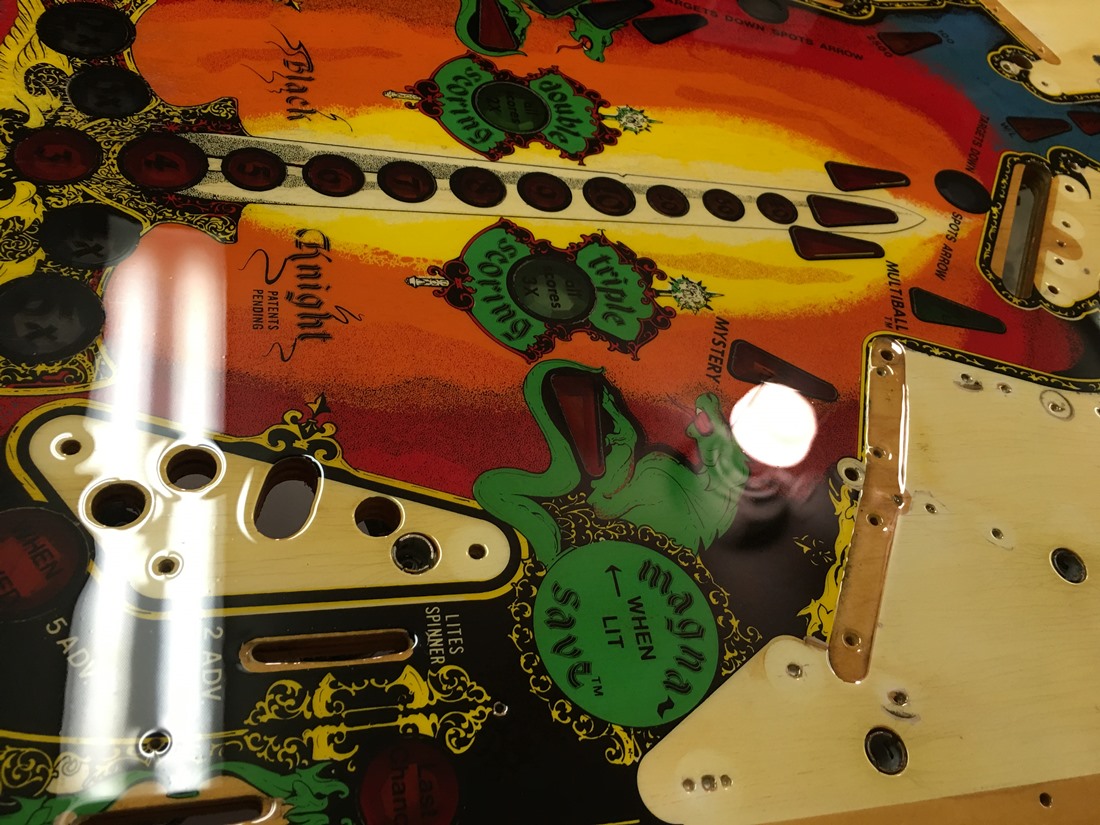
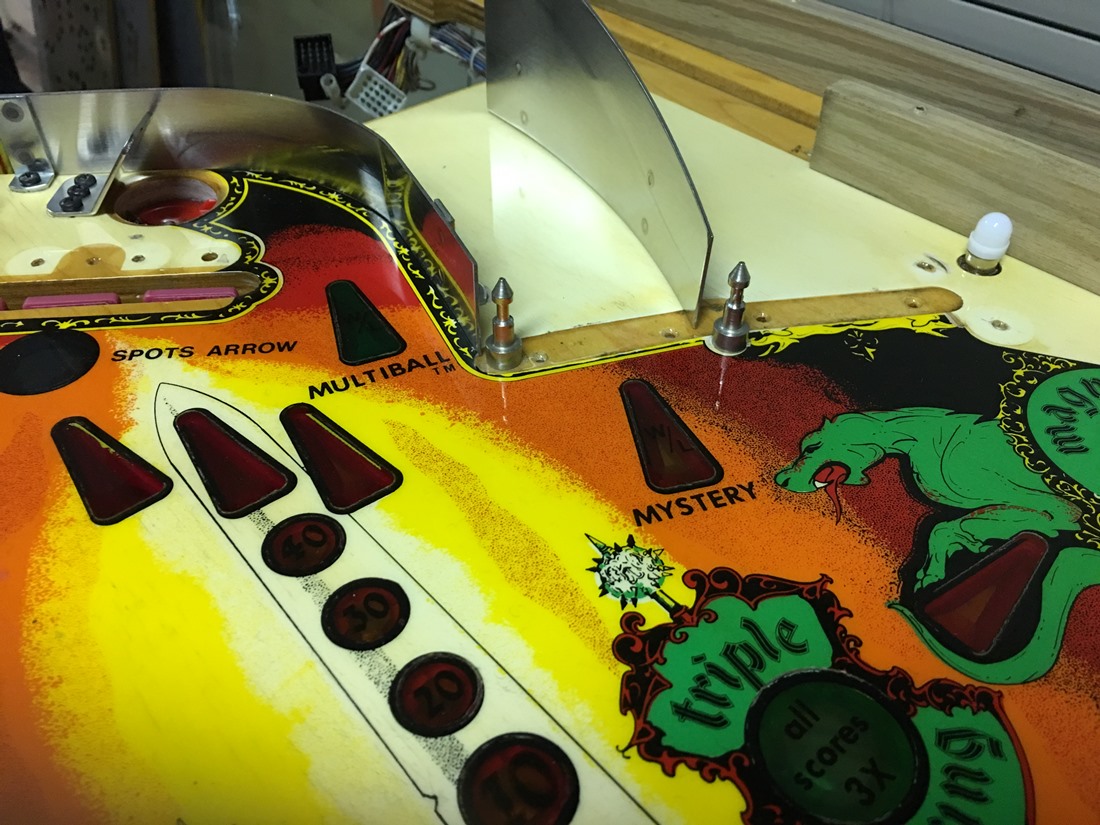
Upper playfield is pretty dirty
Time to start stripping parts off the playfield~!
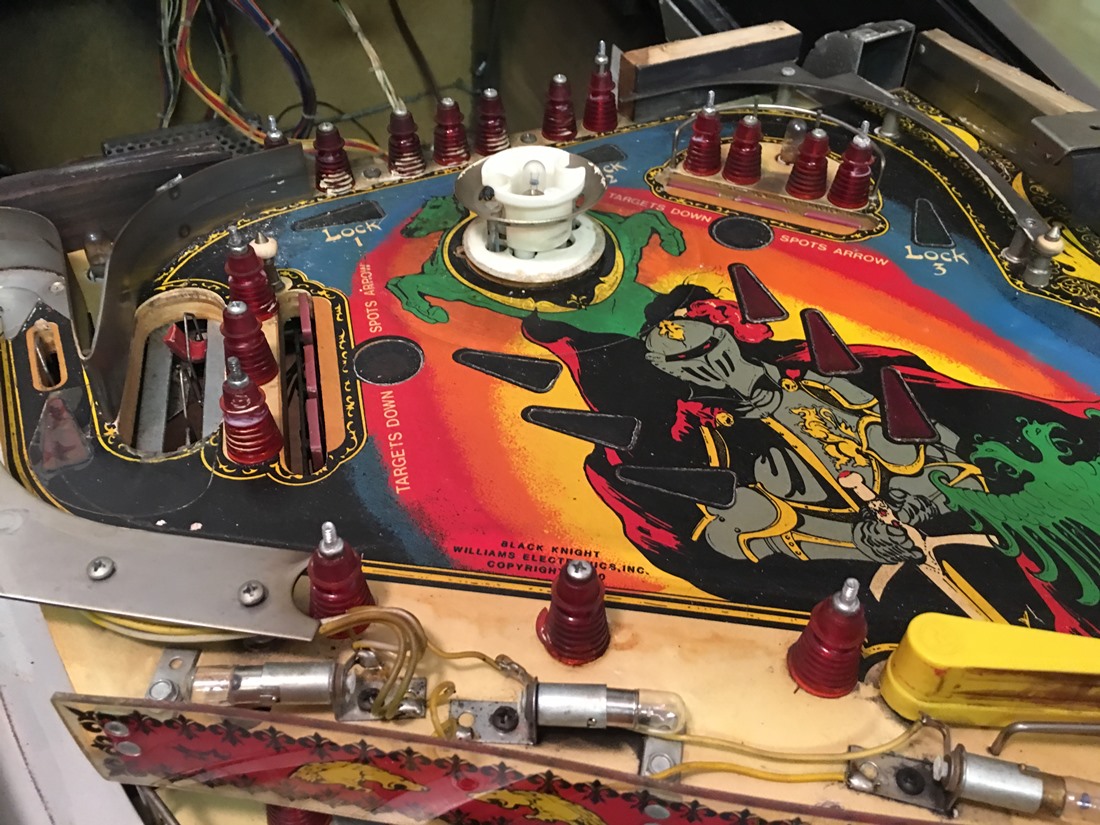
Notice the red flipper rubber stuck in the ball trough

Yikes!
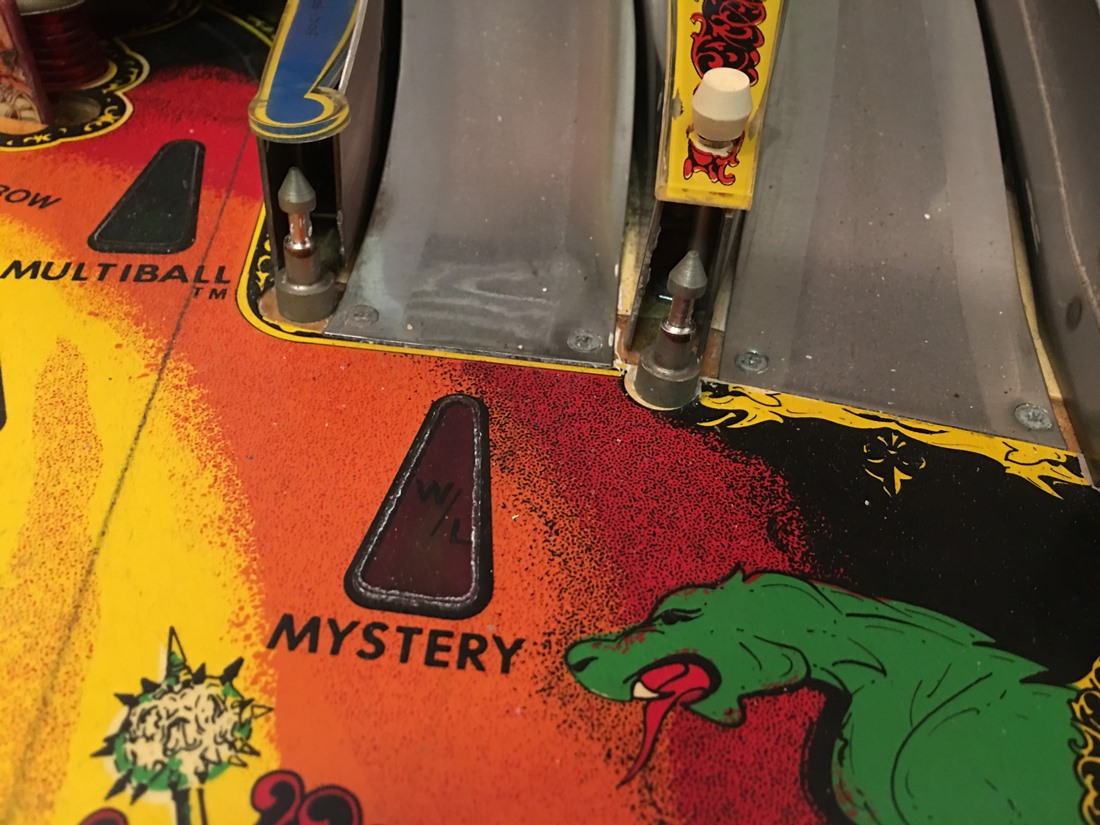
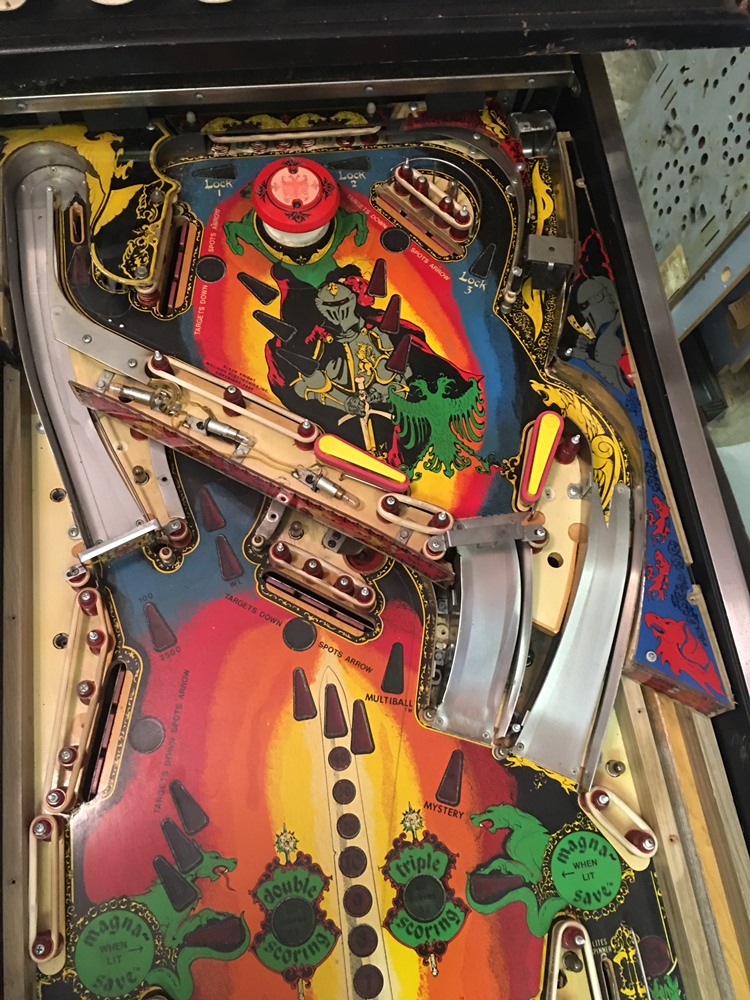
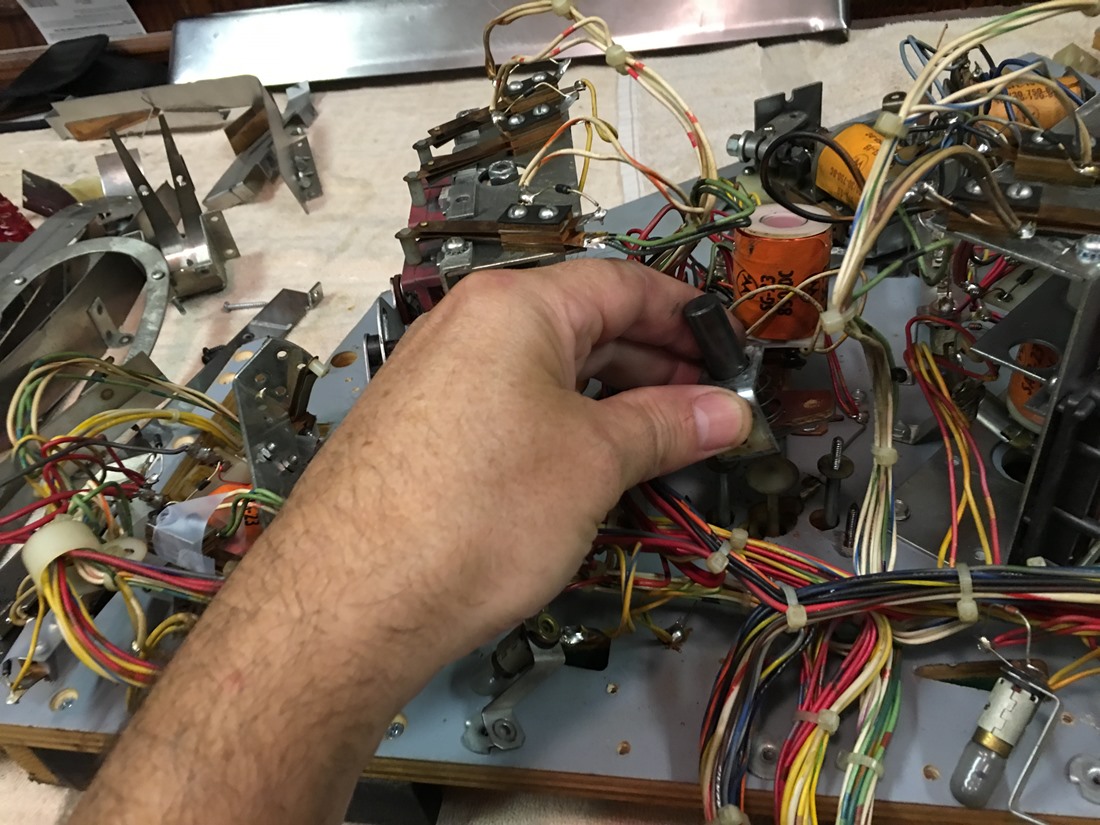
What is going on under those ramps?
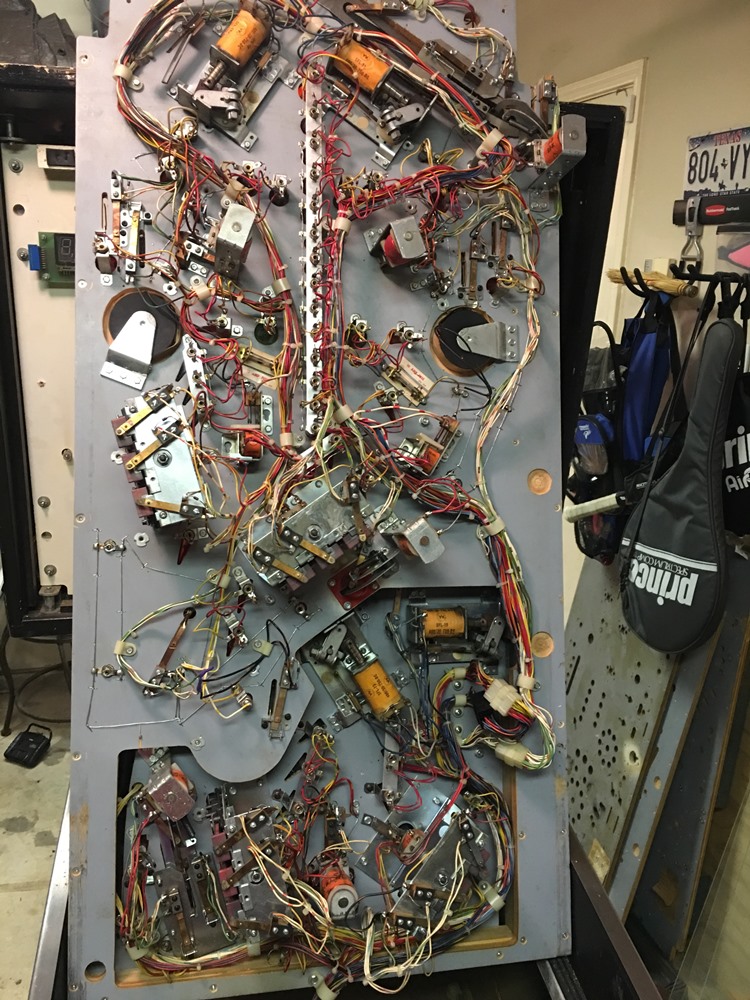
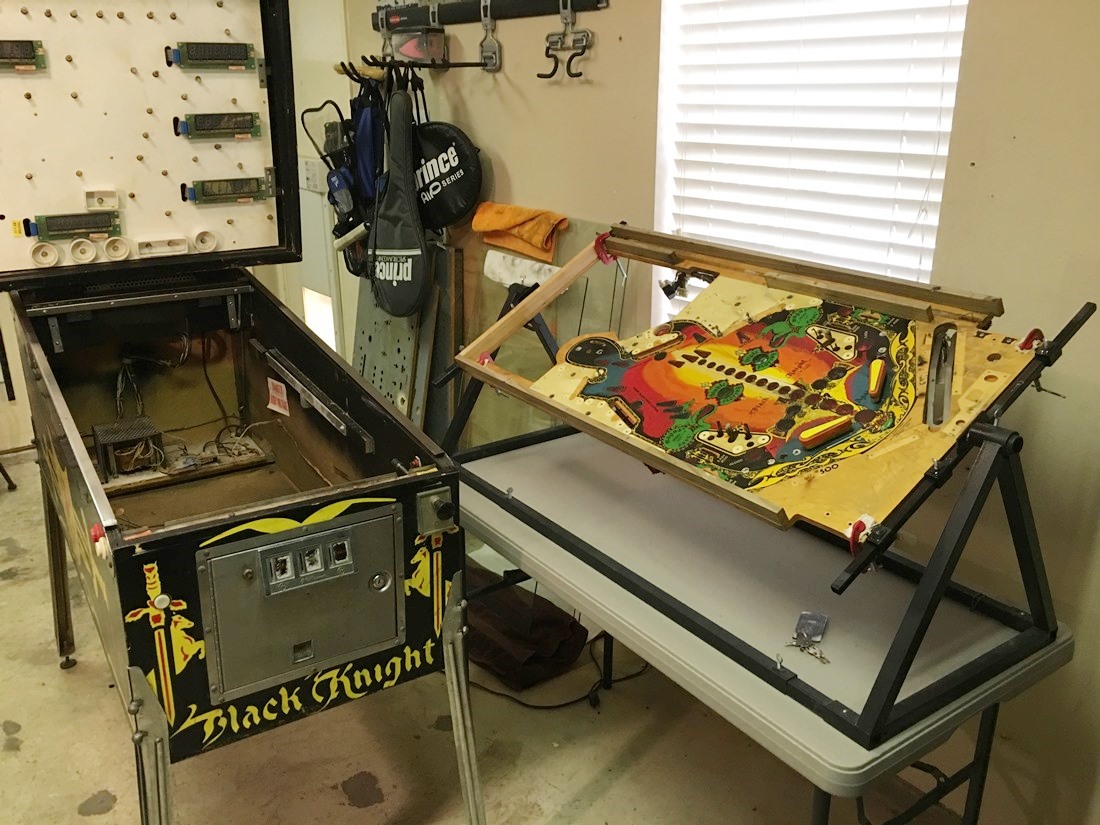
My first look under the playfield - it's packed.
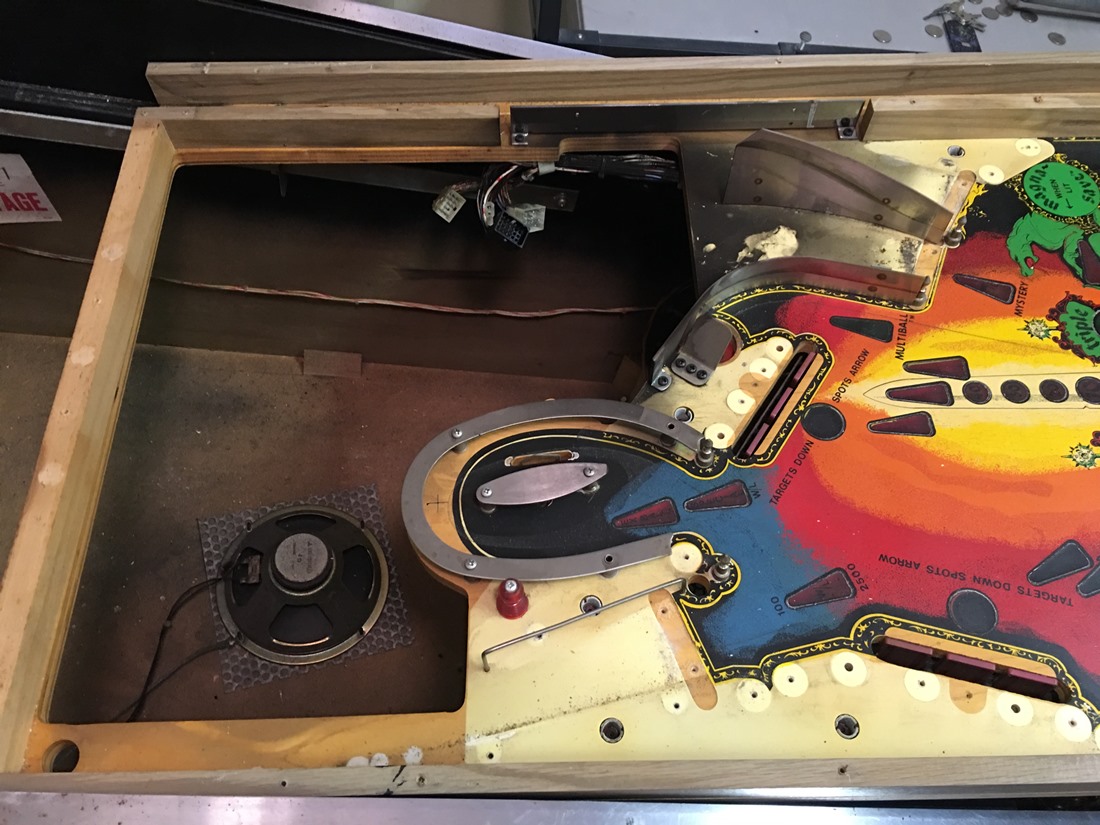
I finally got the upper playfield separated from the lower
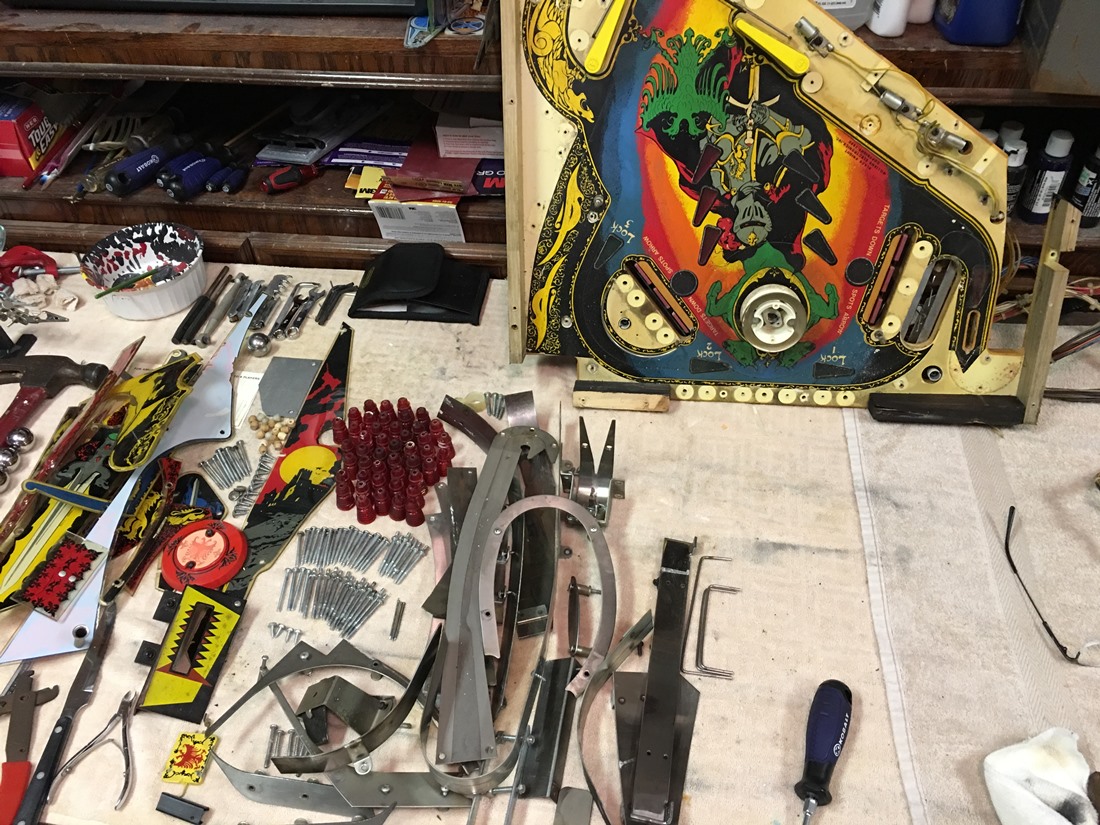
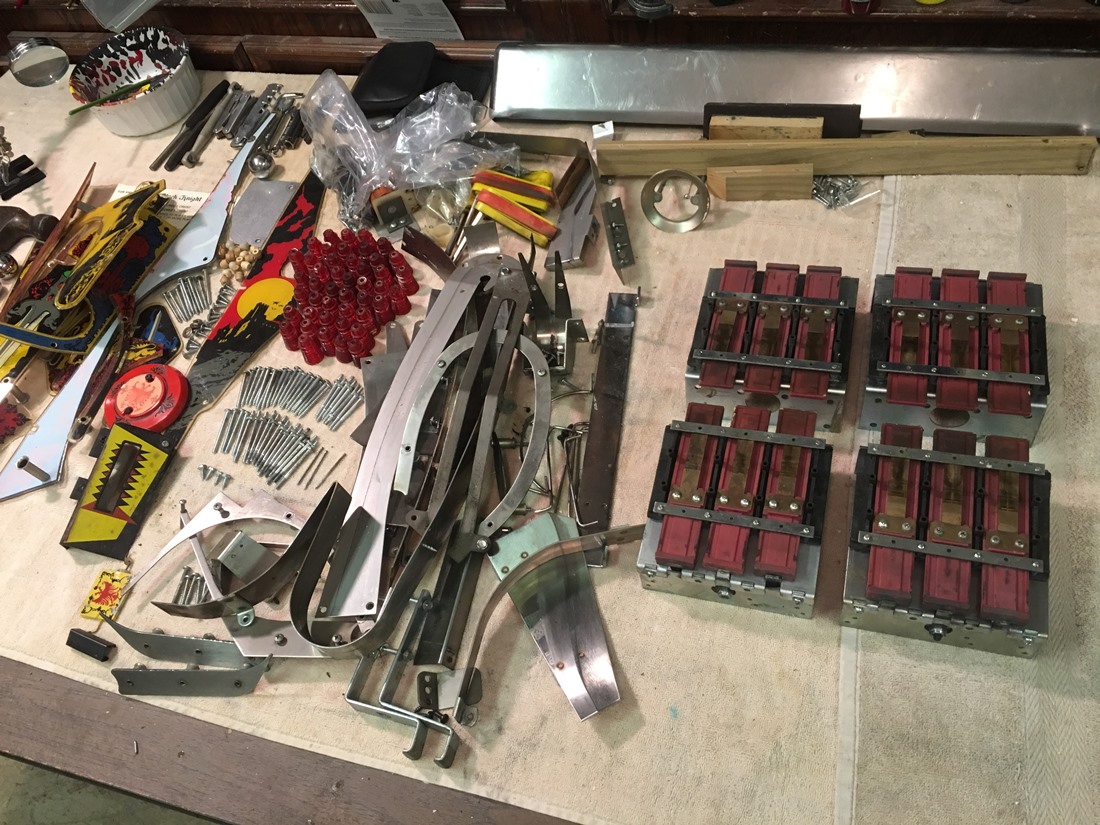
My work table is full of parts...and I still need to make room for the upper
playfield
Made some room, and started stripping everything off
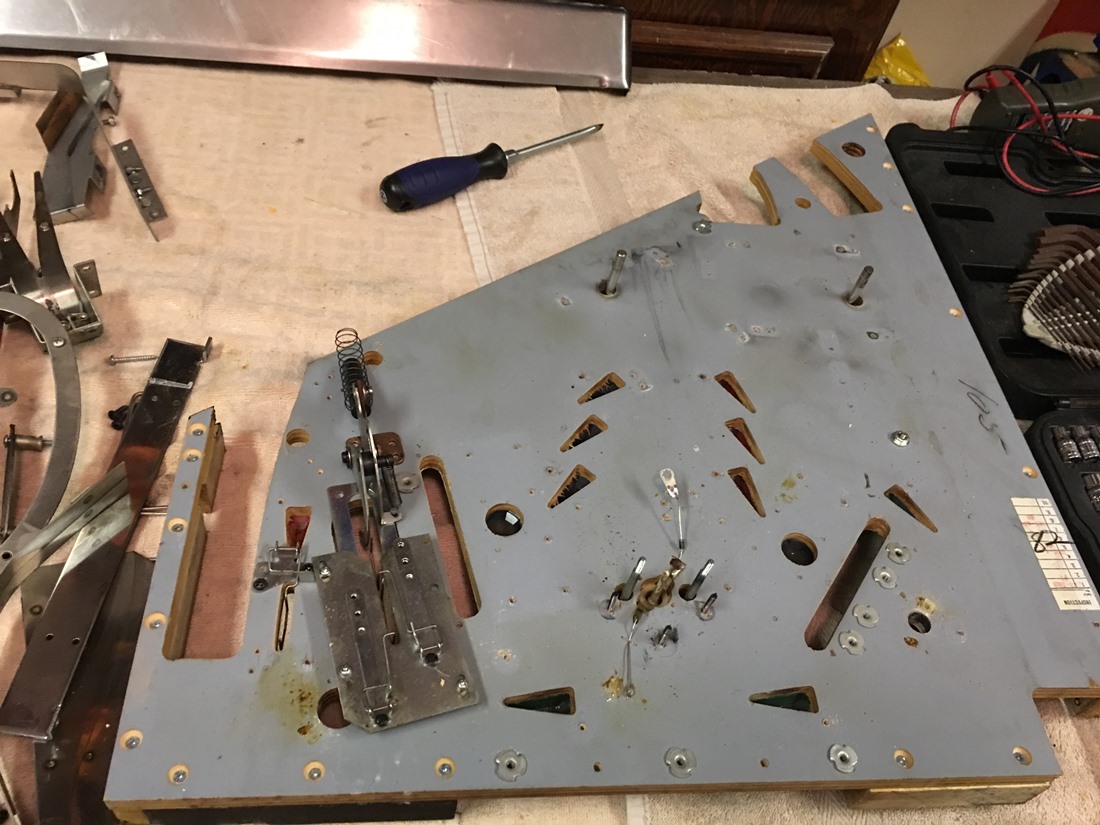
All of the wiring harnesses are gone, and we are left with this
Finally, everything is stripped off, and we can begin the restoration
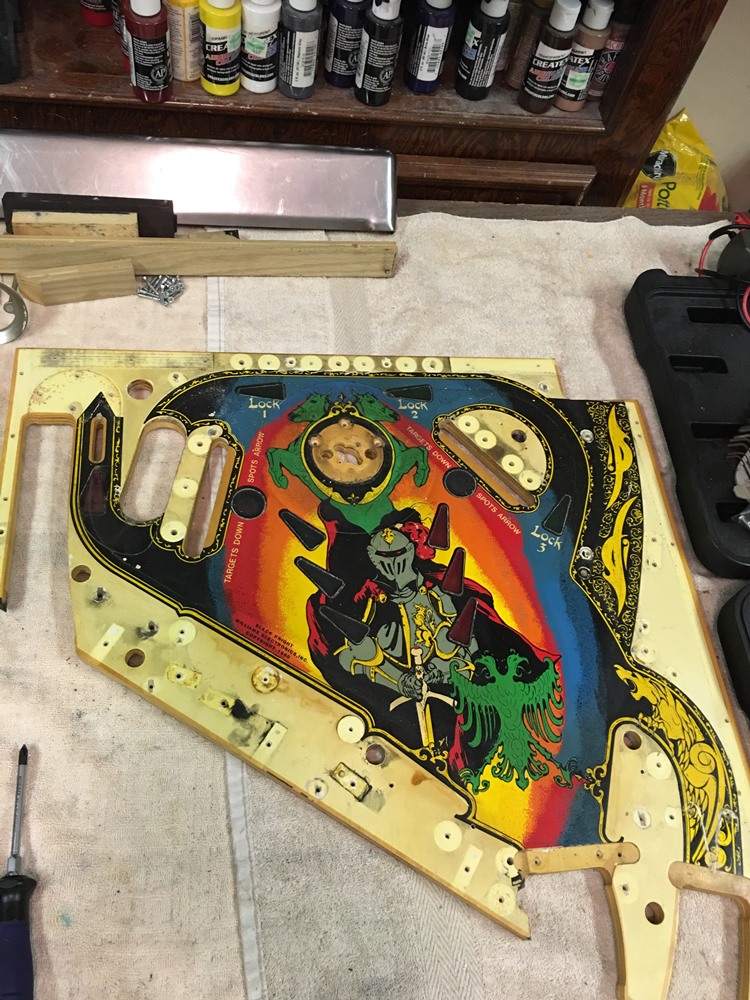
Look at all that dirt and grime
I clean it up with Novus 2

Looks much better
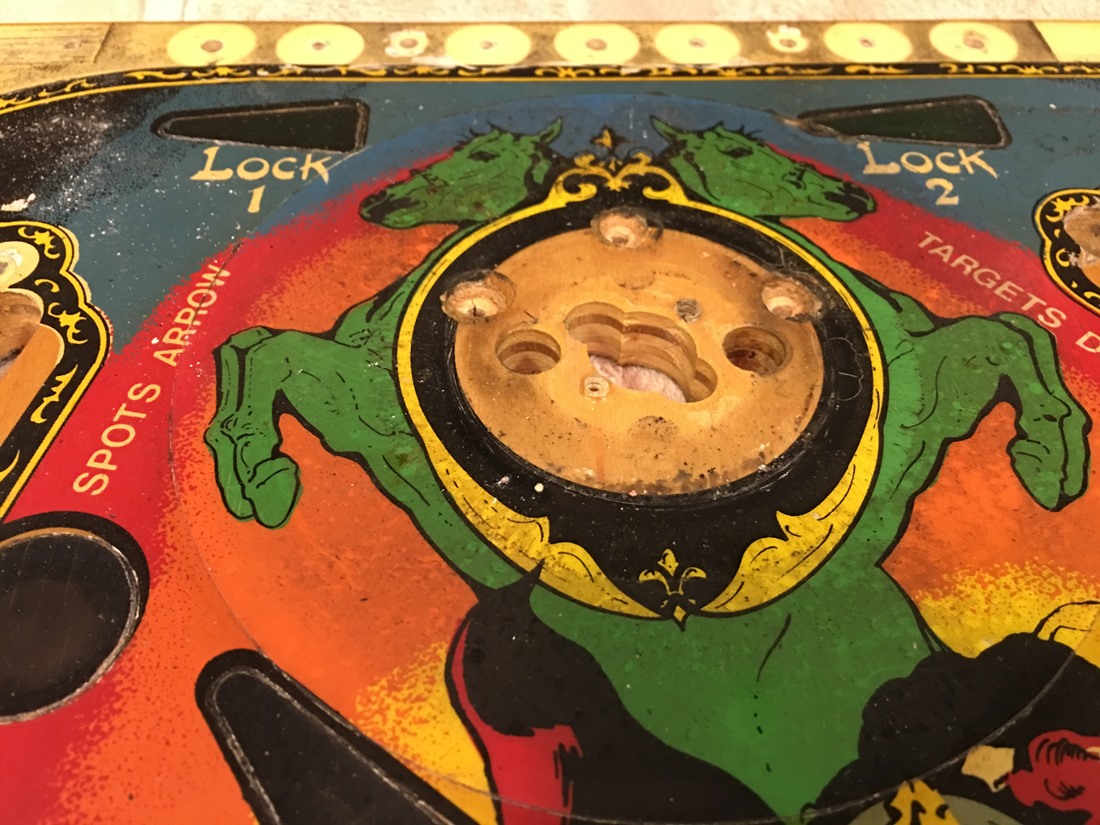
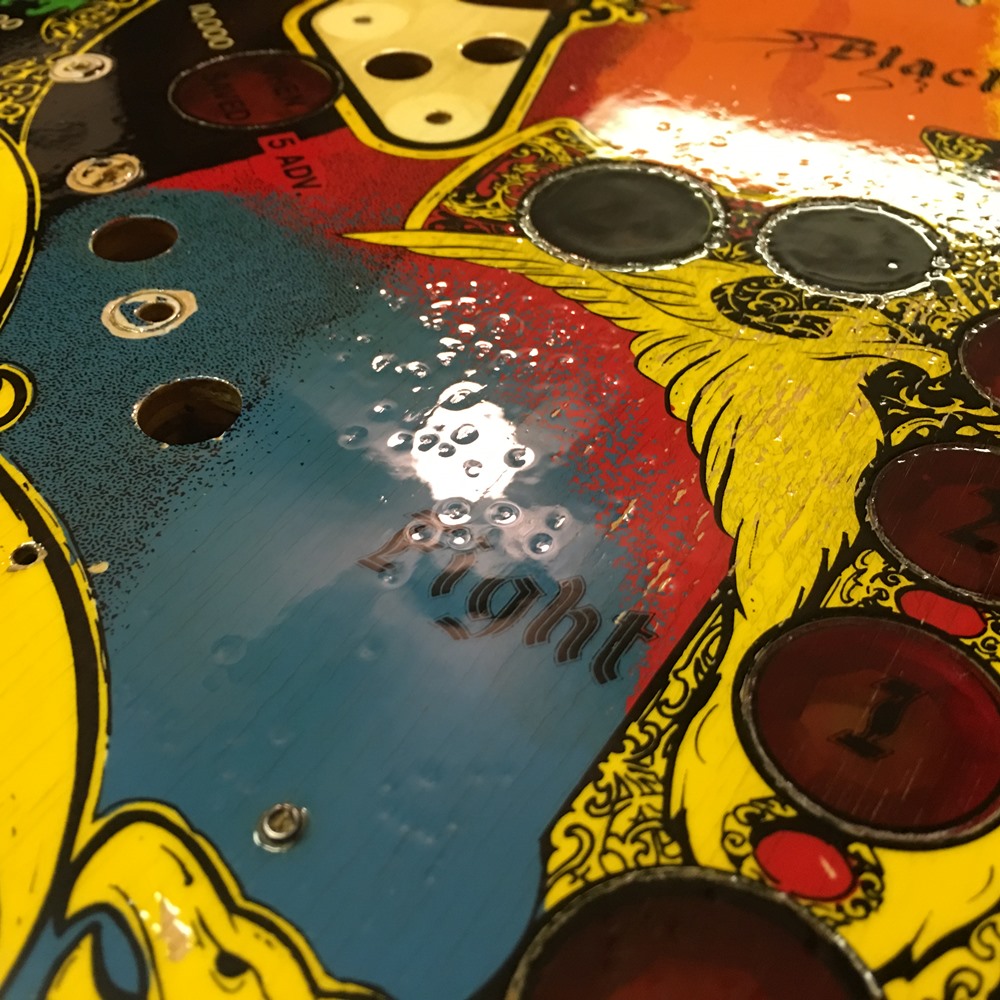
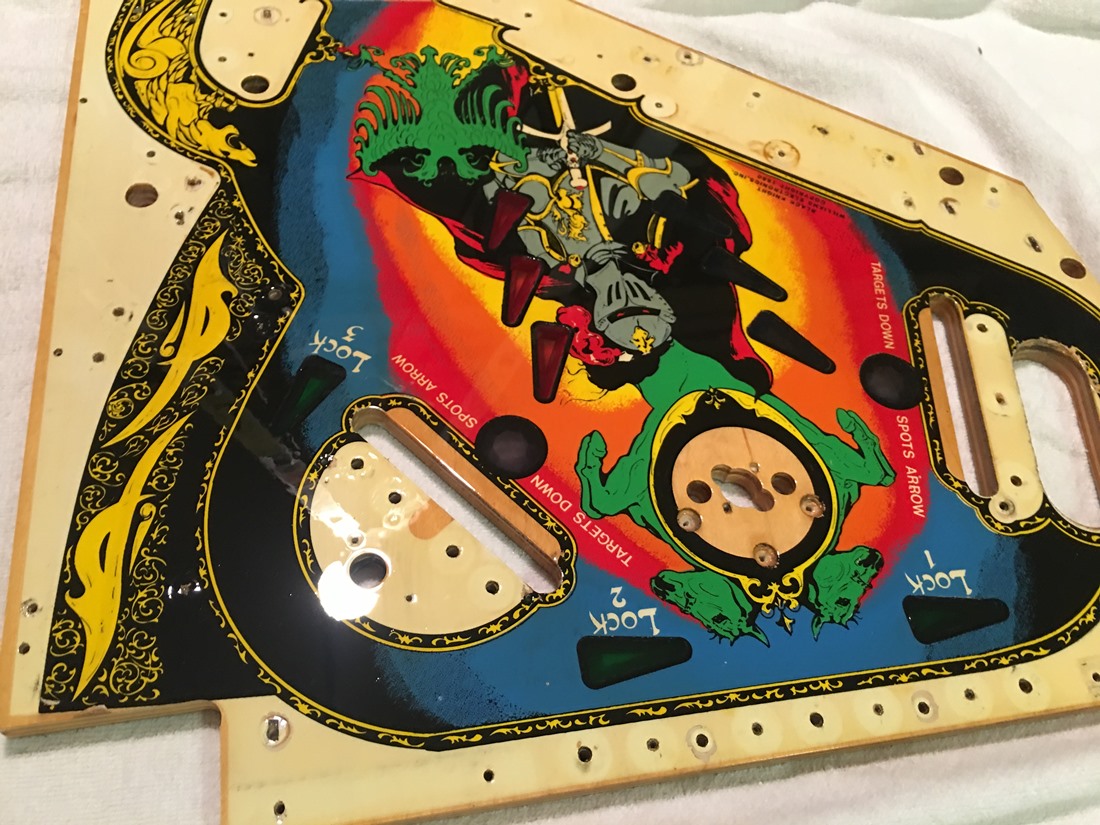
Now I need to remove the Mylar
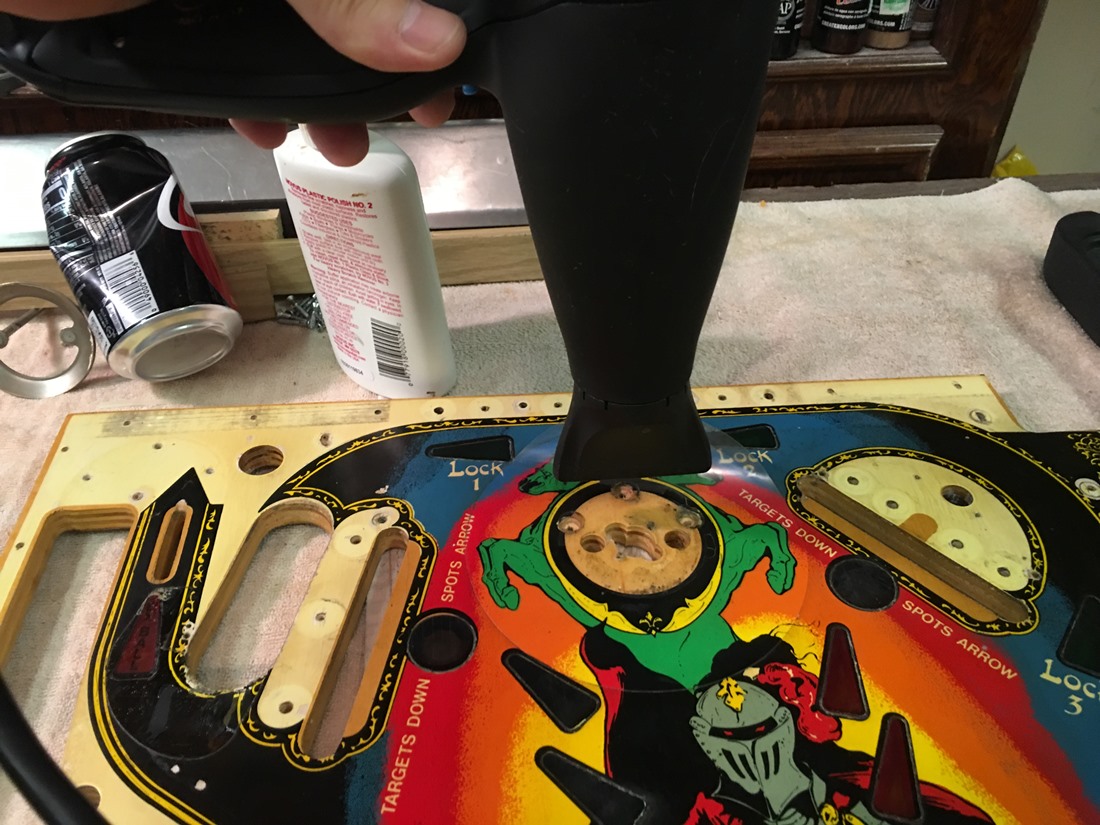
I used Jacqui's hair dryer to slowly heat and pull off the Mylar
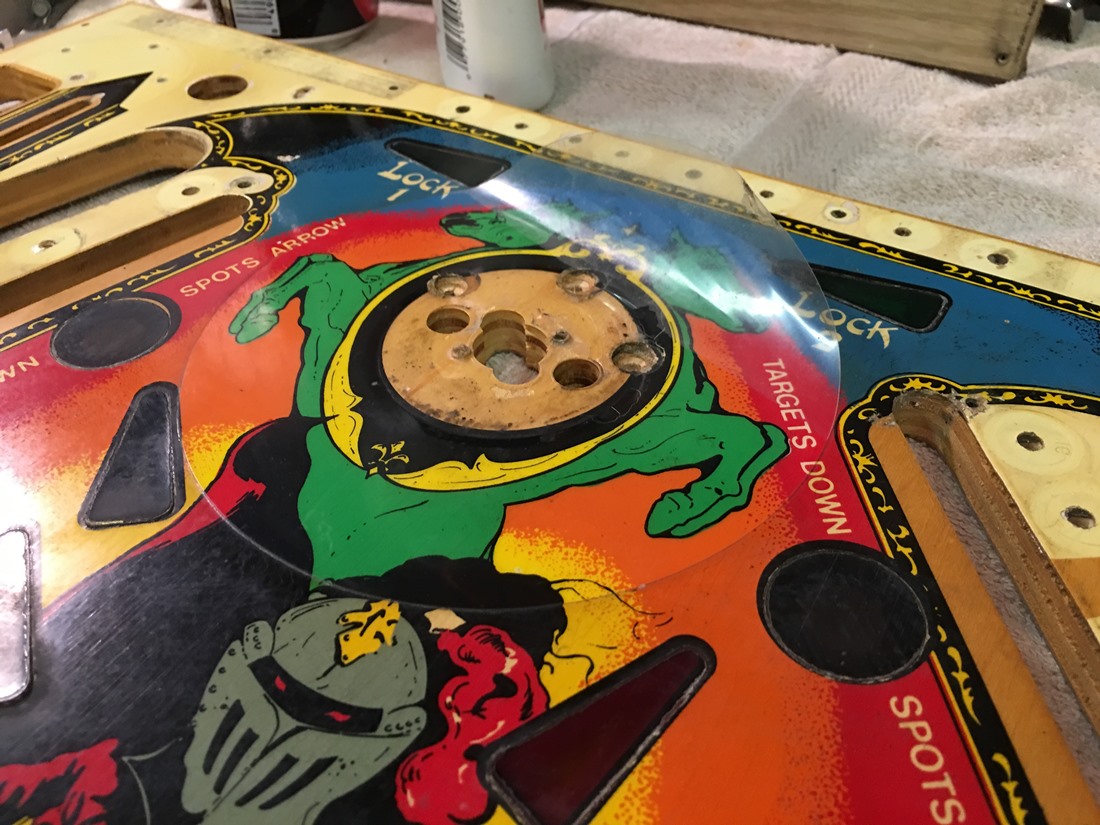
It's a slow process
You want to be very careful, because you may peel off the paint
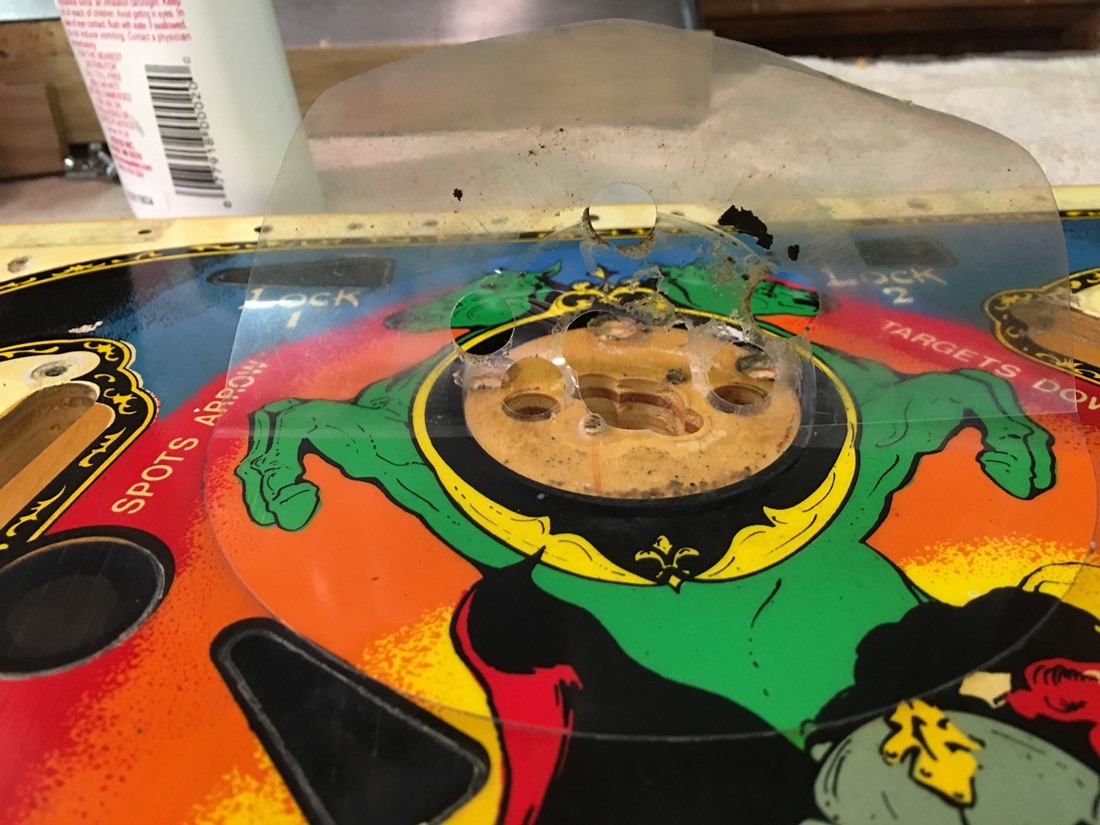
Almost there....

BOOM!
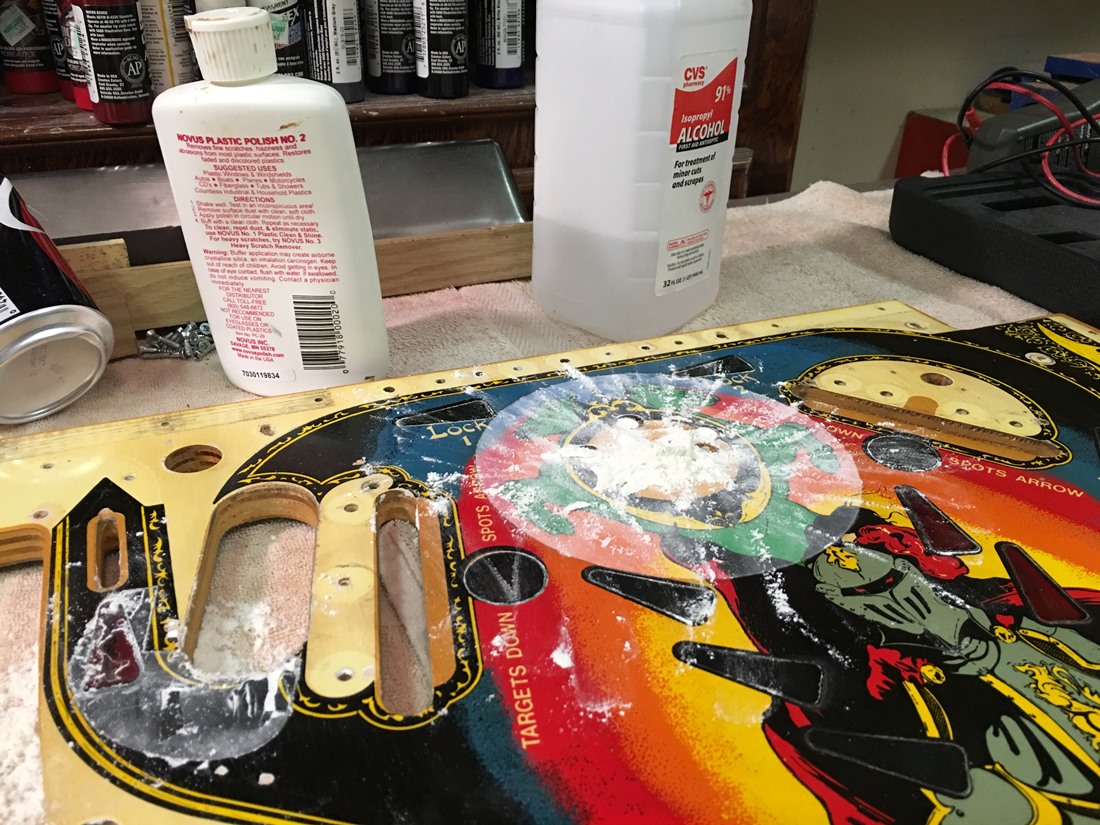
After the Mylar is removed, you then have to get off the glue residue
For this, I used the flour and alcohol method, combined with some Goo-Gone and
good 'ol elbow grease

Uhh oh, Some paint peeled off here
Thankfully, it's all black, and should be easy to repair
Looking Good!
OK, we will set this aside, and turn our attention to.....
The main playfield~!
Notice how I kept the siderails attached when mounting it to the rotisserie
I did that because I was worried it might break

Since I have a rotisserie, I don't need to strip everything off the bottom of
the main playfield
My plan is to just rebuild the flippers, drops and slings - and replace all
the bulbs with LEDs
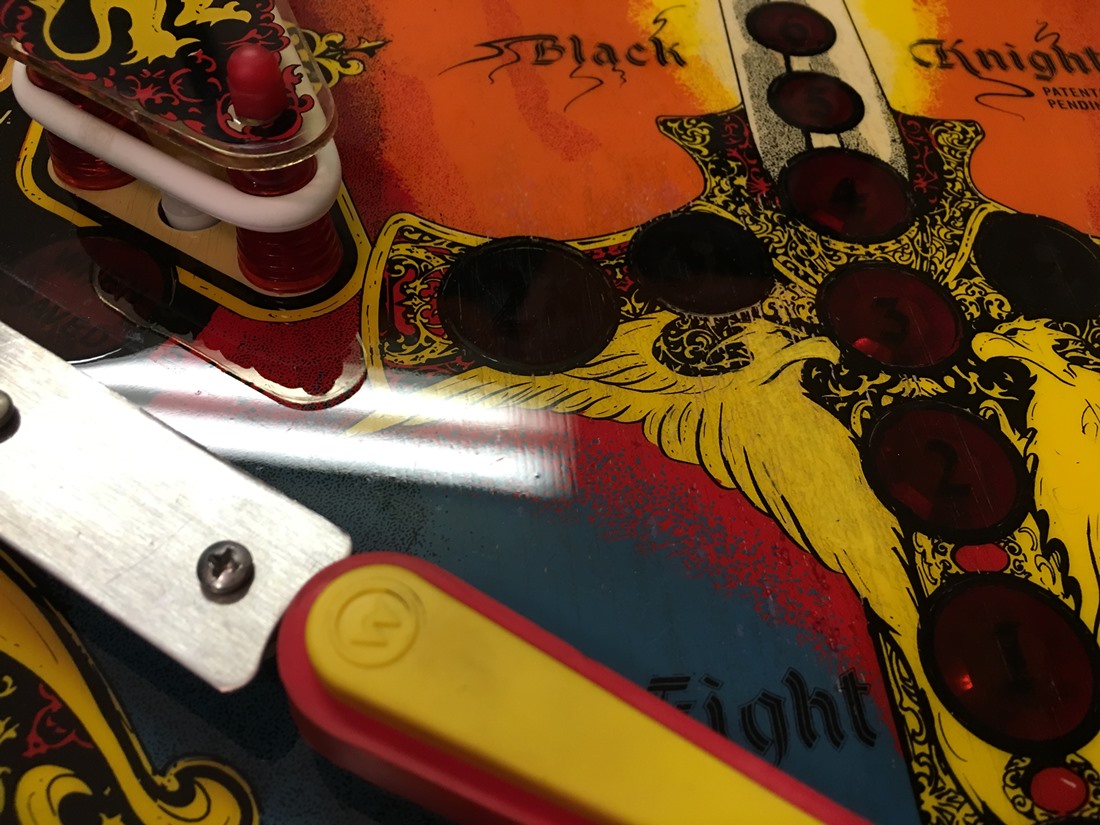
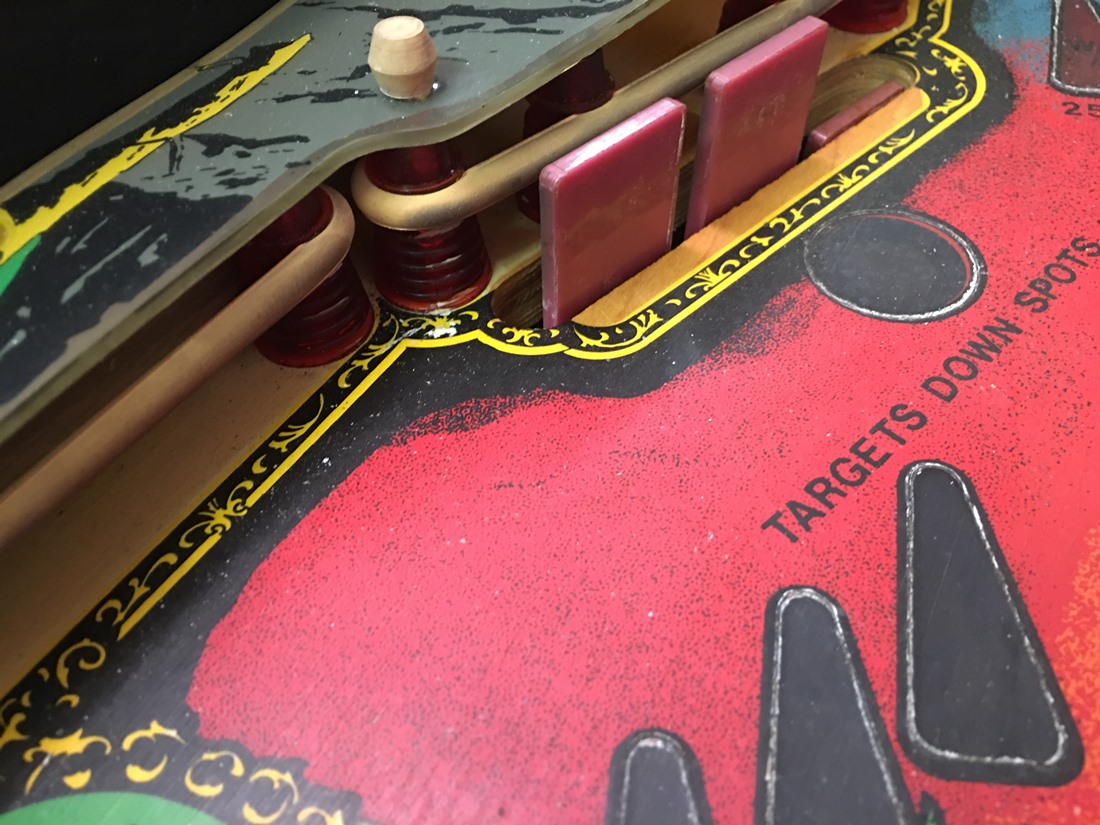
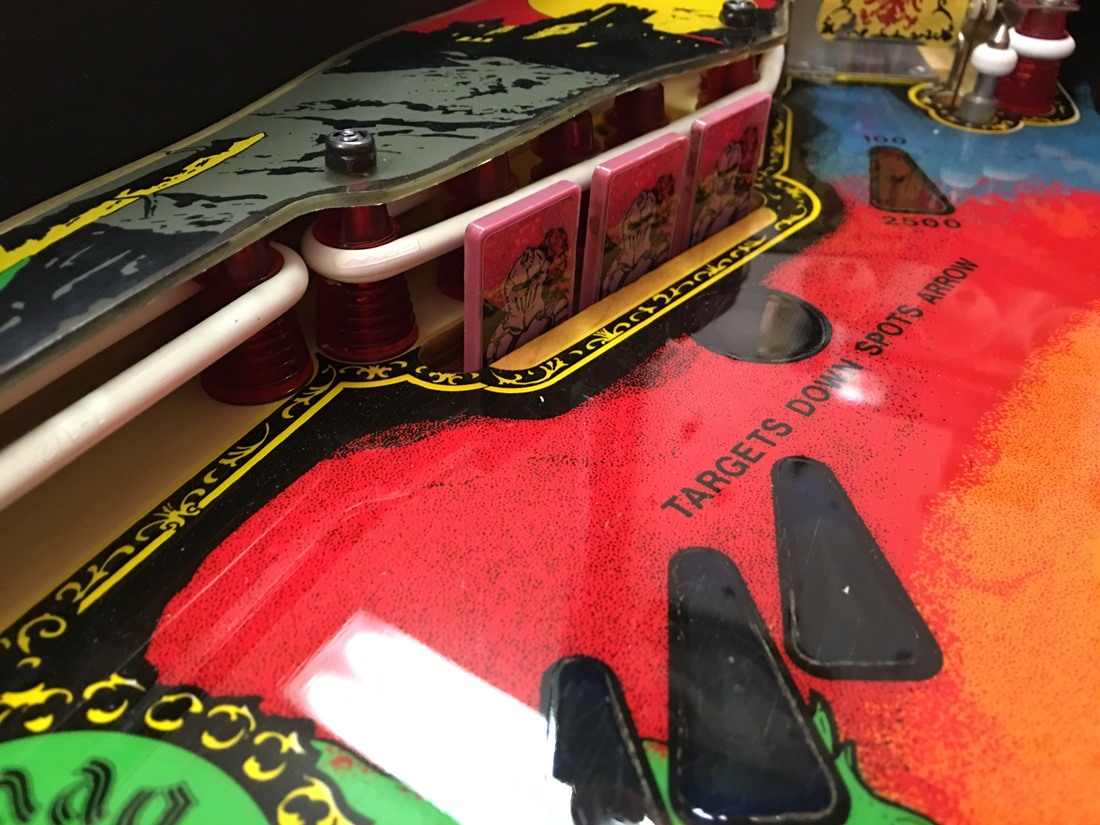
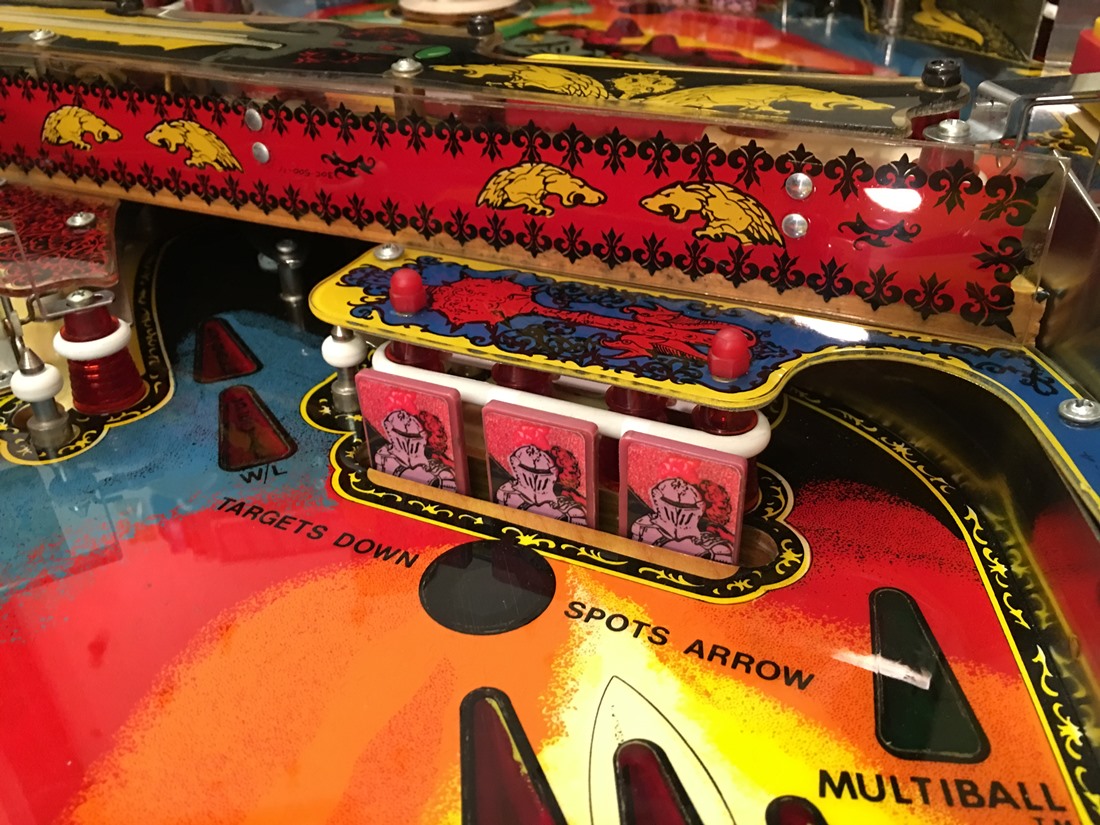
Time to clean/repair the drops
Clean~!
Each target is cleaned, and a new sticker will be applied (when the parts arrive)
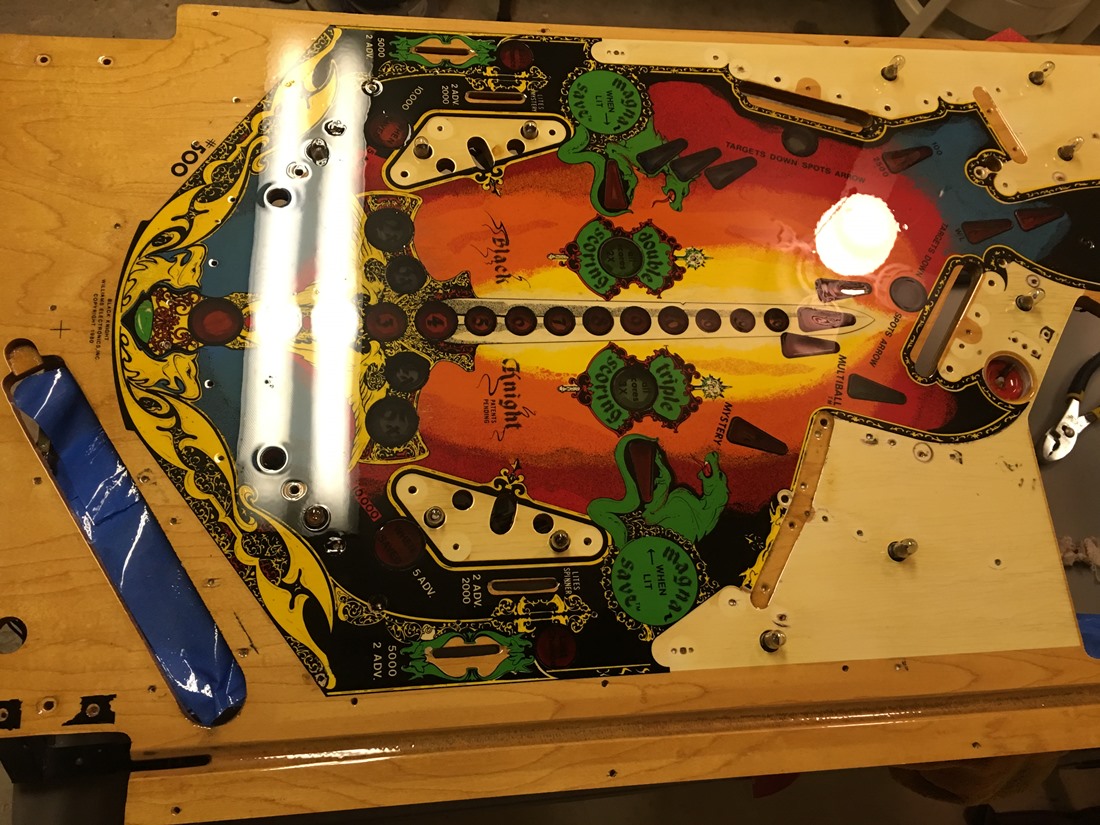
In order to clean, repair and clear the main playfield, I had to take the siderails
off
To keep it from breaking as I put pressure on it to clean and sand - I made
these supports
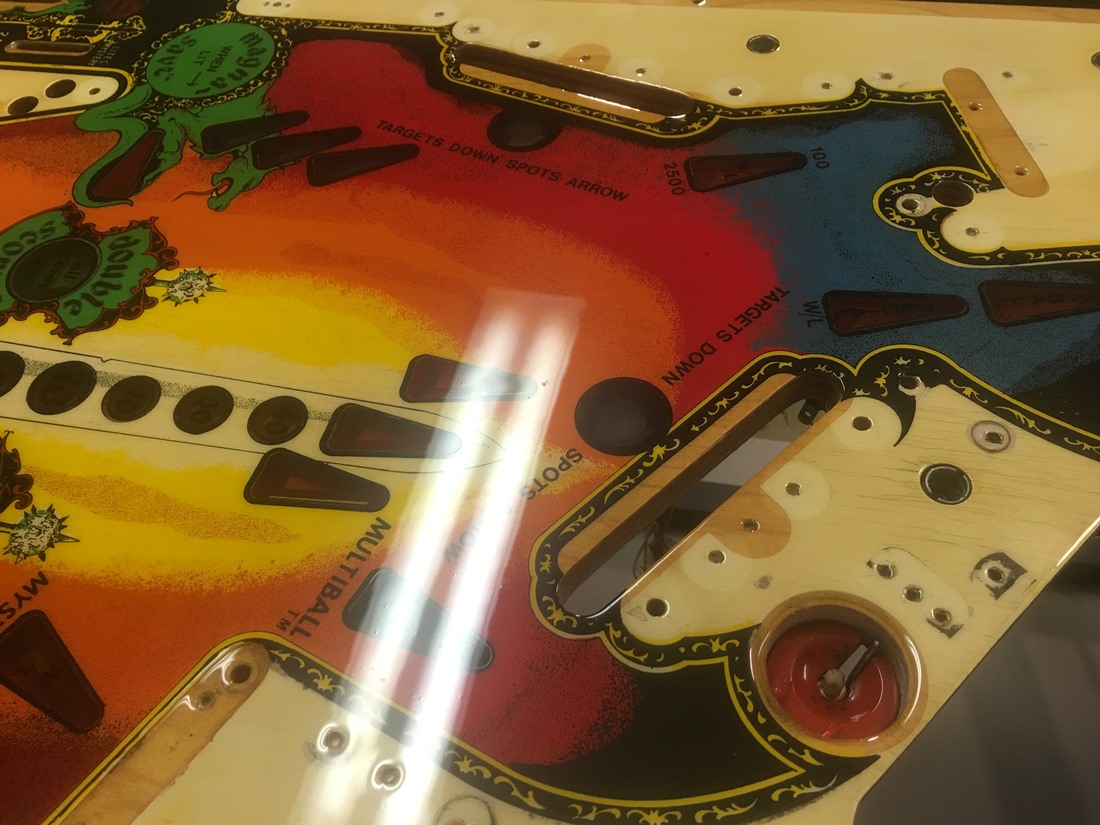
This is after the first round of cleaning with Novus 2

I used 200 grit sandpaper to get the dirt and grime off the shooter lane
Cleaned, and ready for the first coat of clear.
I use SprayMax 2K (two part auto clear in a can)
That's not good...
...but no worries, it's just the first 'sealer' coat - it will sand out.
Yep, this will need a lot of sanding...jeez.

I should have taken more pictures of this - because that's a LOT of what I saw
In total, I put on five coats of clear, and each was sanded down as you see
above
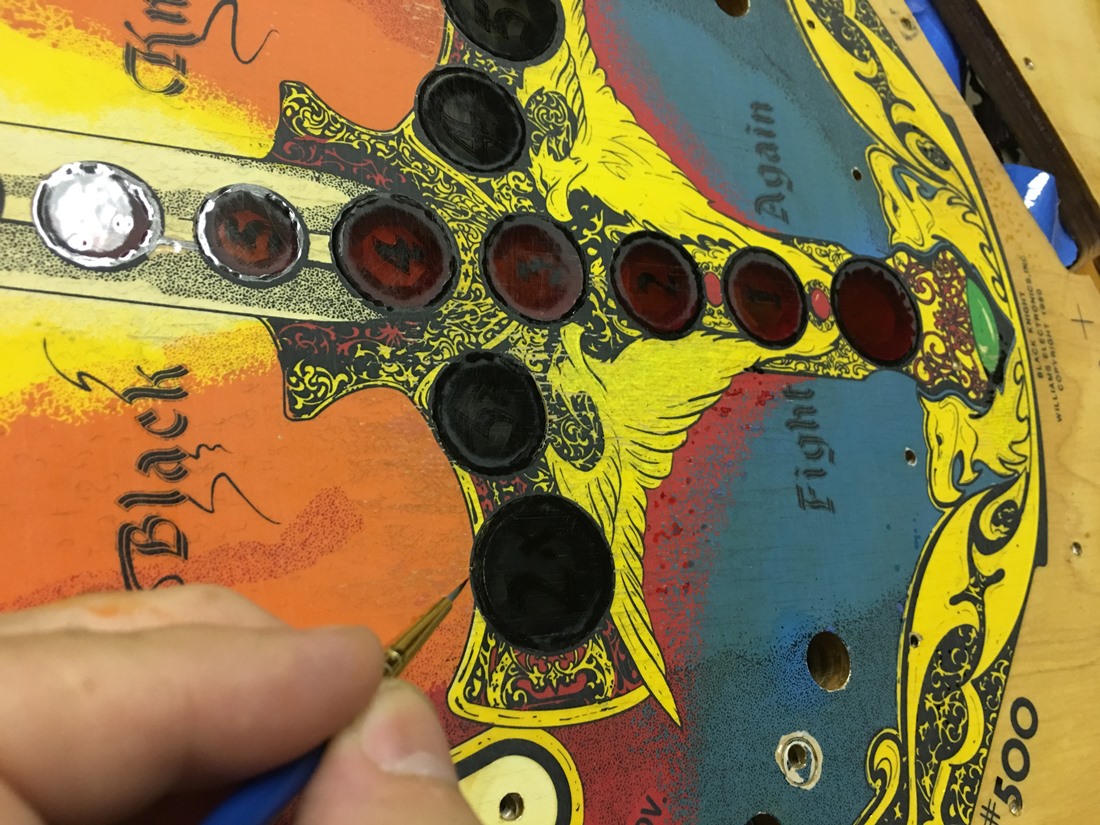
After the sealer coat is sanded down, I do all the playfield touchups.
I use Creatix paints, a very fine brush and a magnifying glass
Getting the paint to match is all trial and error
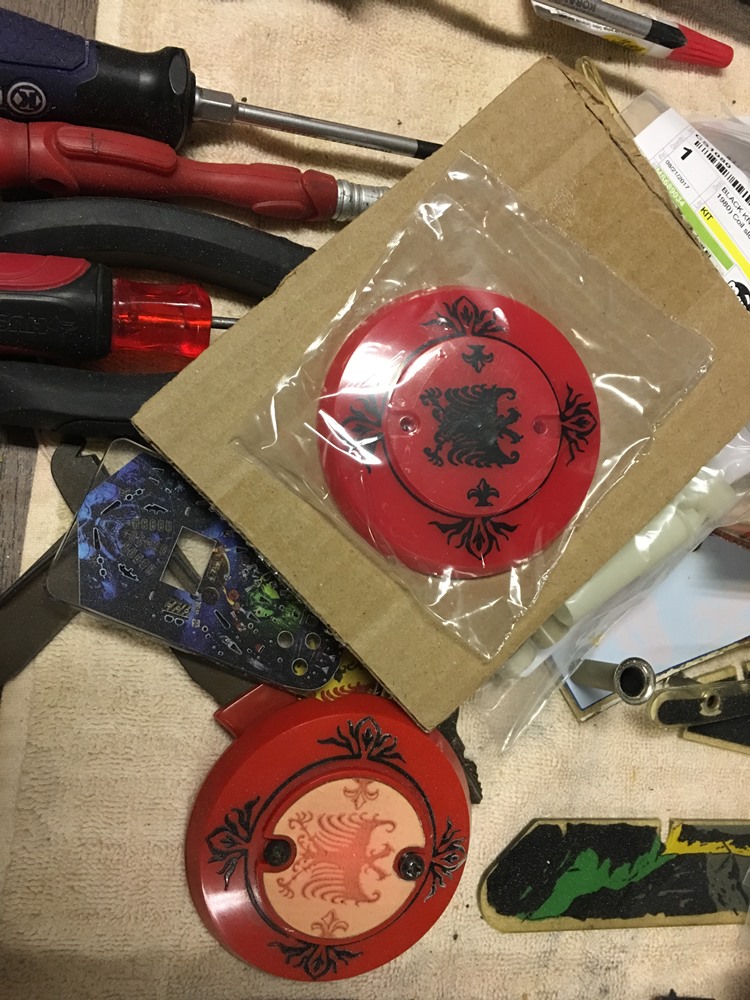
New parts~!
After all the paint touchups are completed, both playfields get another coat
of clear
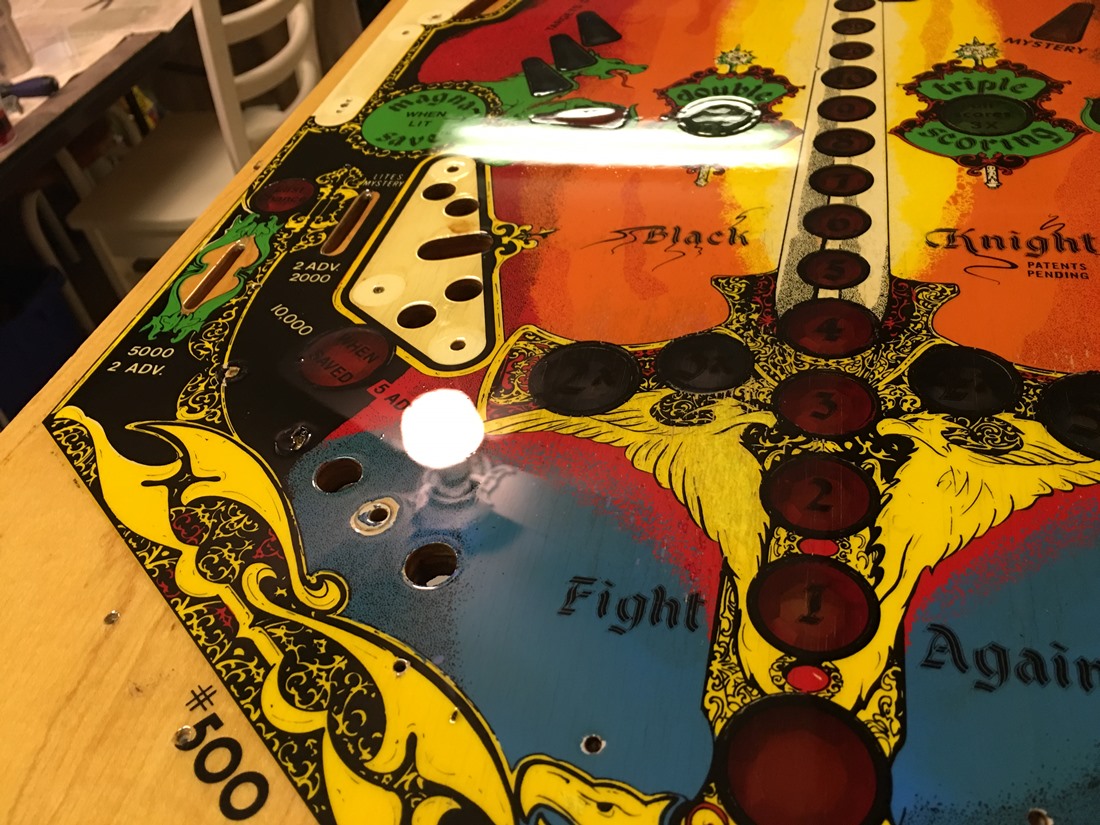
That coat is sanded, then rinse repeat....
...until the final coat of clear.
For that, I use two cans, and lay it on thick and wet.
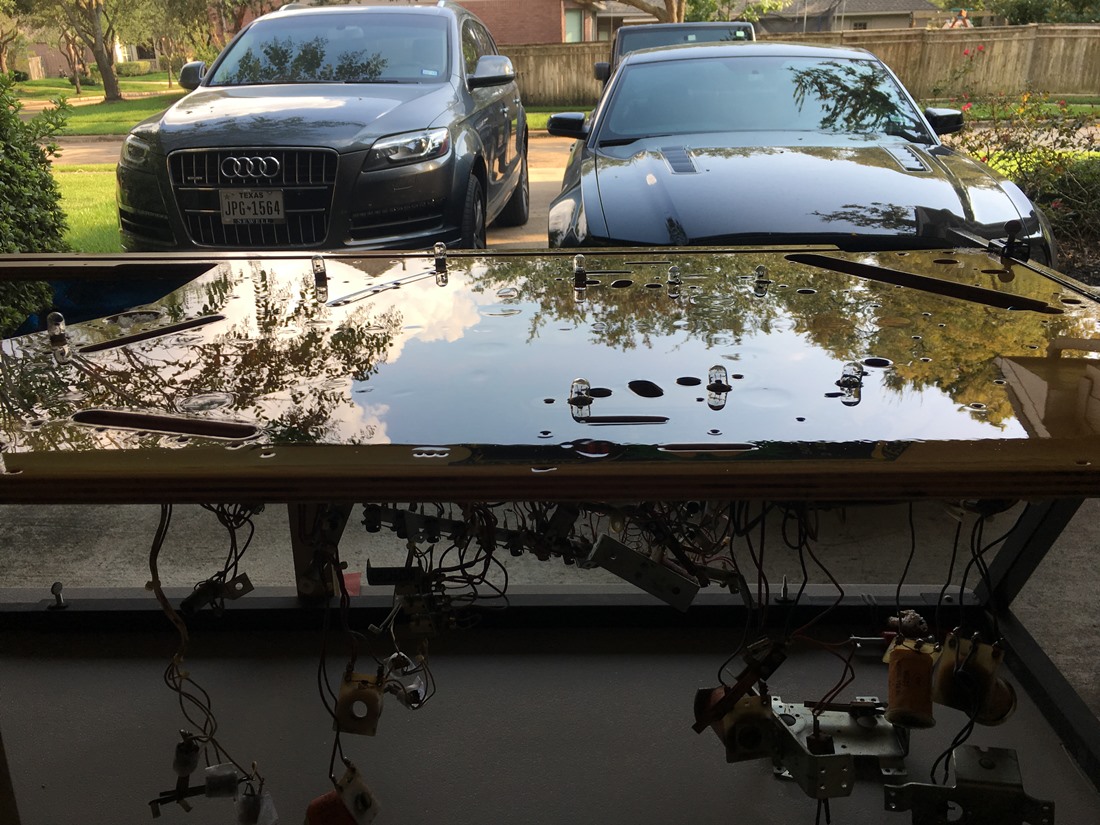
BOOM~!
Playfields are done
I let it cure for several days before putting it back together
Ahhhhh yeah
I love to see the reflections of shiny metal
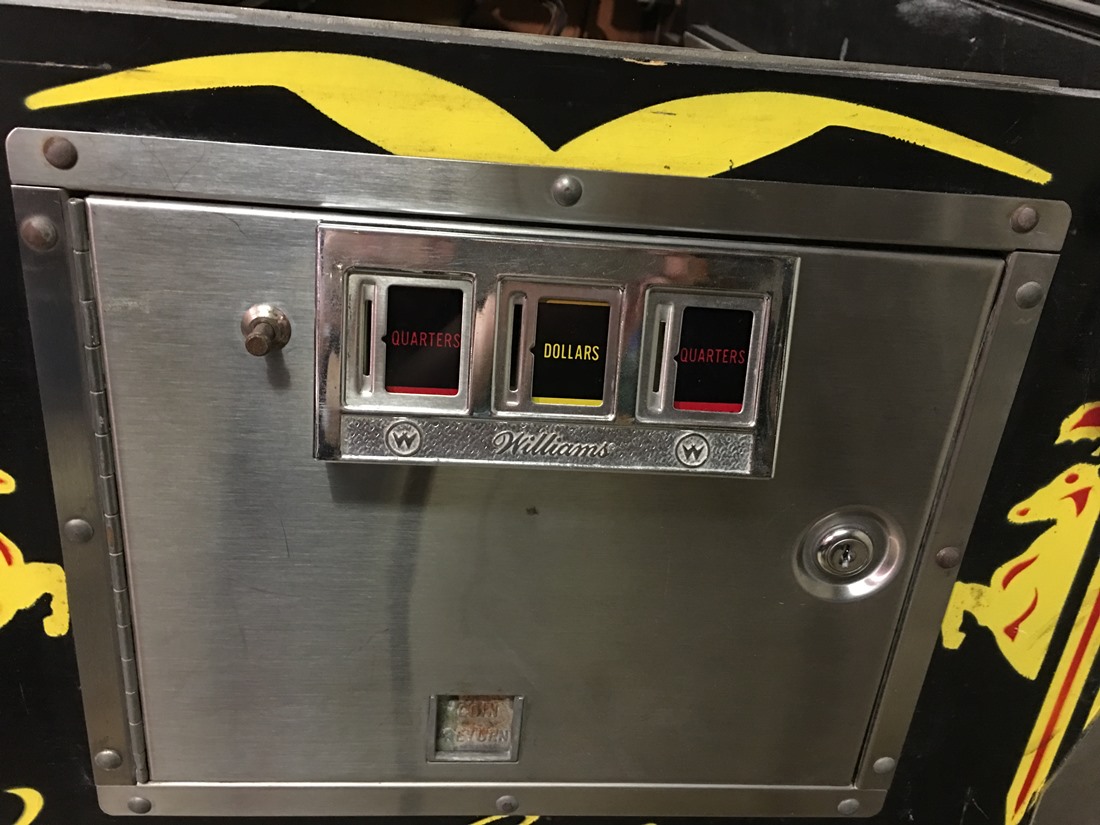
Oh yeah, I polished up the coindoor a bit too

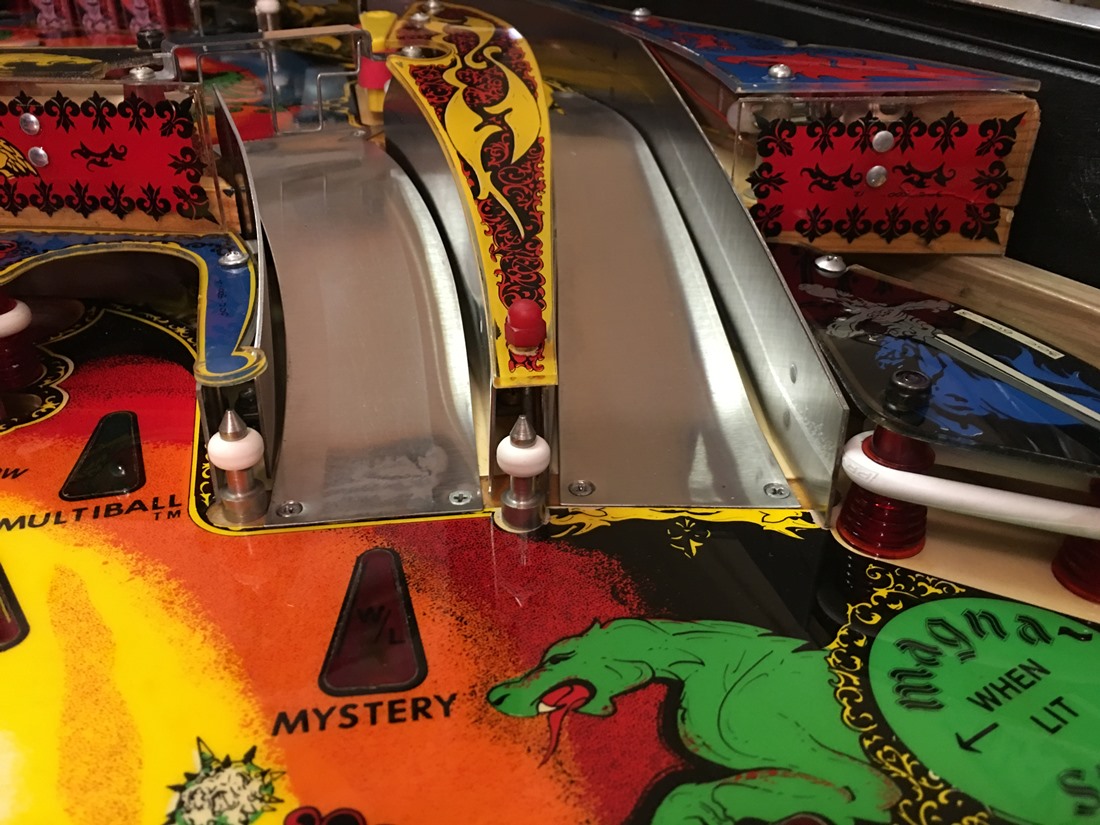
It's coming together~!
I always take a TON of pictures during the teardown, so I can see how it all
goes back
Sweet

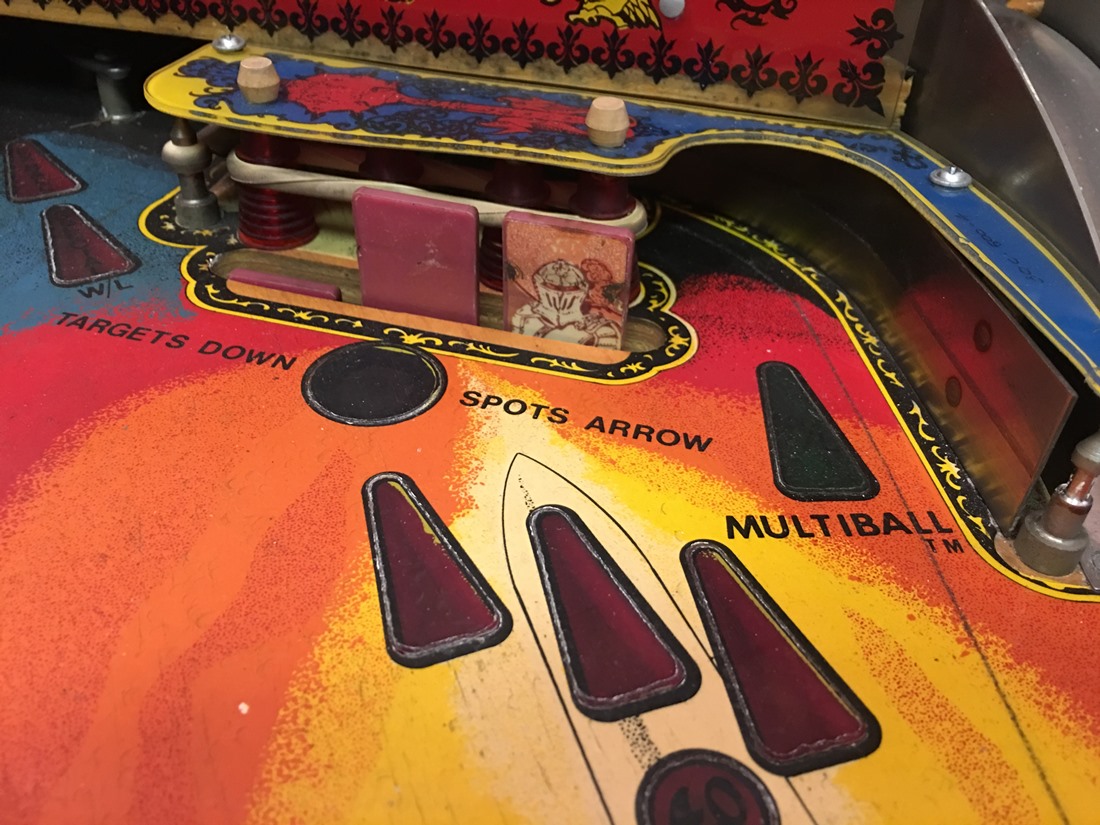
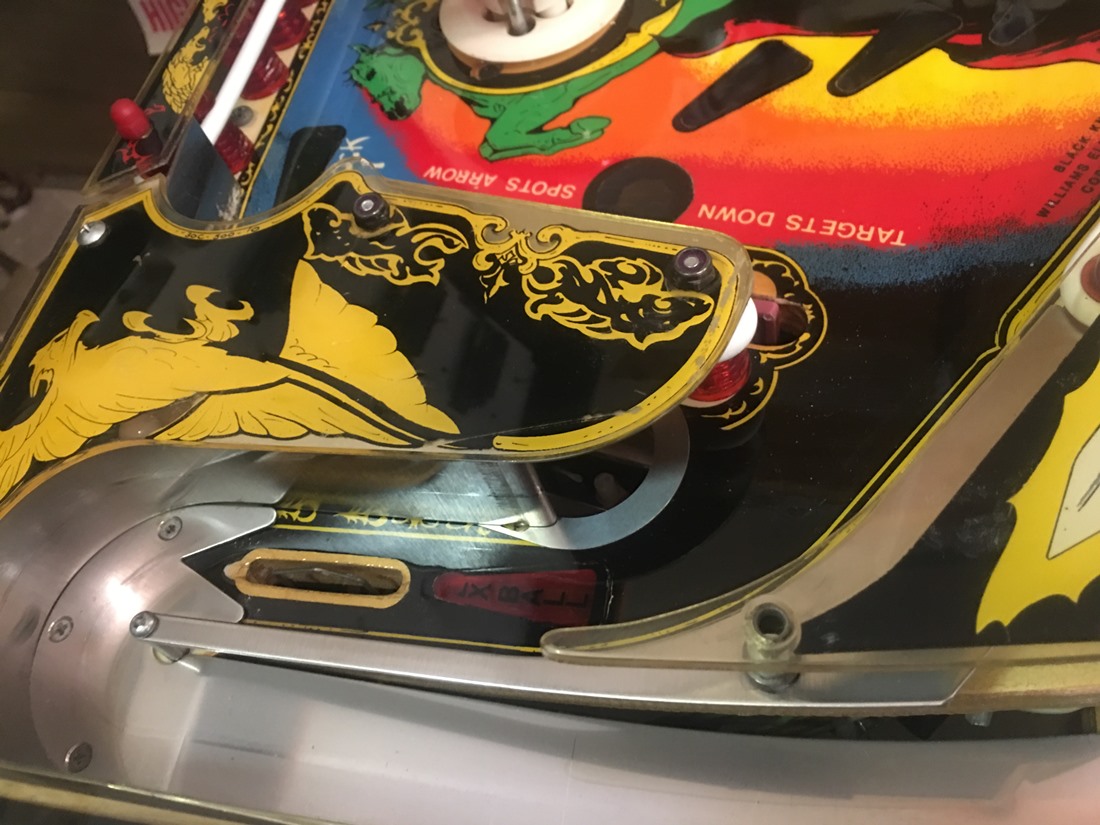
And the icing on the cake is the Cliffy Protectors
I recommend enjoying a big Jack and Coke with this job
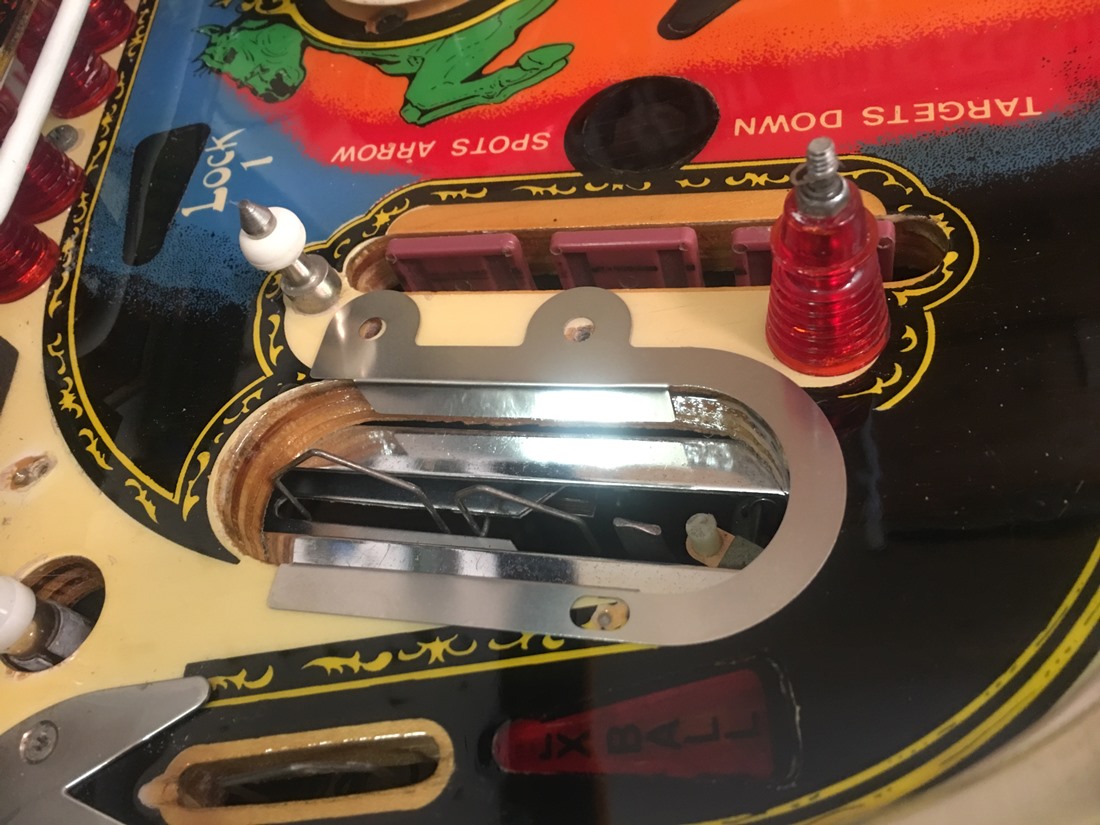
Don't have to worry about wear in that spot anymore
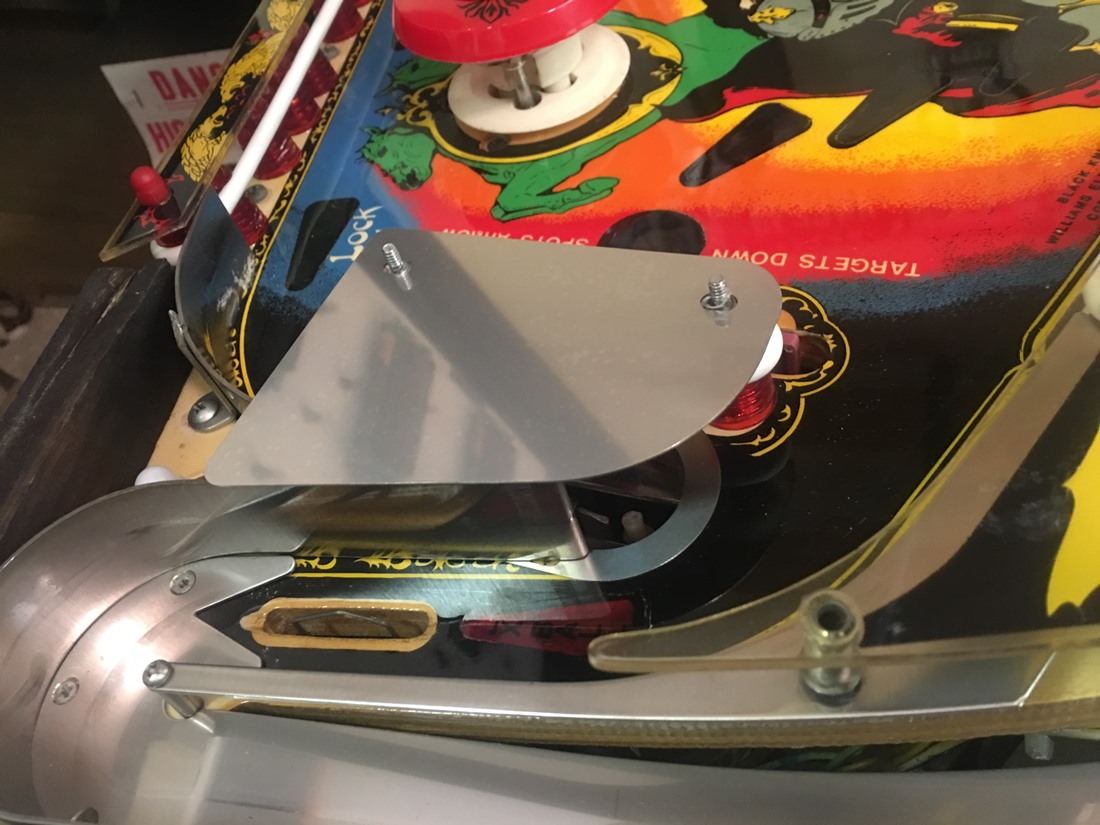
Large plastic protector
The Black Knight will play you
AHHAAHAAHAAA!!
![]()