1982 Gottlieb Haunted House - player's level restoration
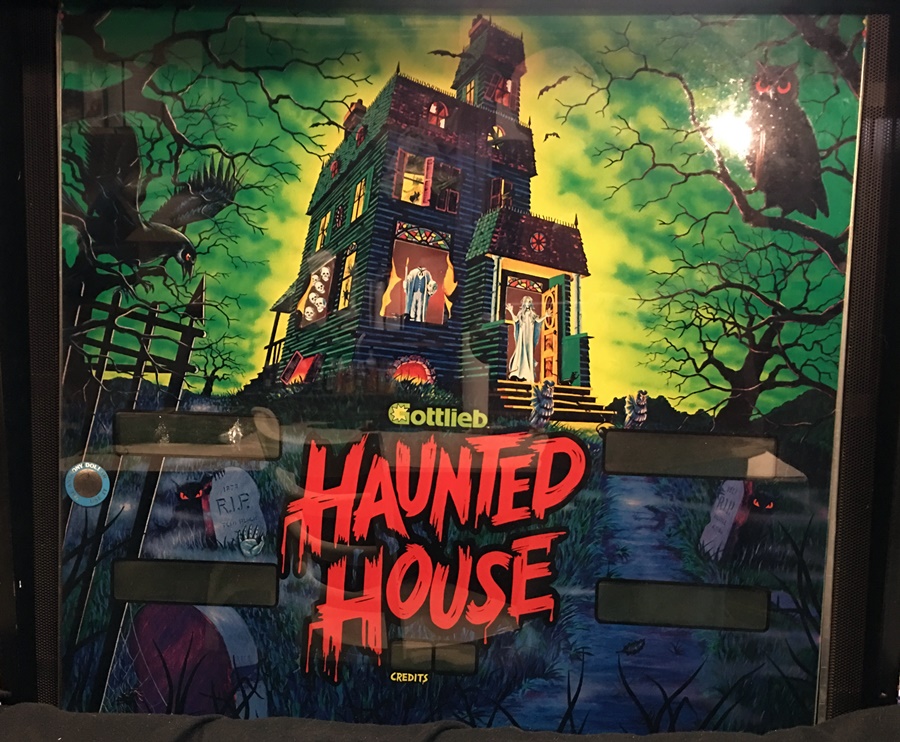
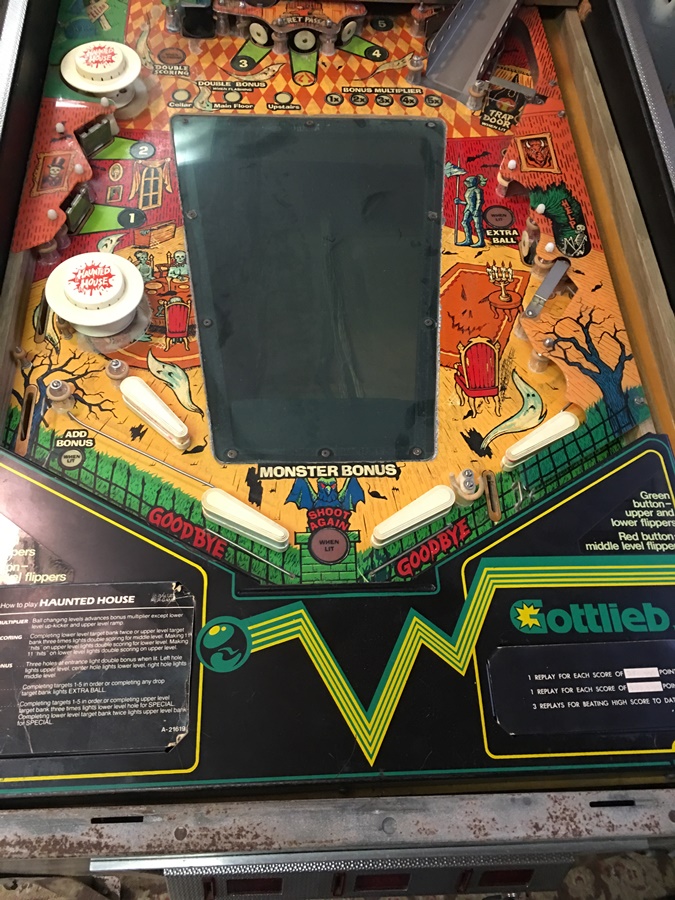
I've always had a soft spot in my heart for Gottlieb's Haunted House pinball machine. Everyone knows I'm a Halloween junkie, and of course, I remember this machine from back in the day. I'd placed a WTB ad on Pinside, and was soon contacted by Tim from Crosby Pinball. I went out to look at the machine, and we soon agreed on a price. As you can see above, the backglass is in perfect condition. What I thought was super cool, is that this Haunted House was on route in the Houston Gulfgate Mall from 1982 through 1986.
I should also say, this will most likely be my last restoration for a while. Since I've purchased the ranch, most of my free time is consumed with that. However, looking back I did really enjoy bringing this game back to life. It was probably - no - it was certainly the most difficult I'd done. Not just because how tricky it was electronically, but also because there are THREE playfields - so it seemed like 3x the work.
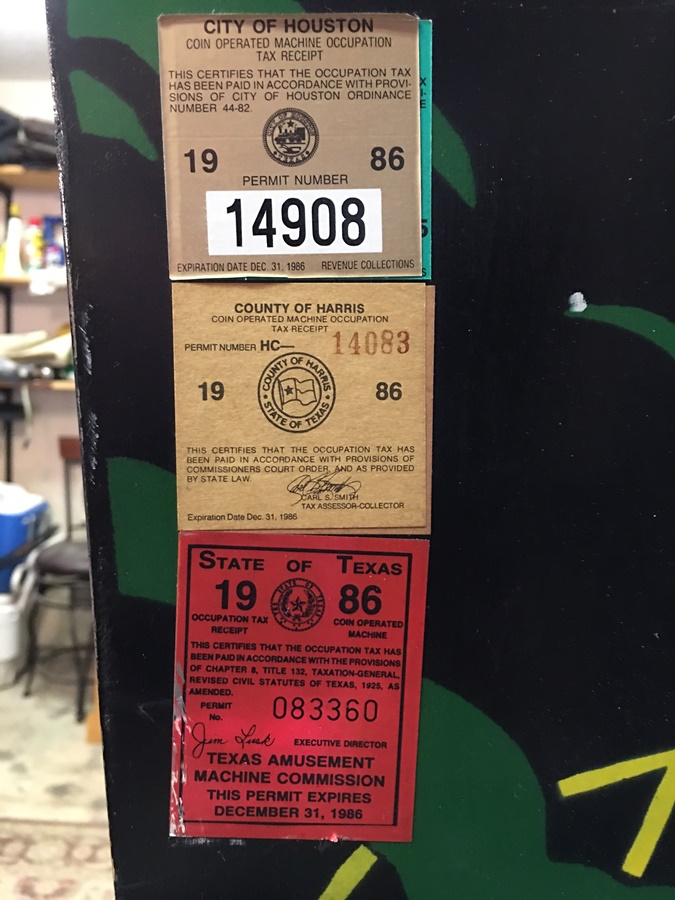
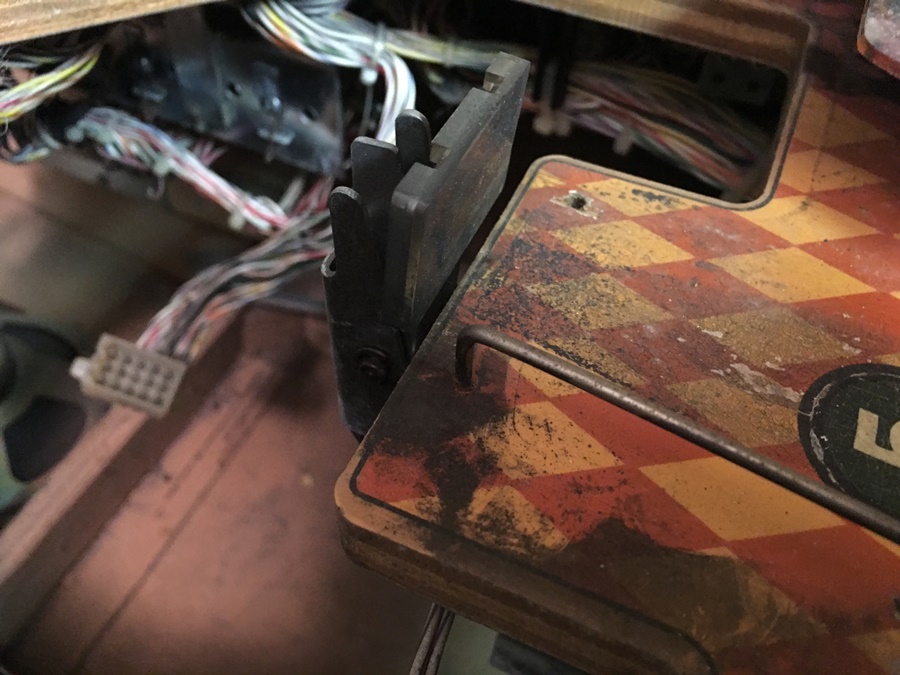
I love that the old tax stamps
are still intact
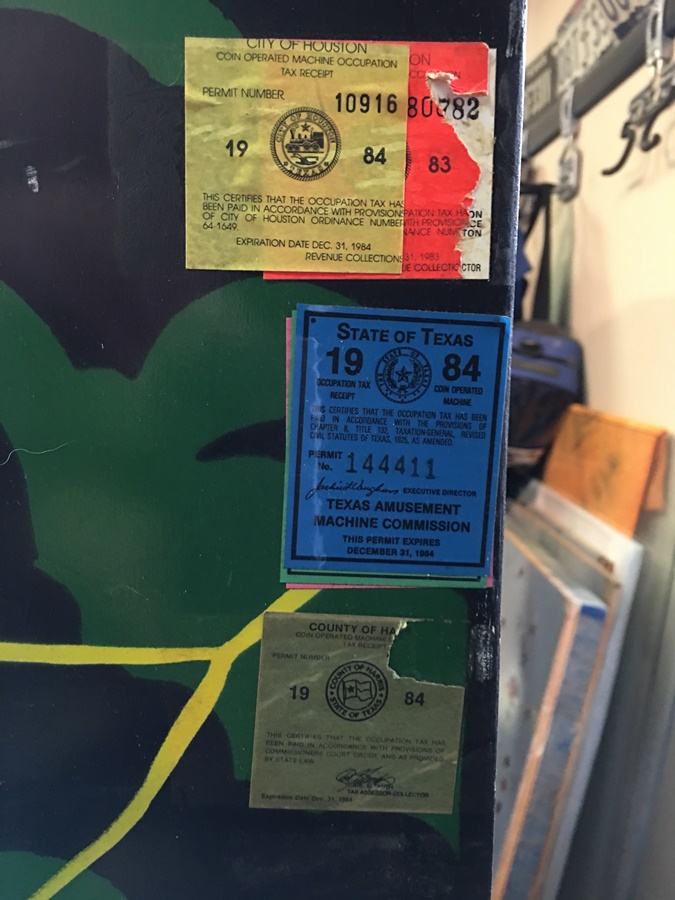

That's so cool~!
During my senior year in HS, and a good part of my college, this was sitting
in the Gulfgate Mall earning quarters.
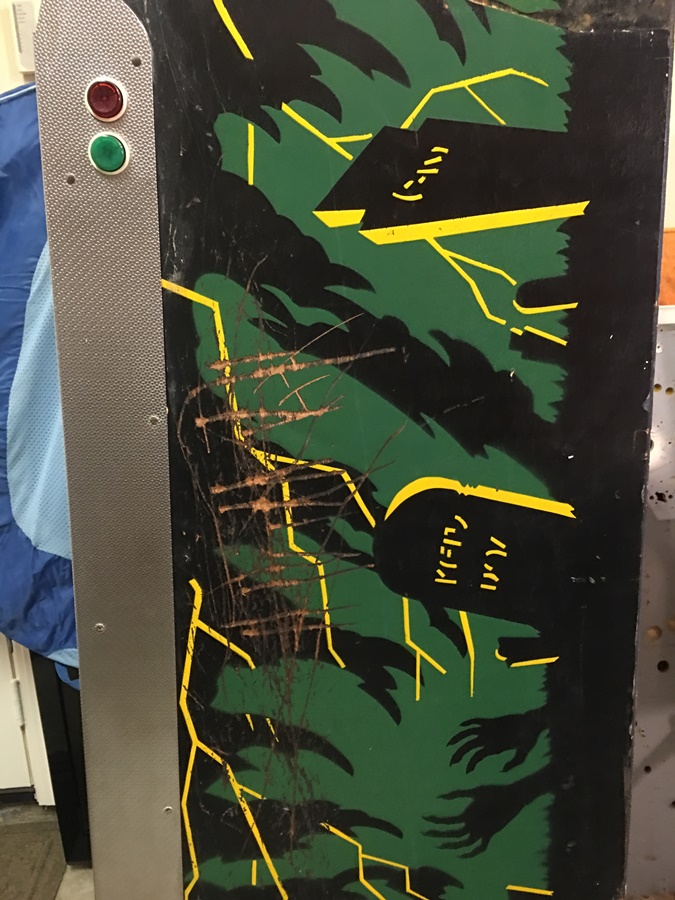
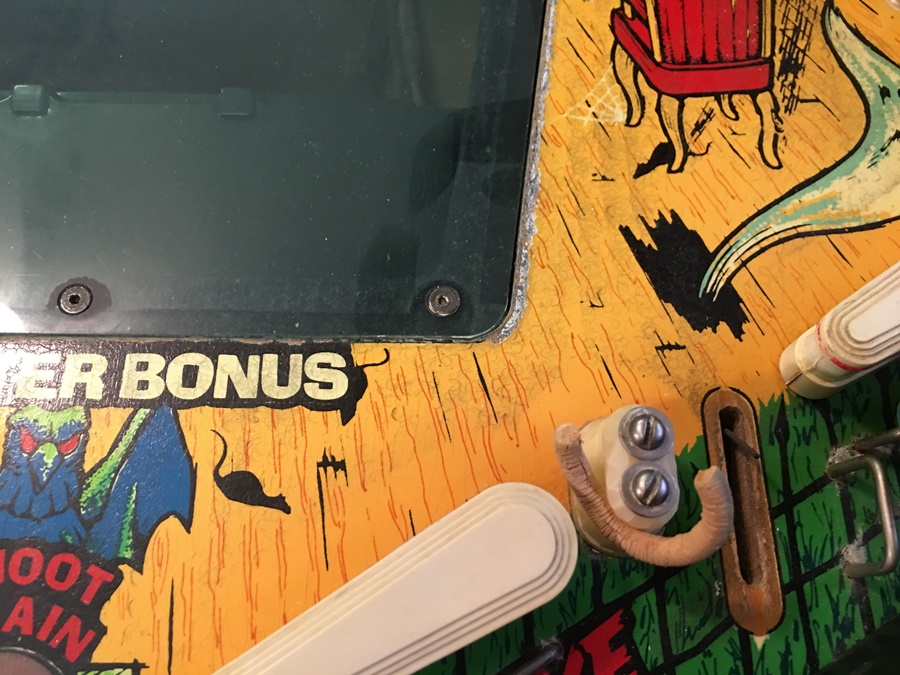
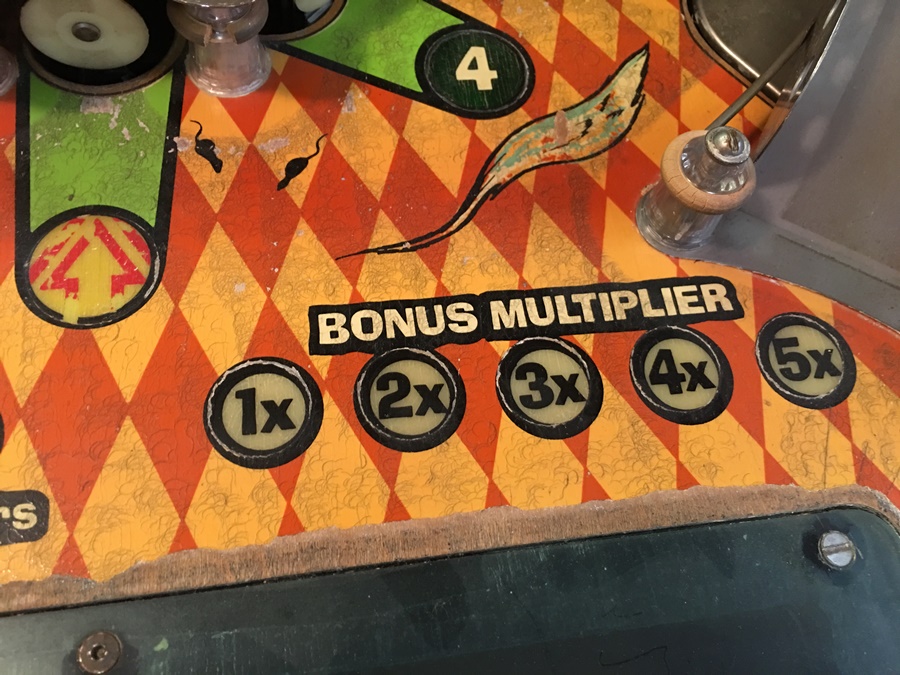
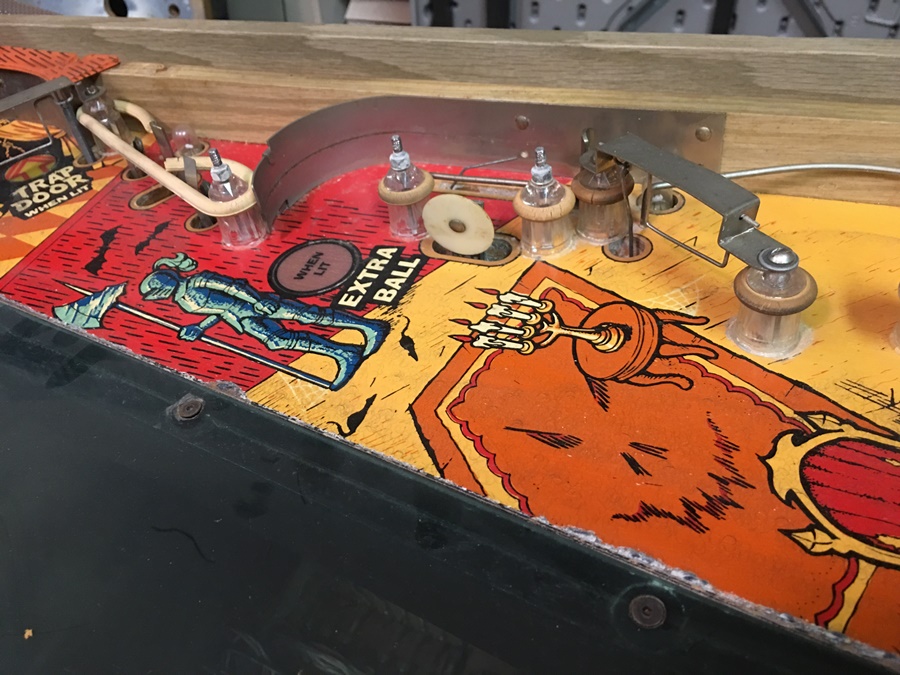
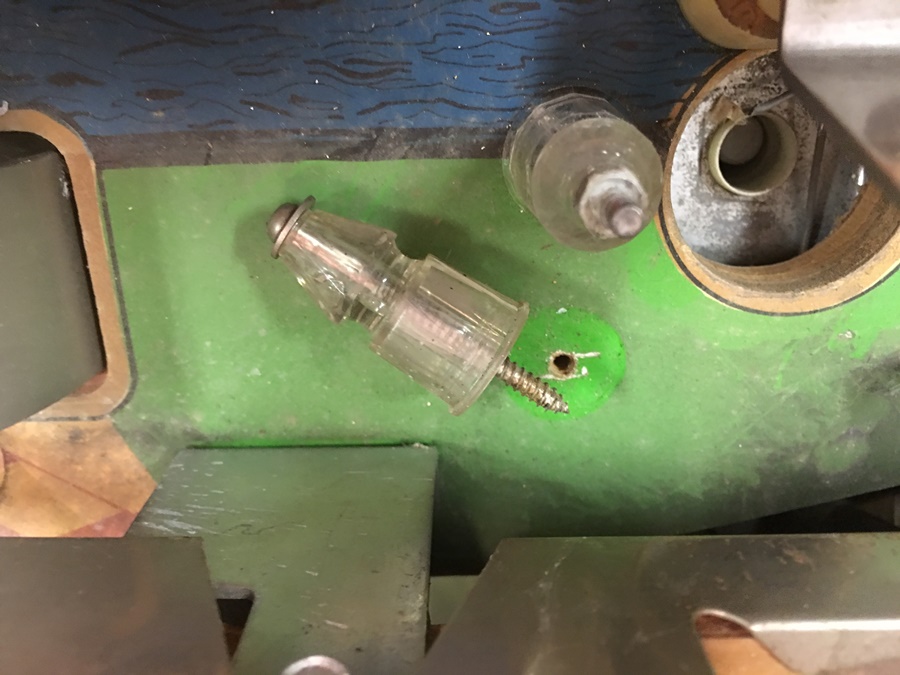
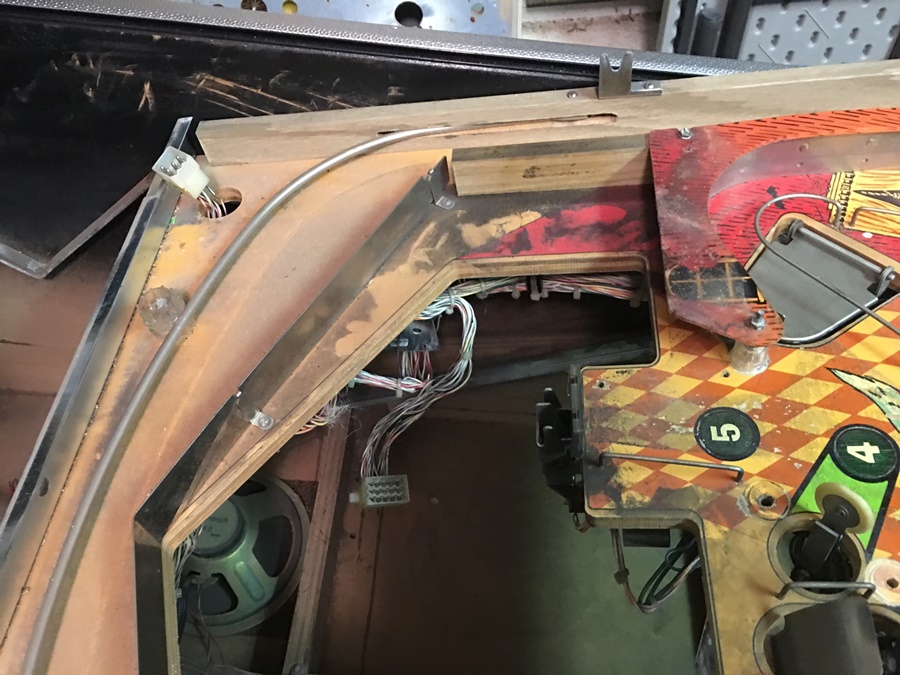
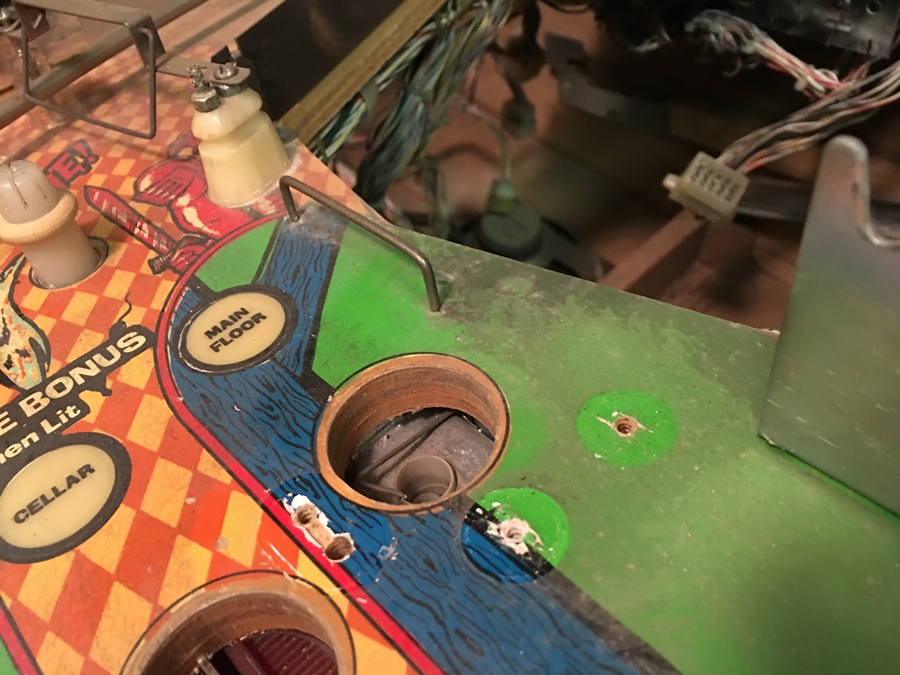
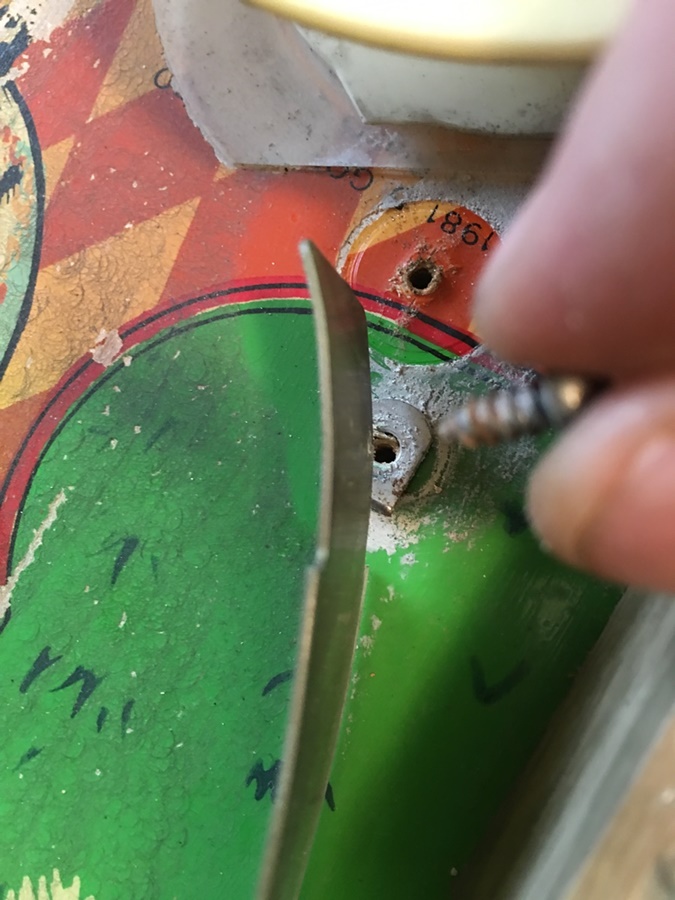
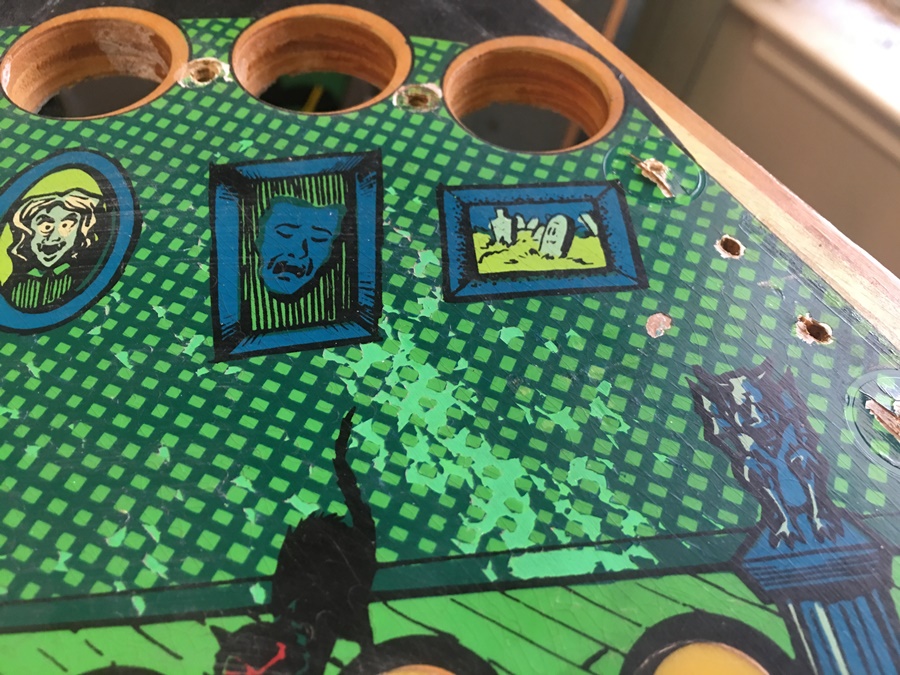
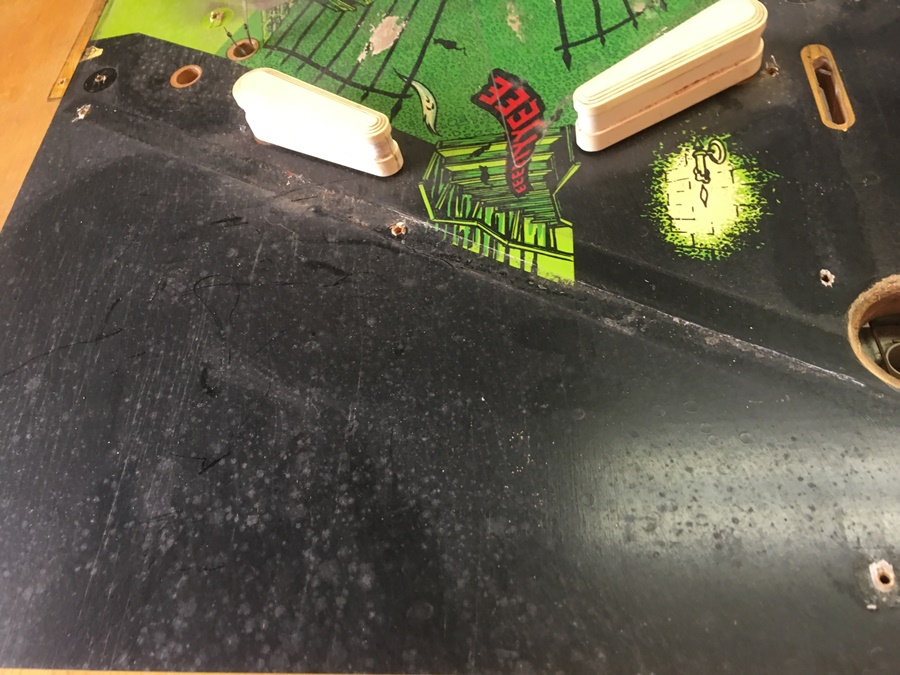
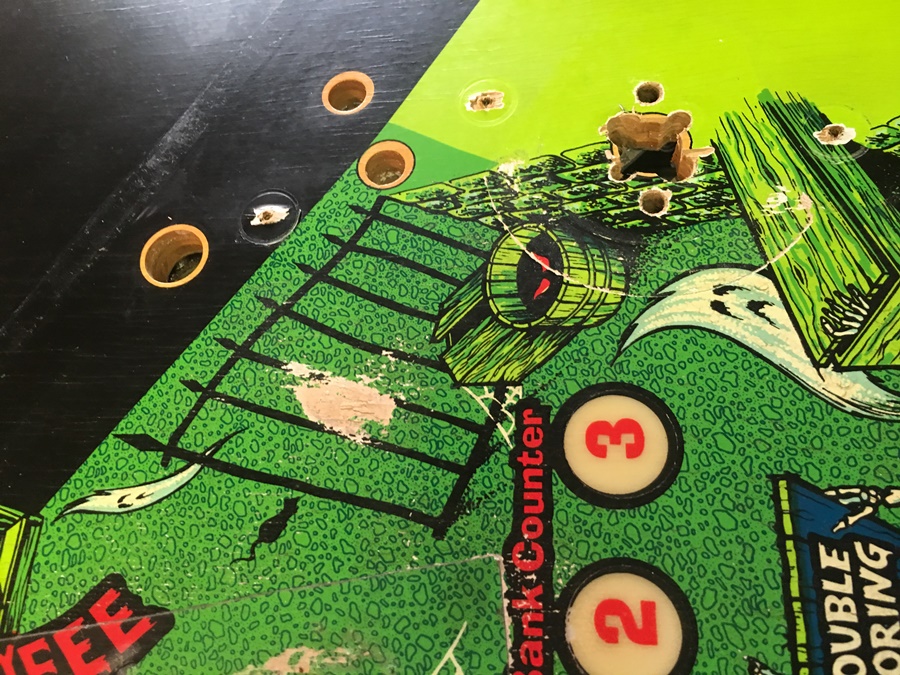
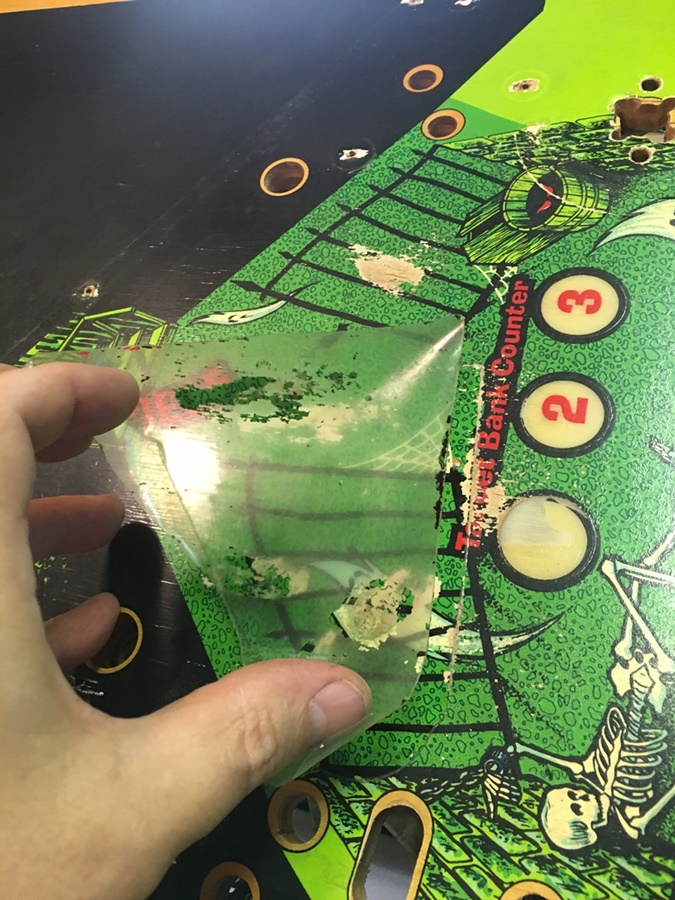
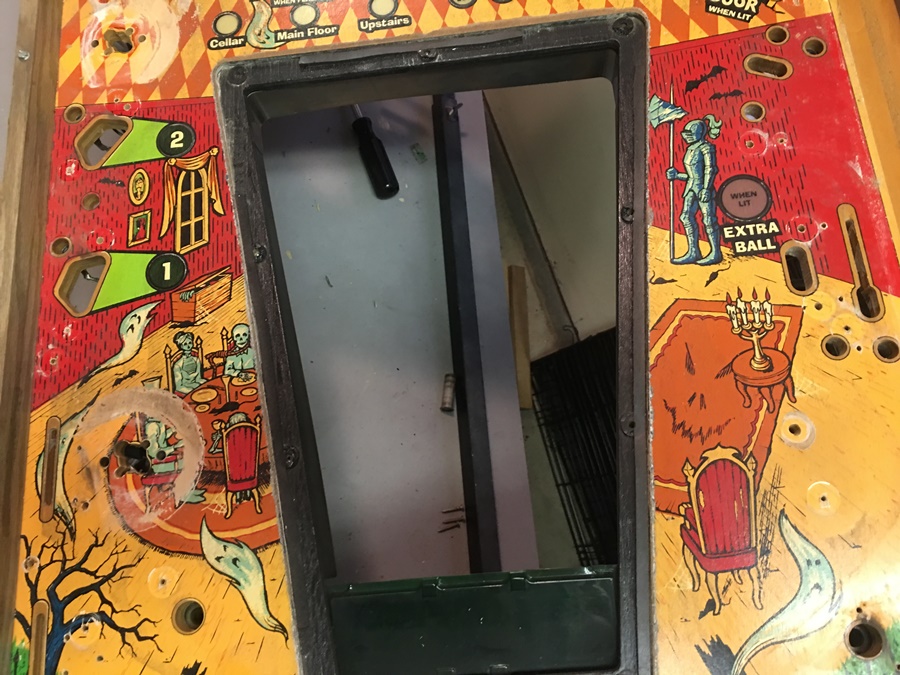
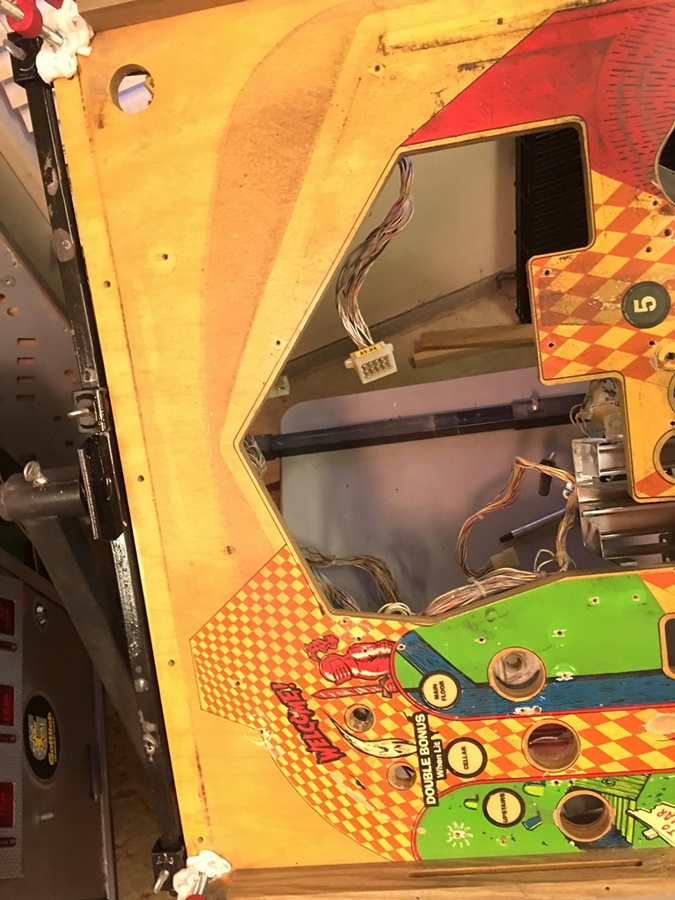
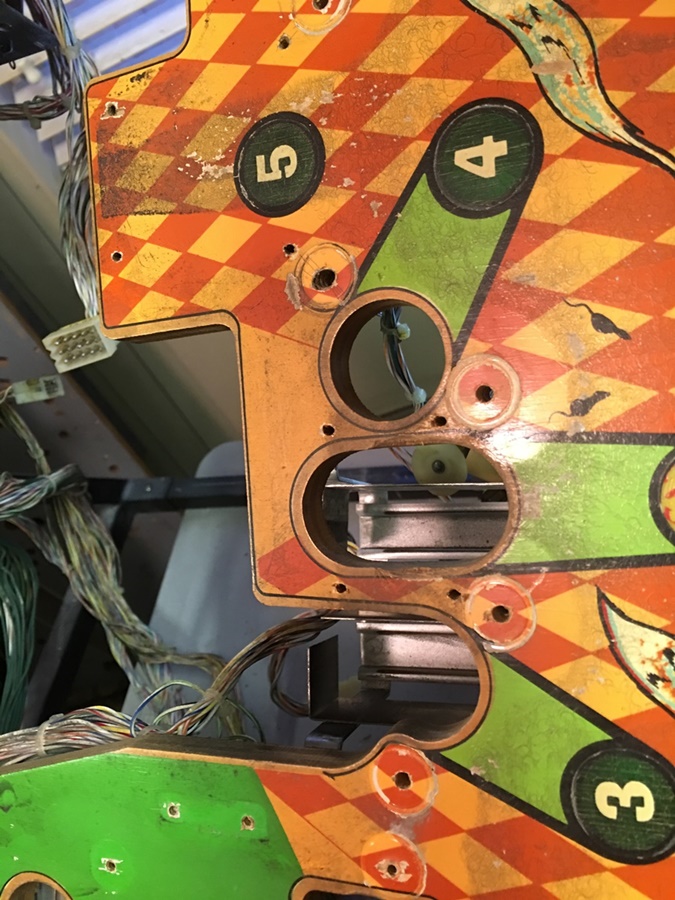
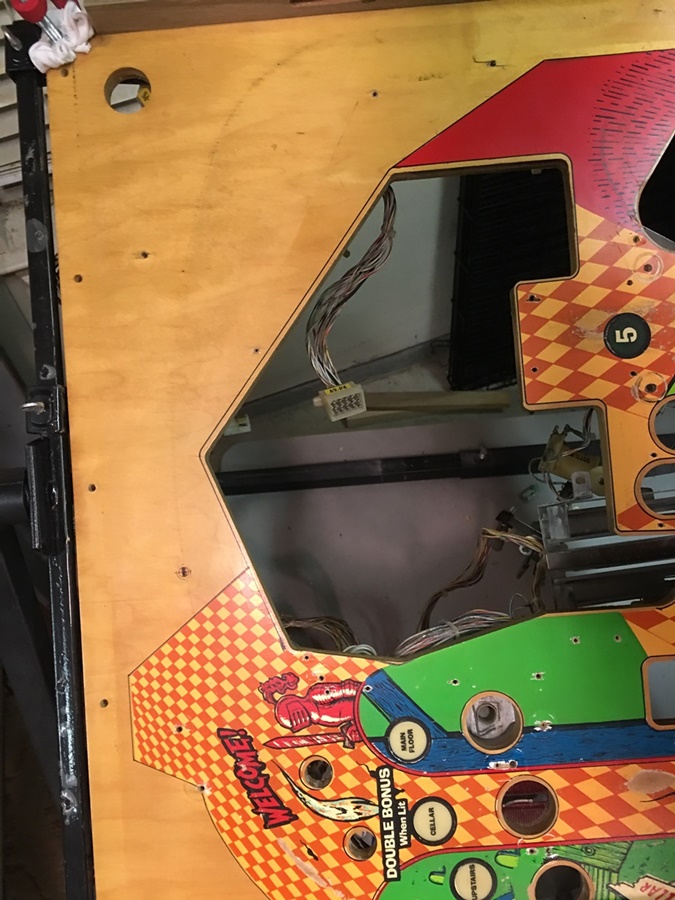
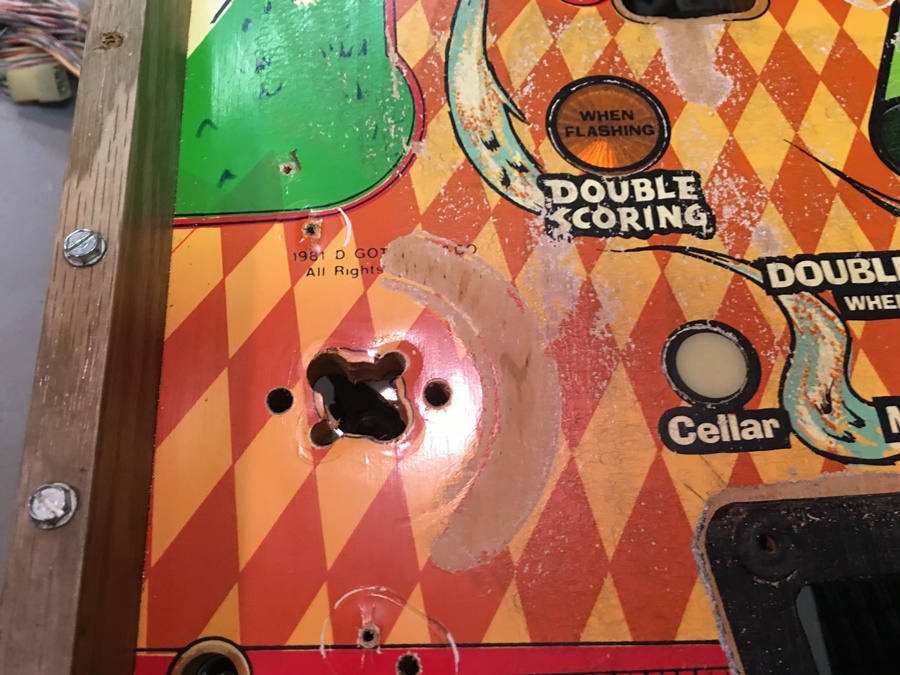
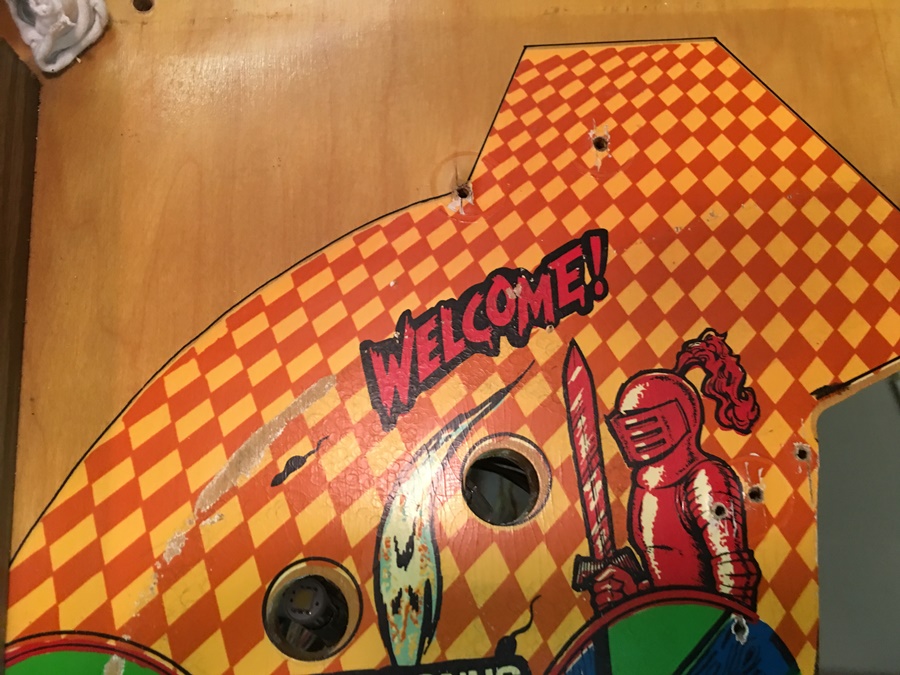
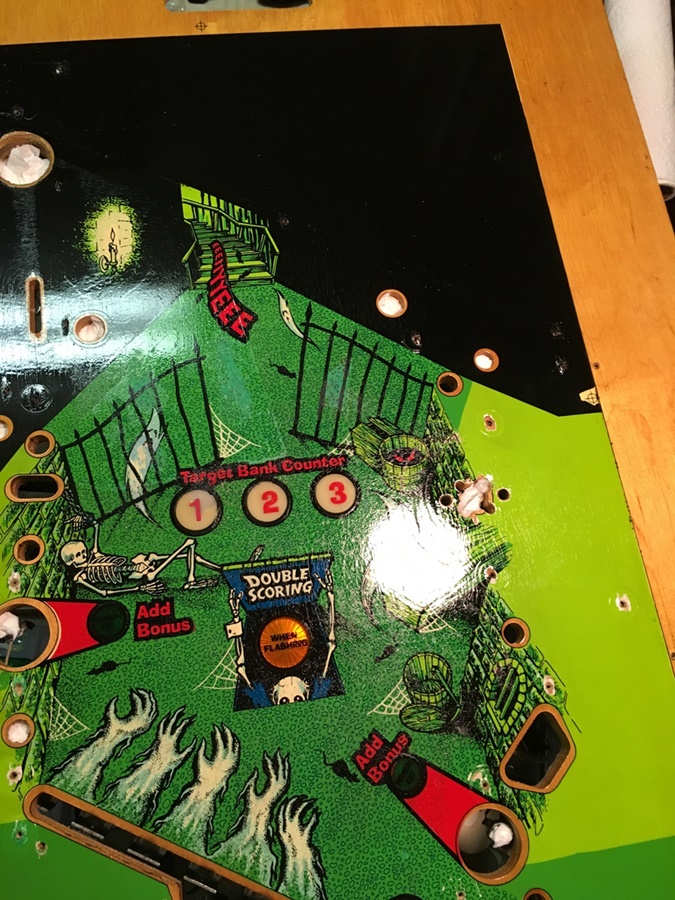
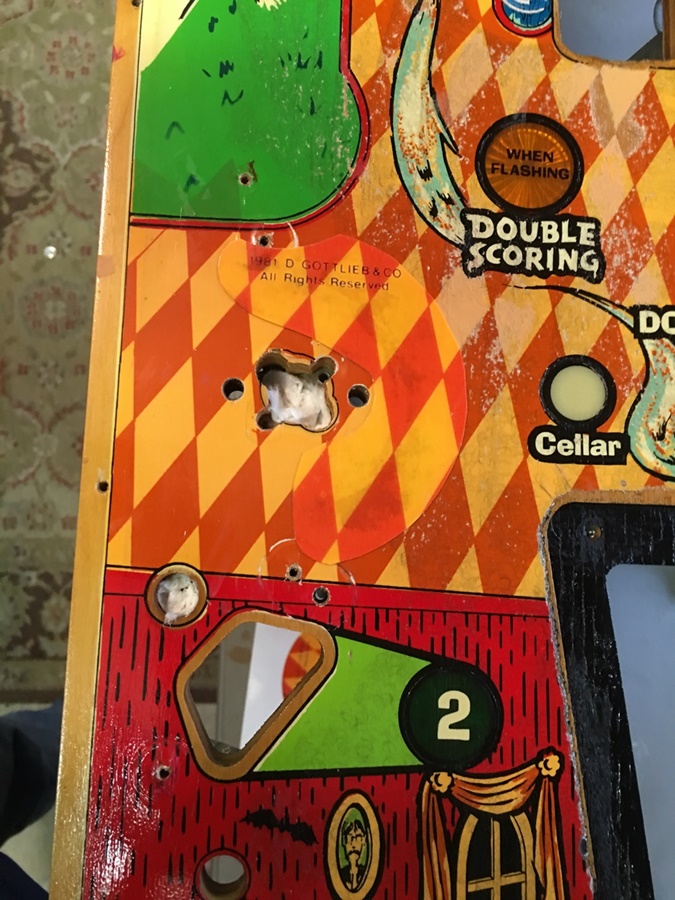
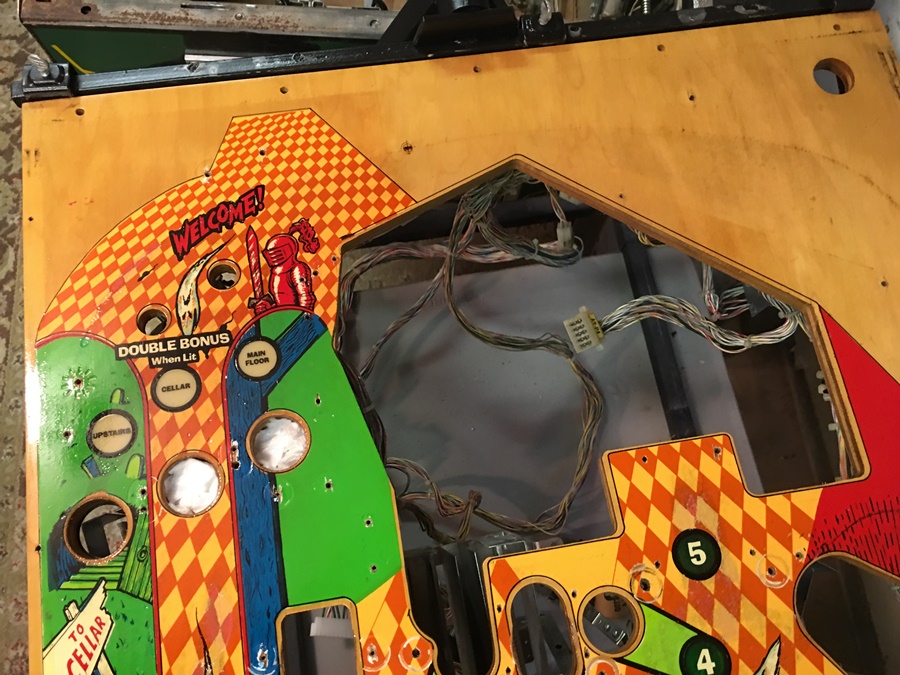
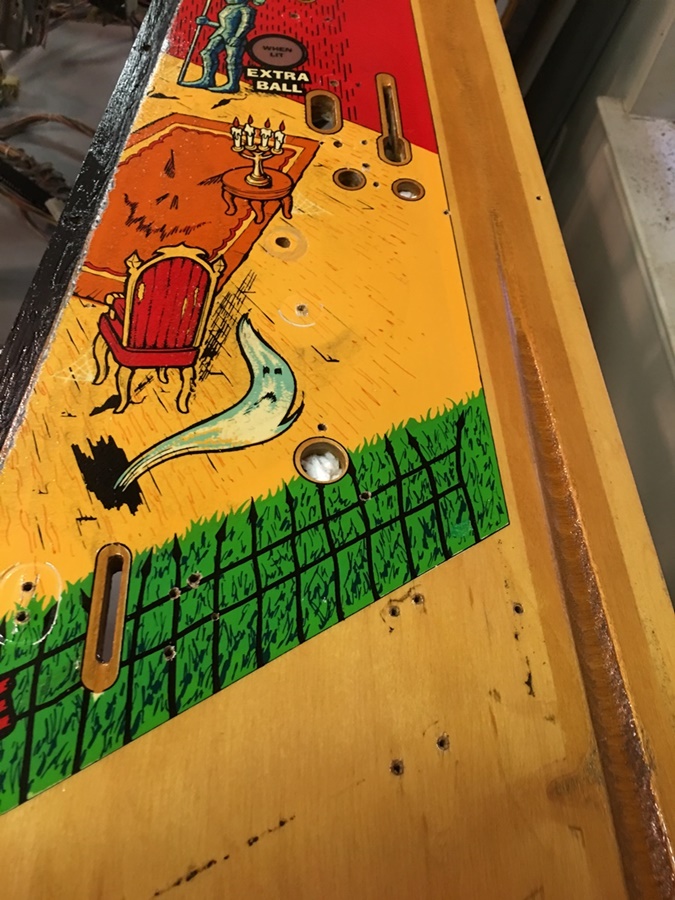
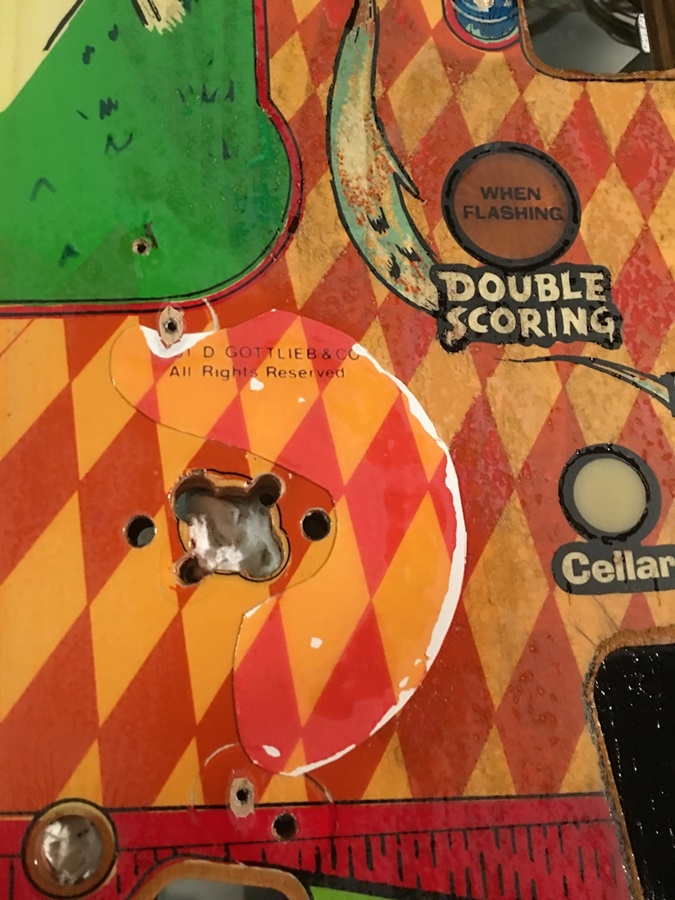
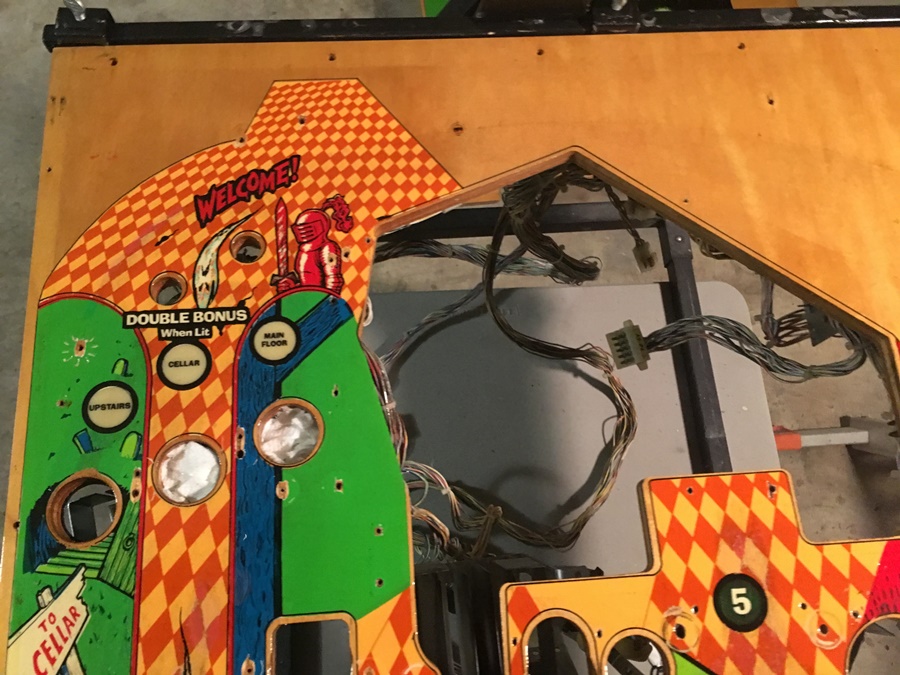
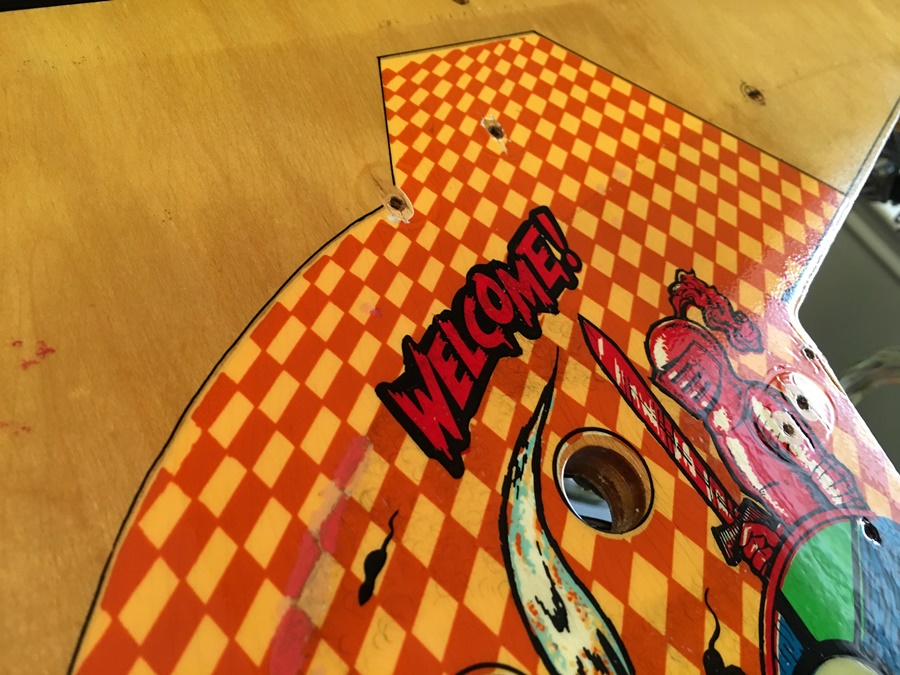
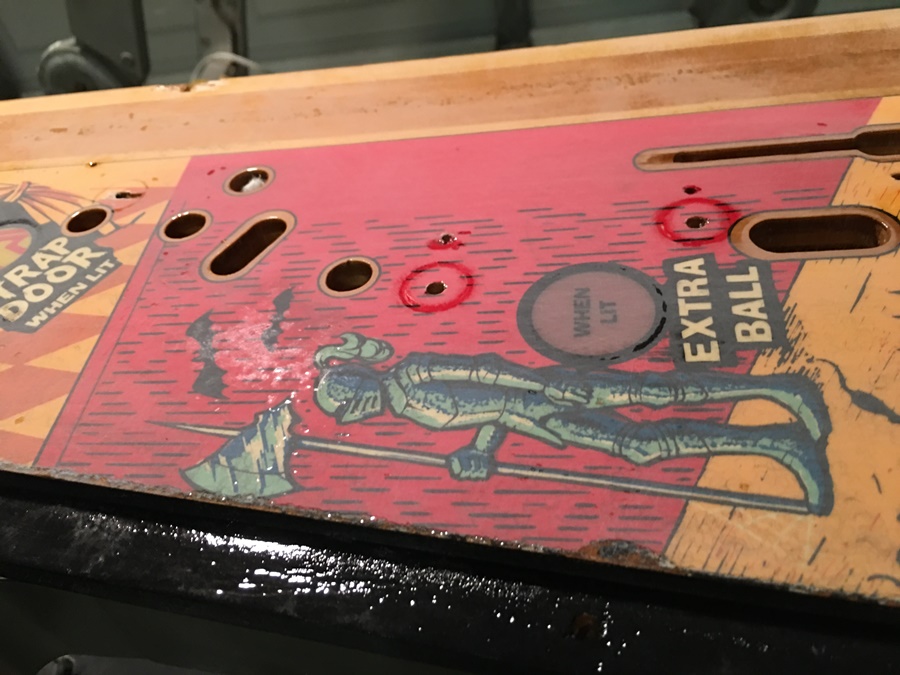
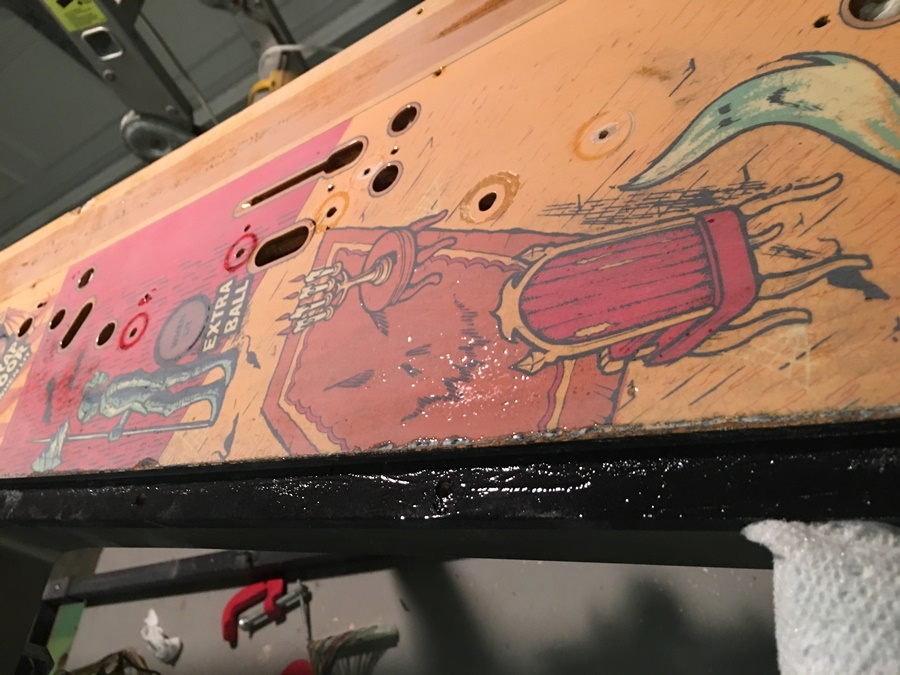
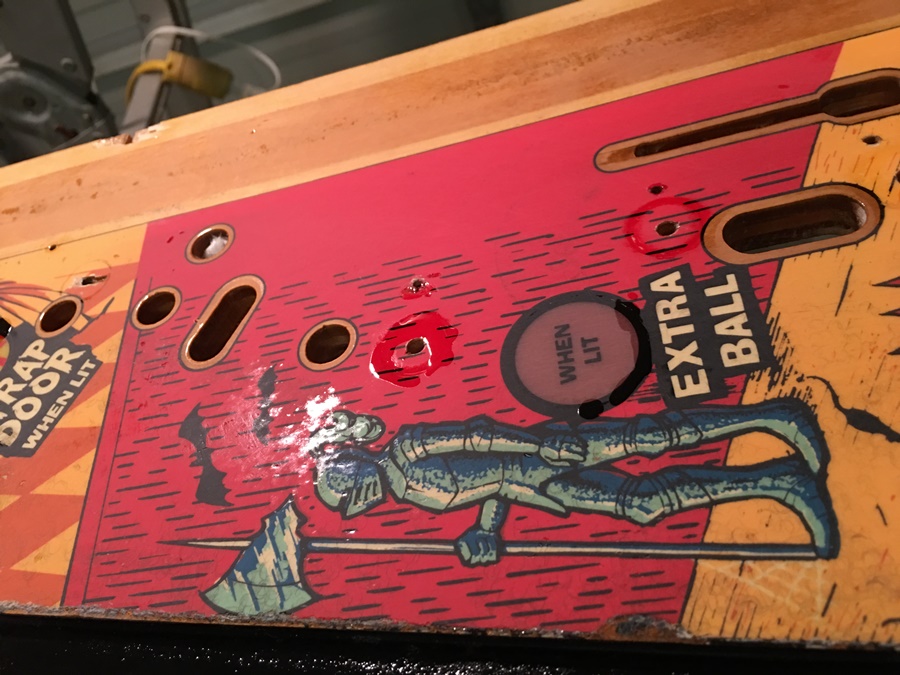
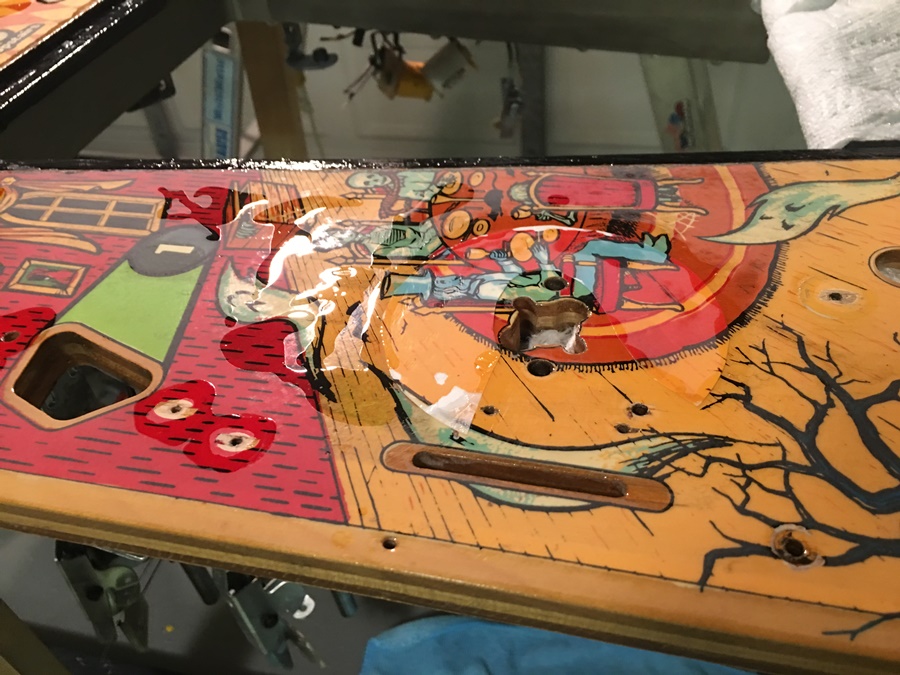
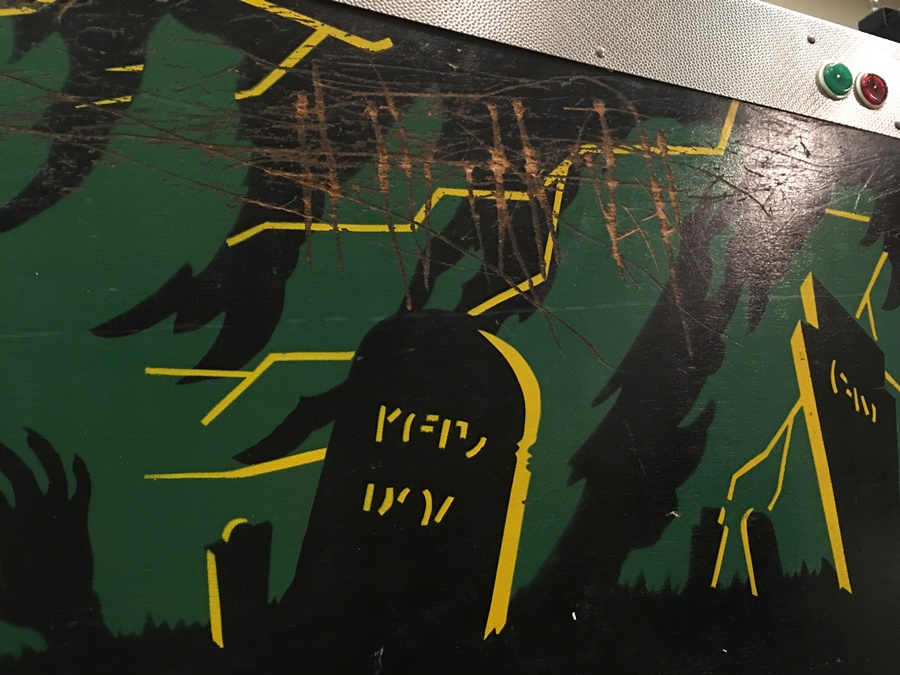
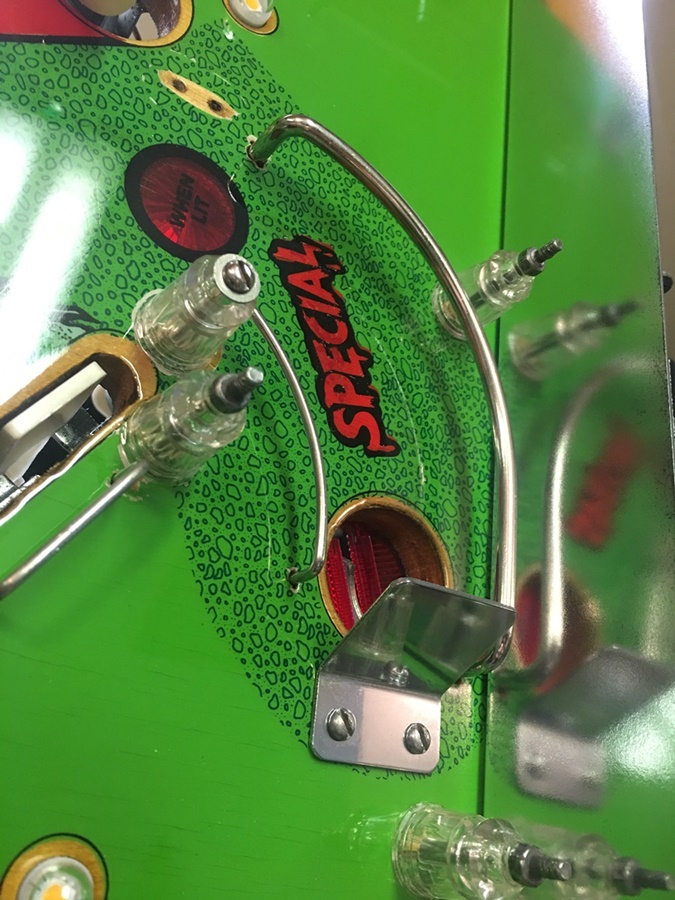
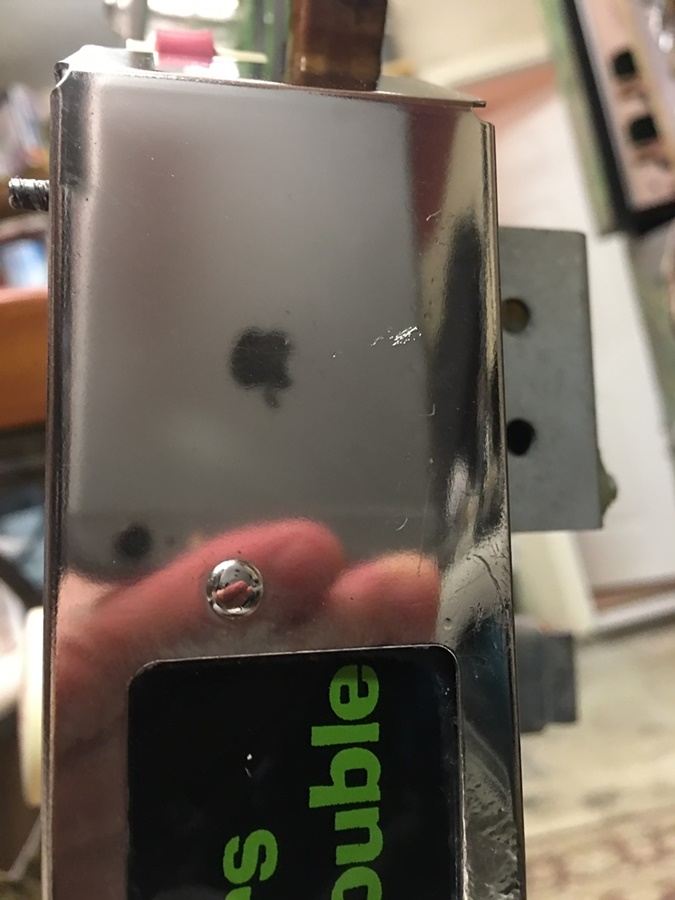
Yikes, someone gouged out this side pretty bad.
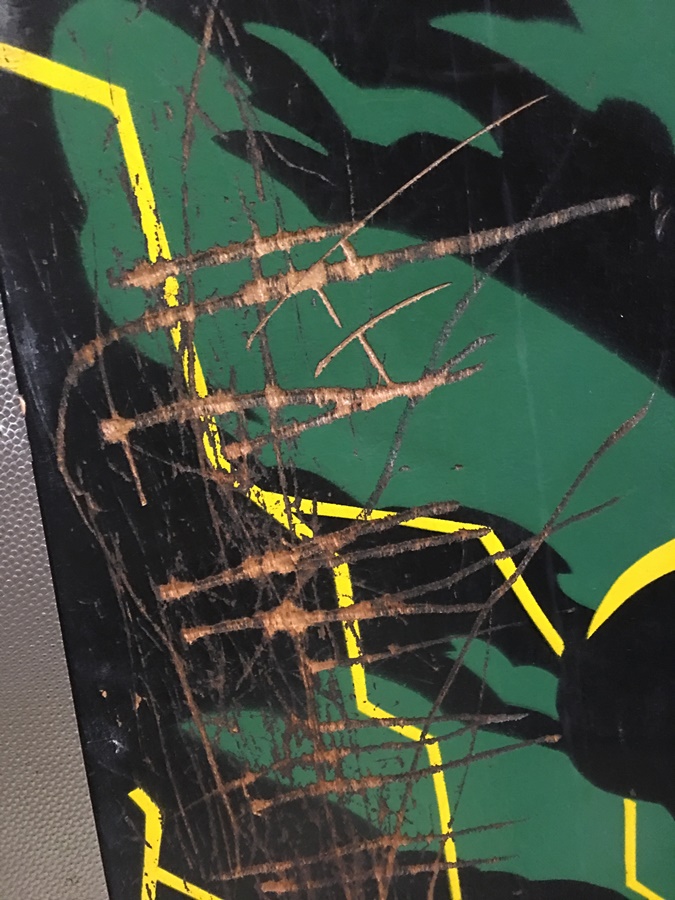
Pretty deep too...
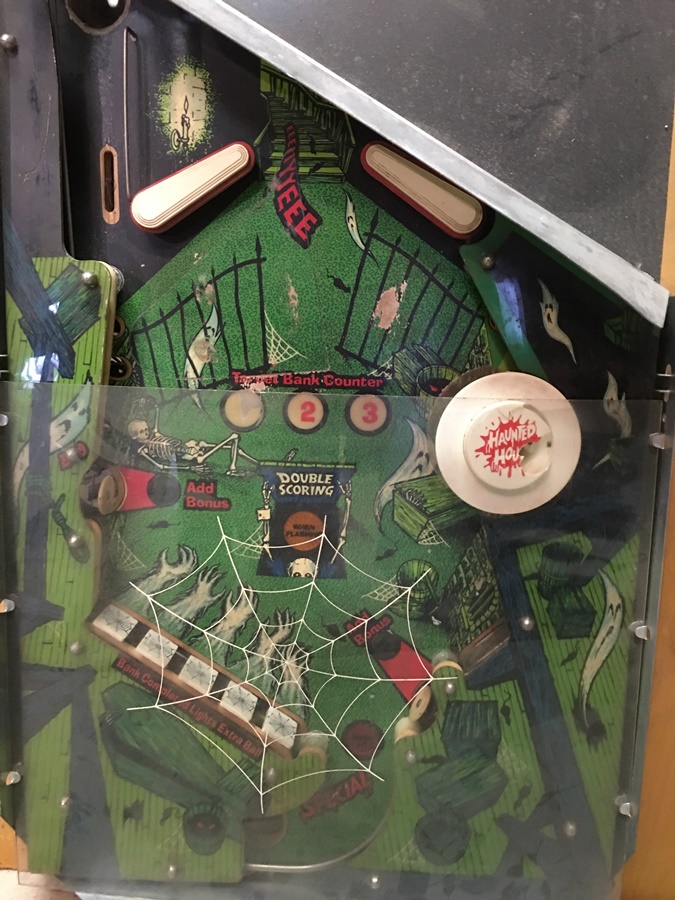
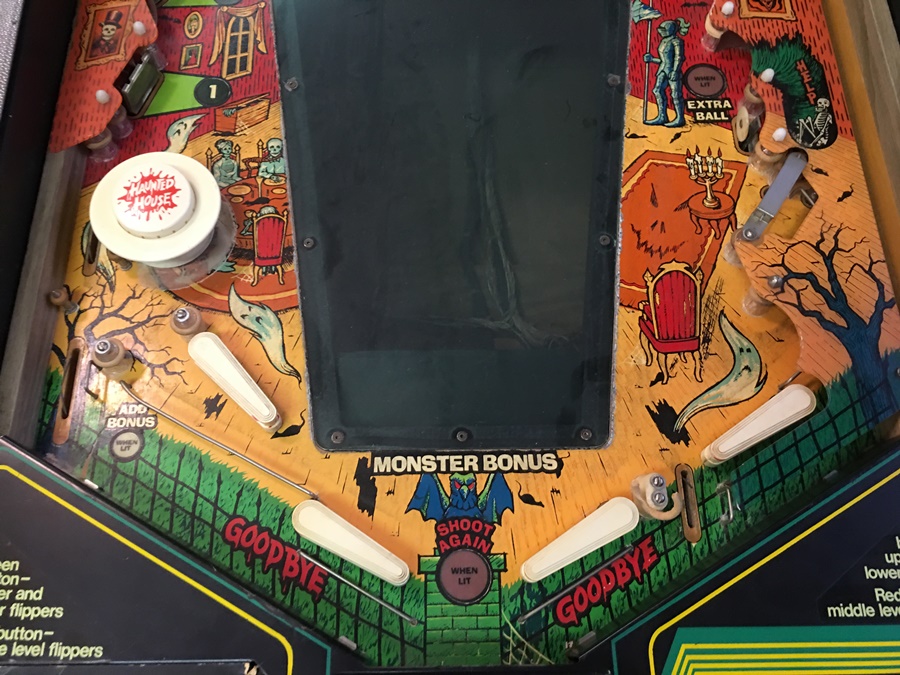
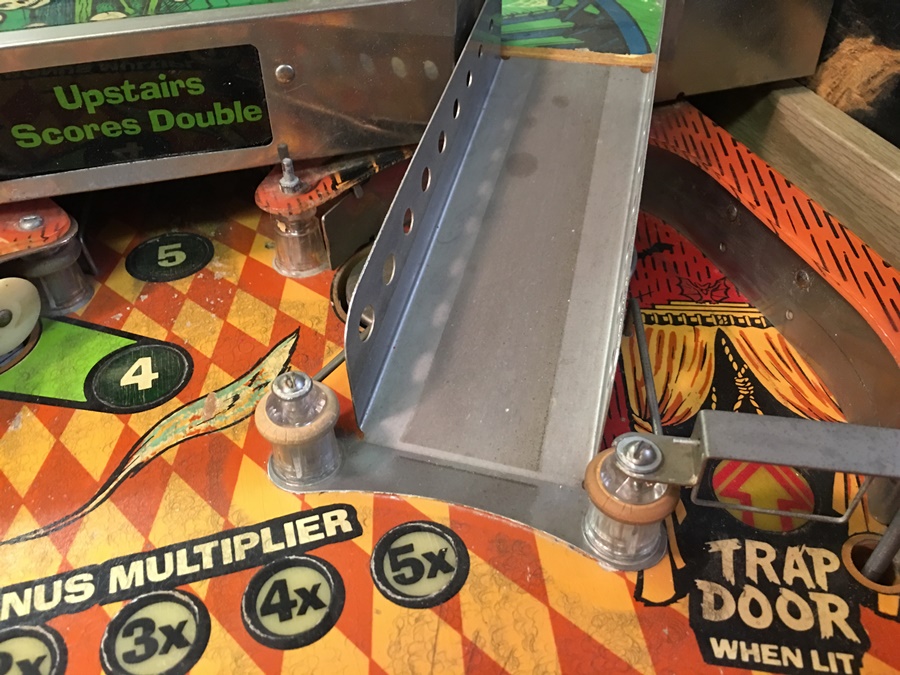
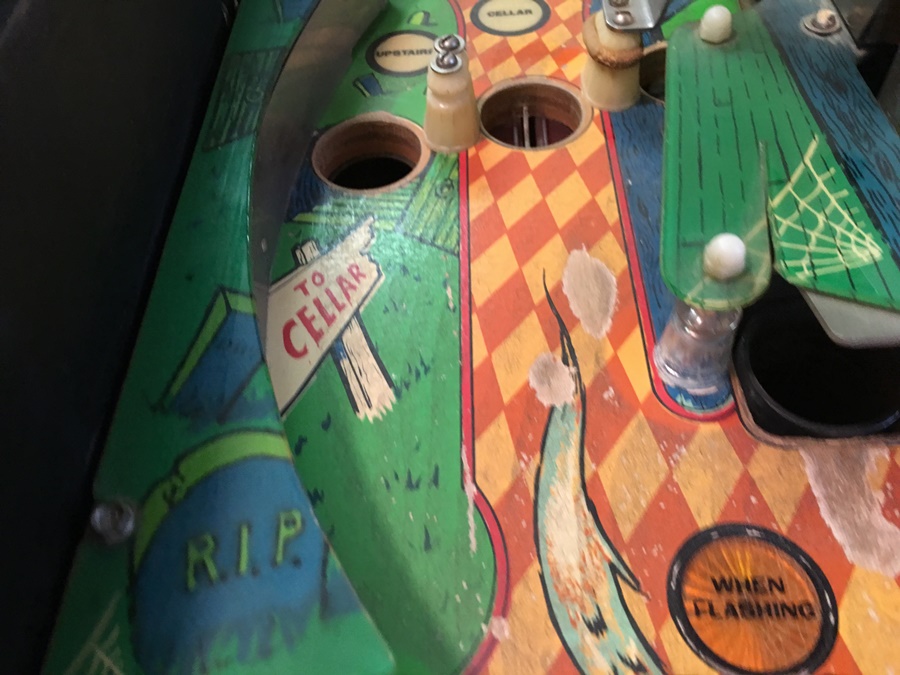
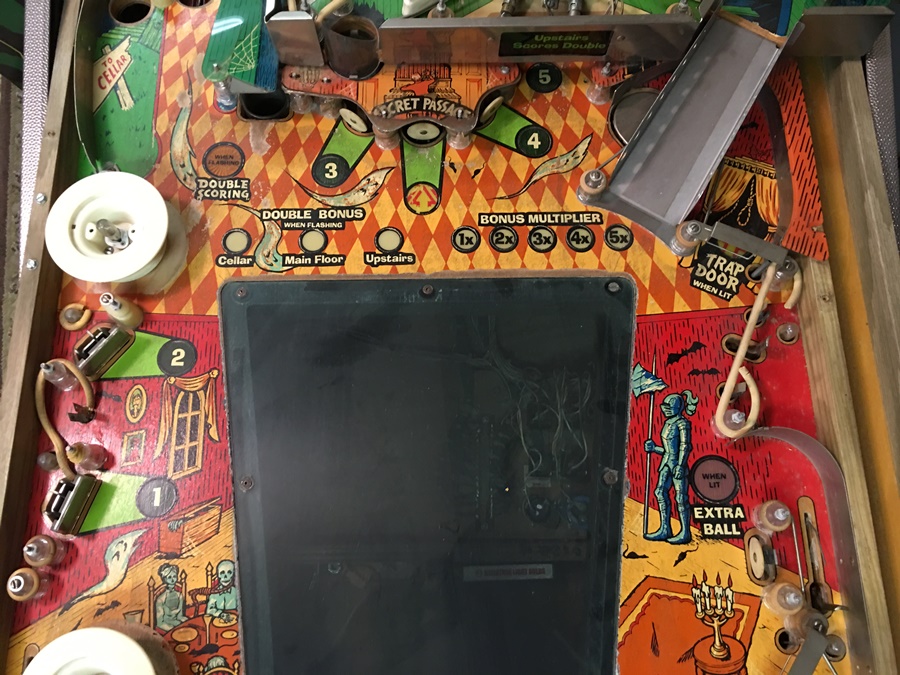
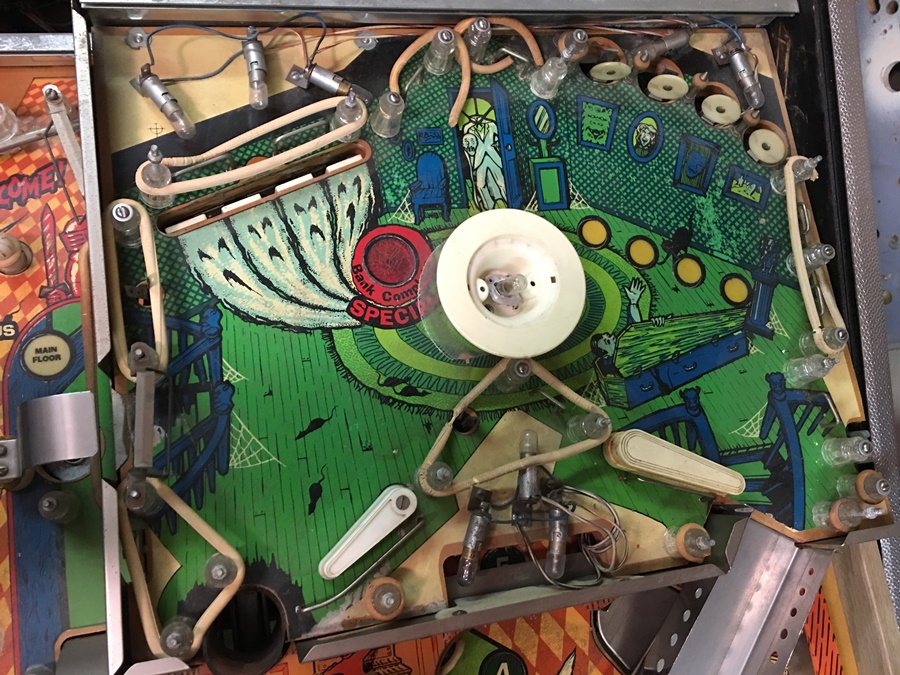
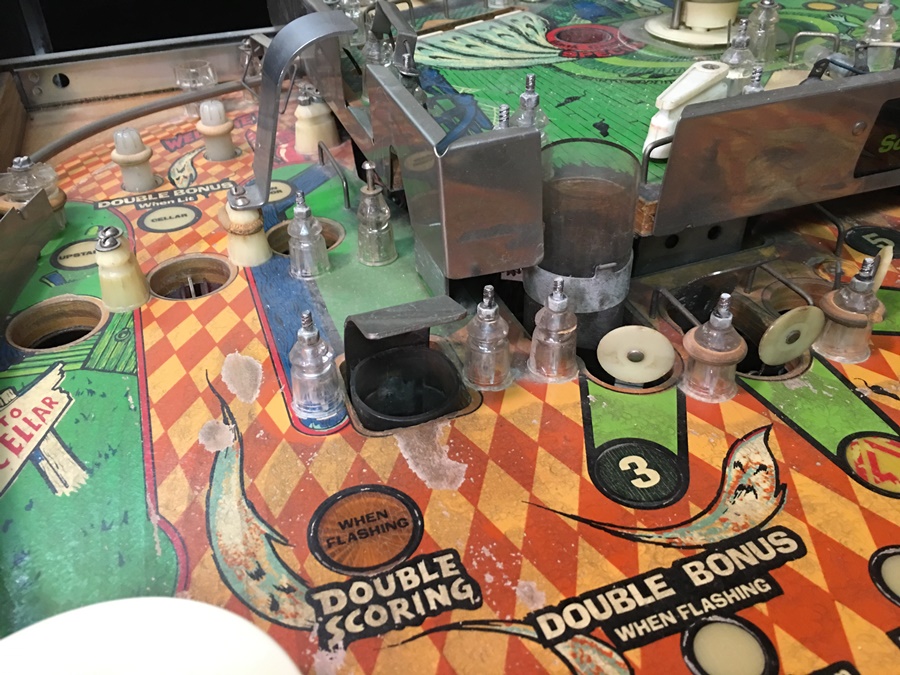
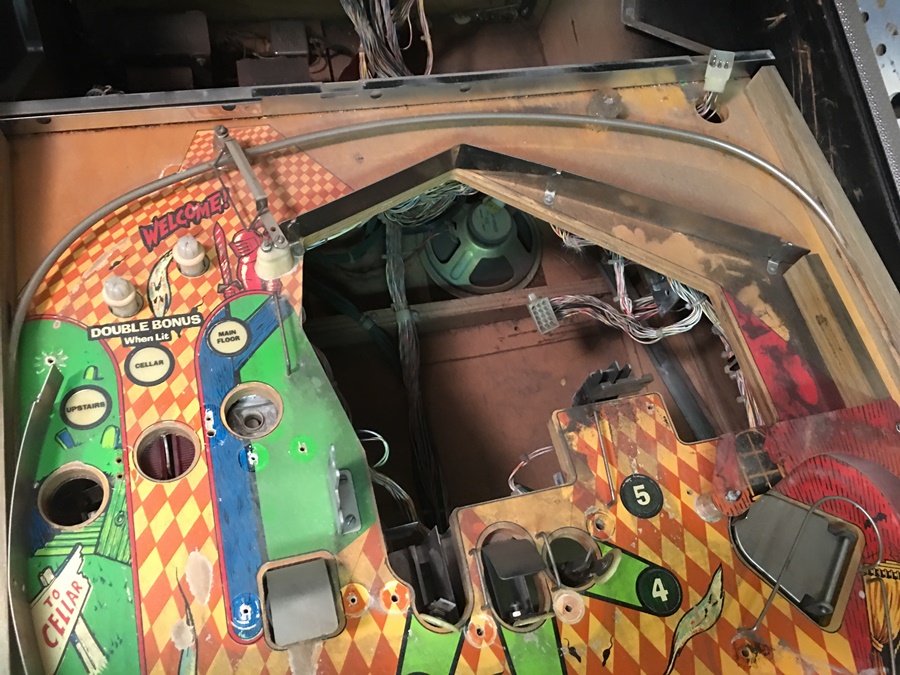
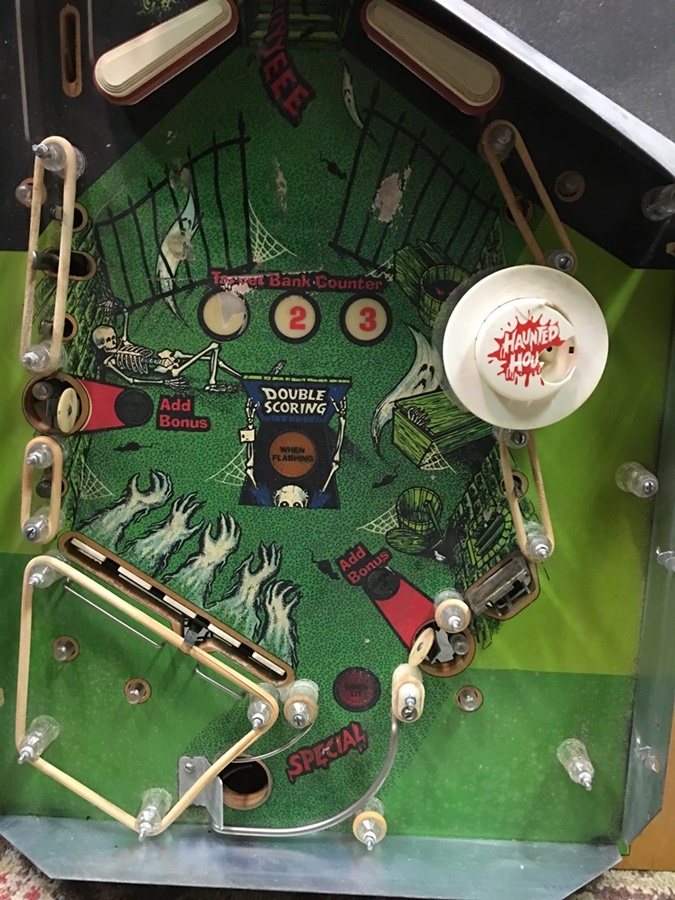
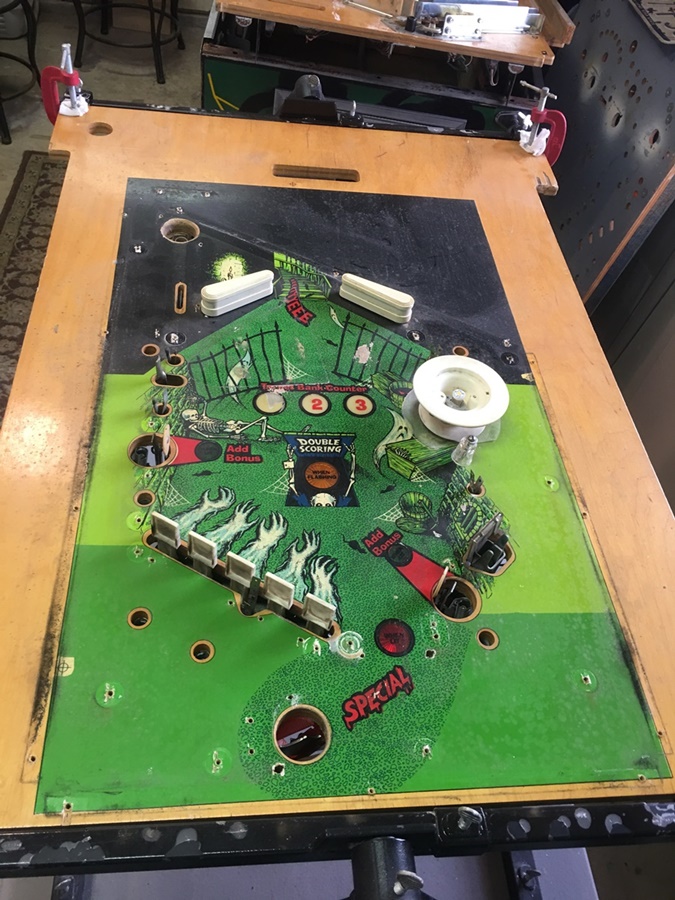
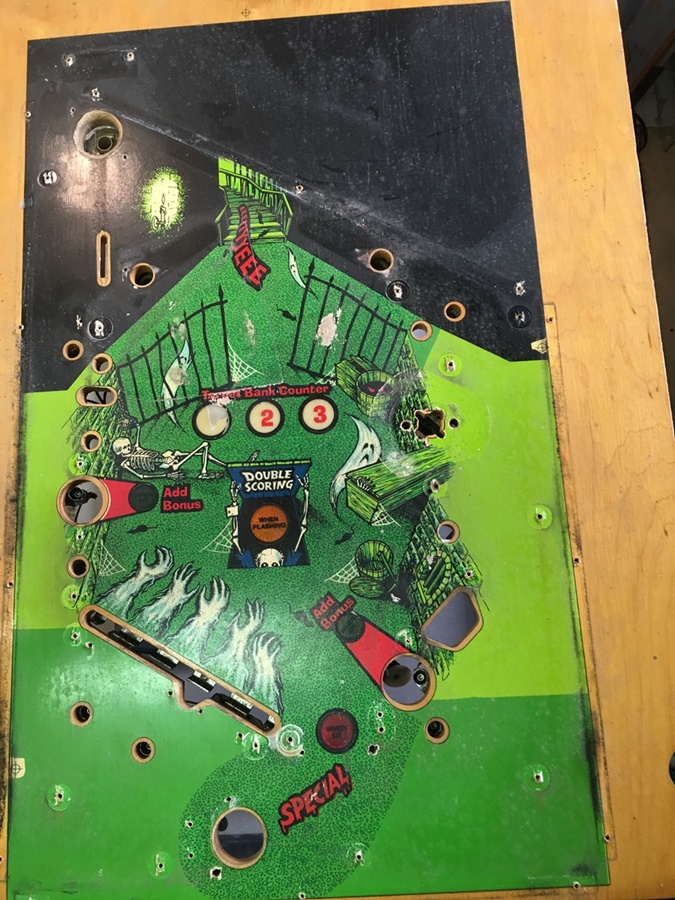
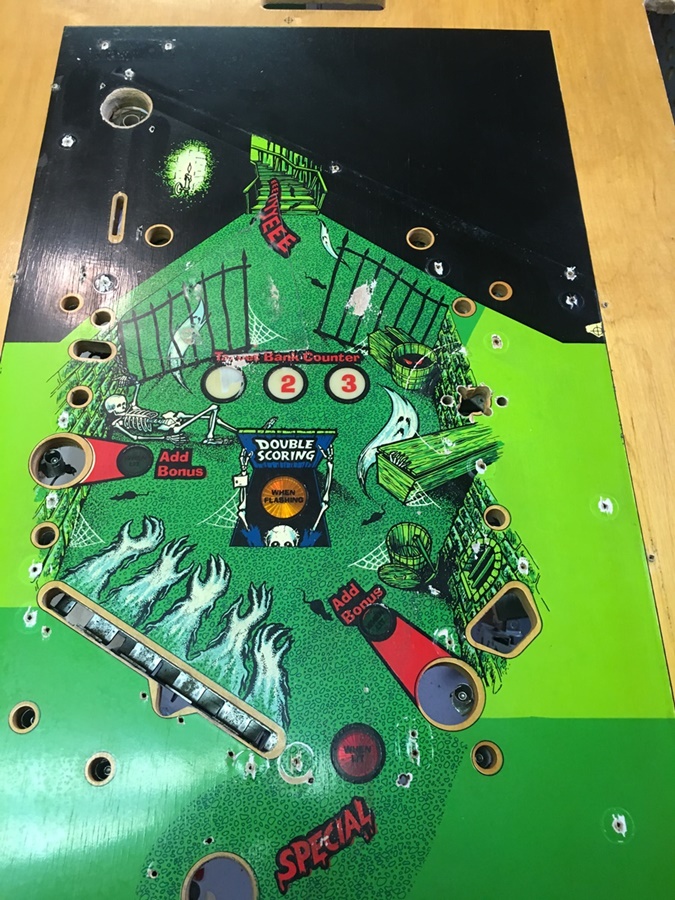
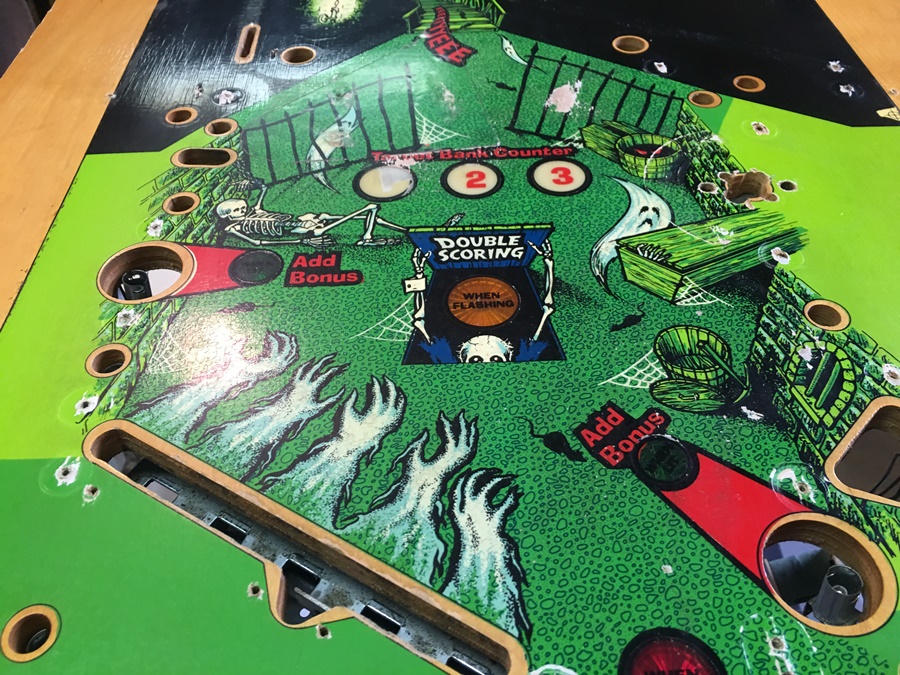
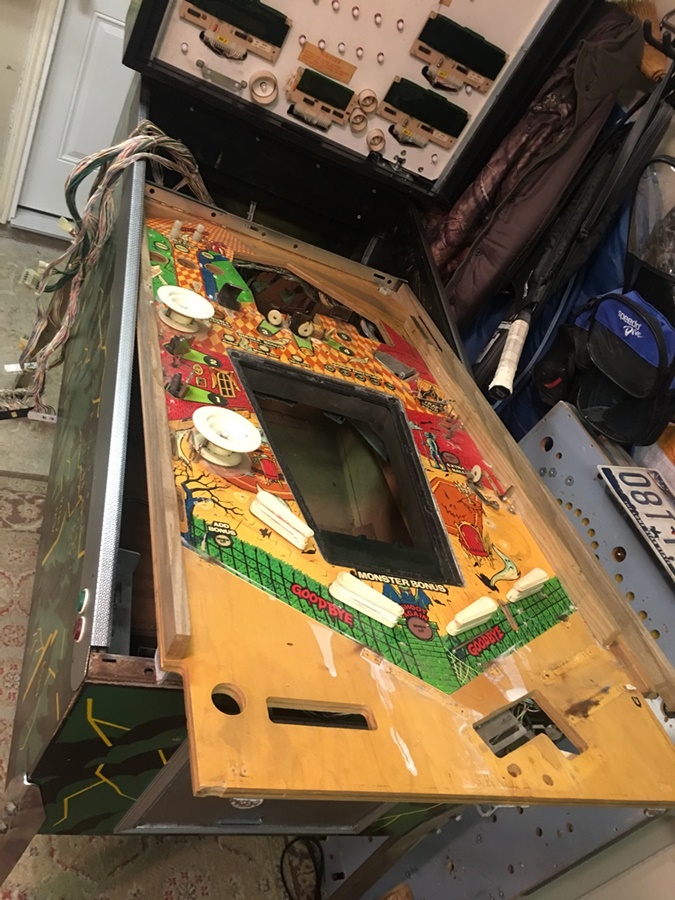
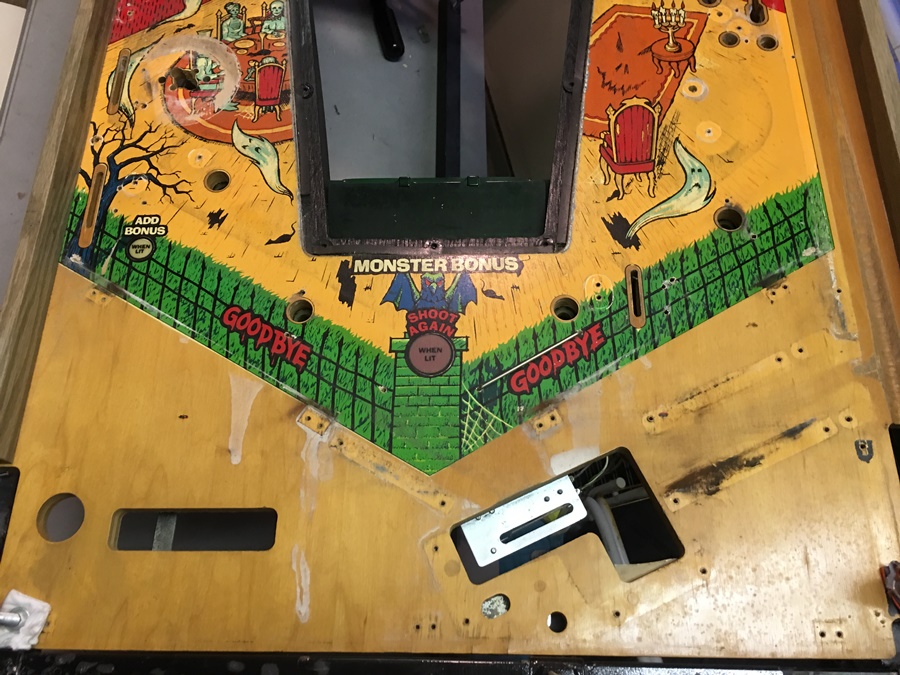
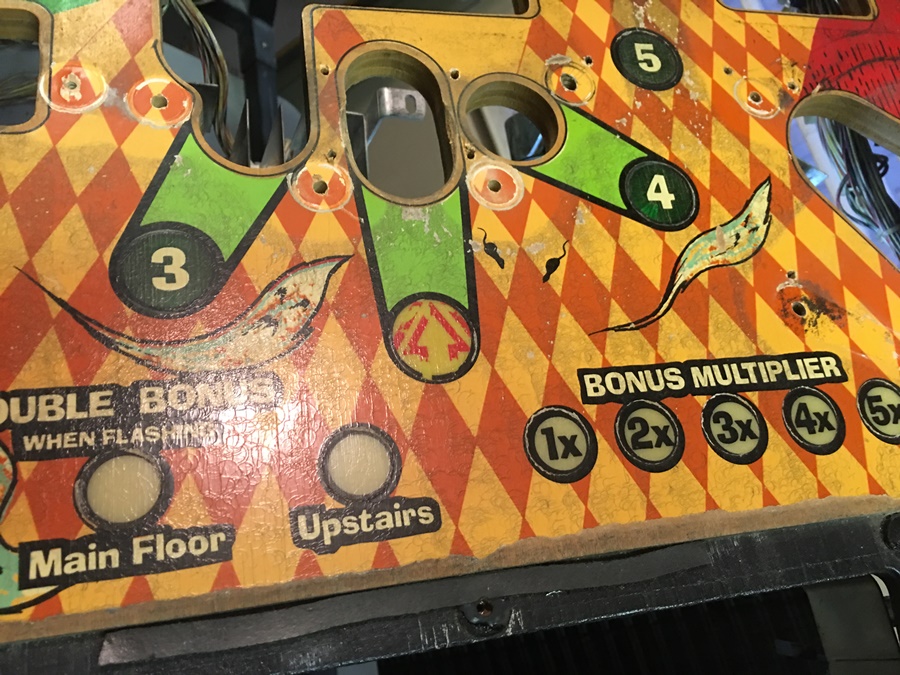
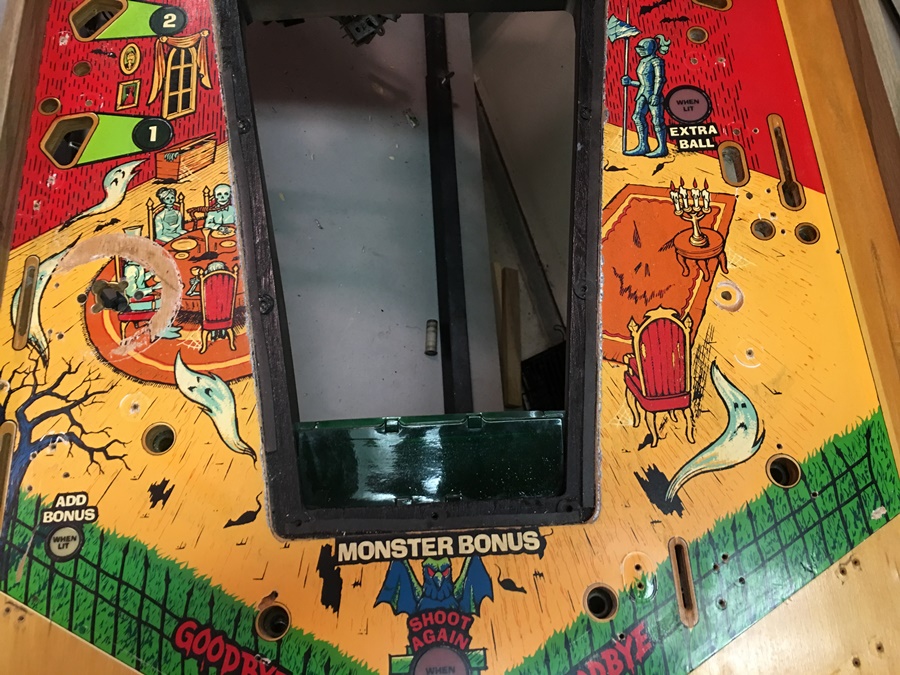
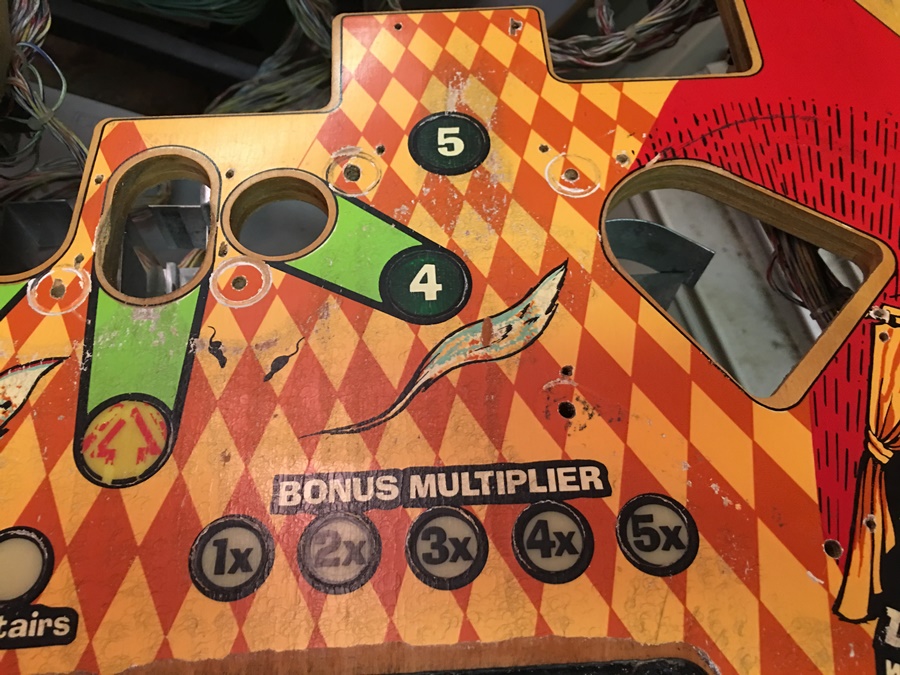
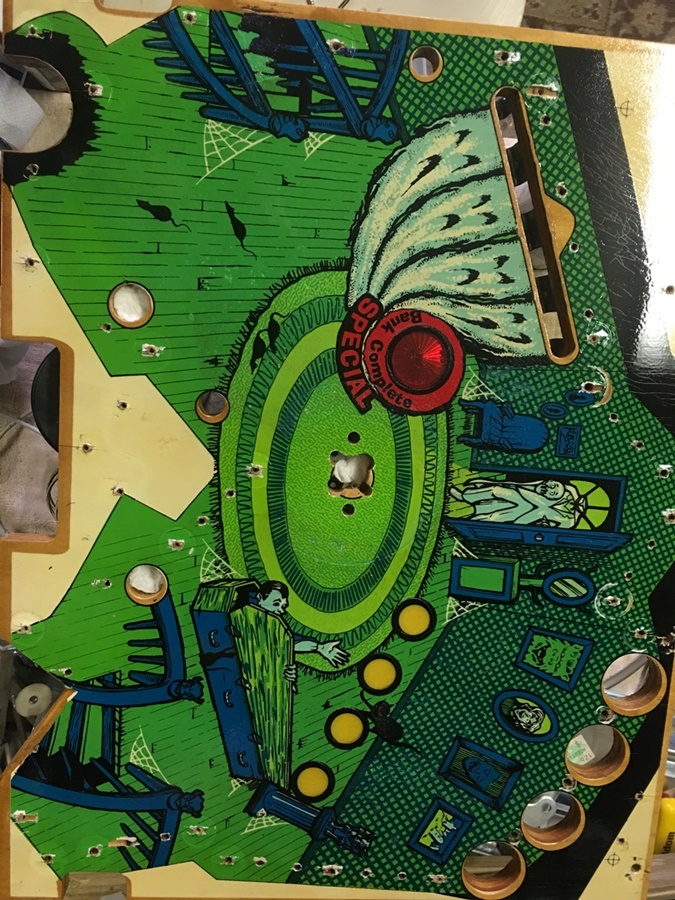
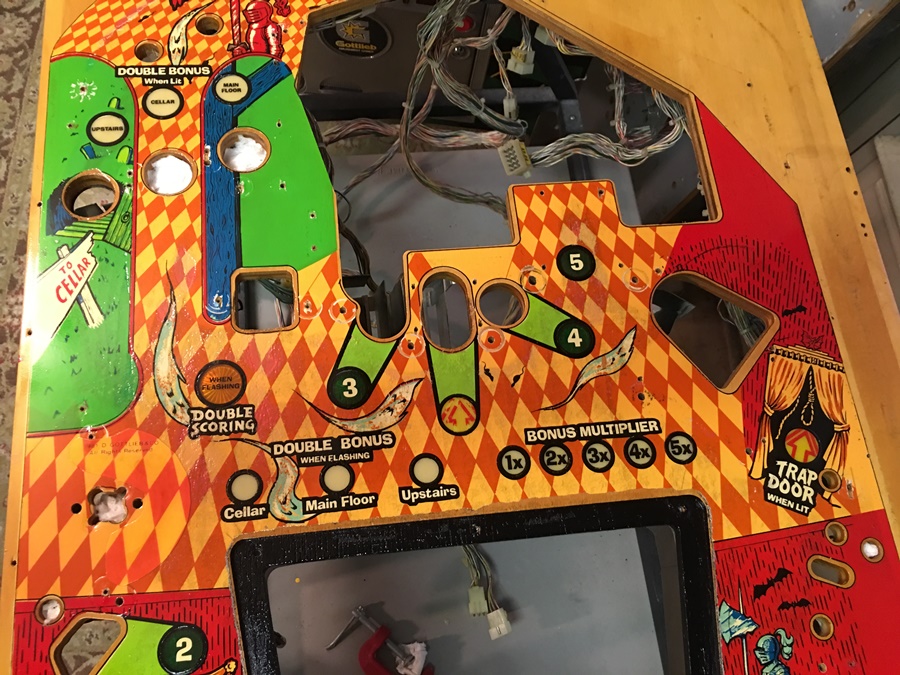
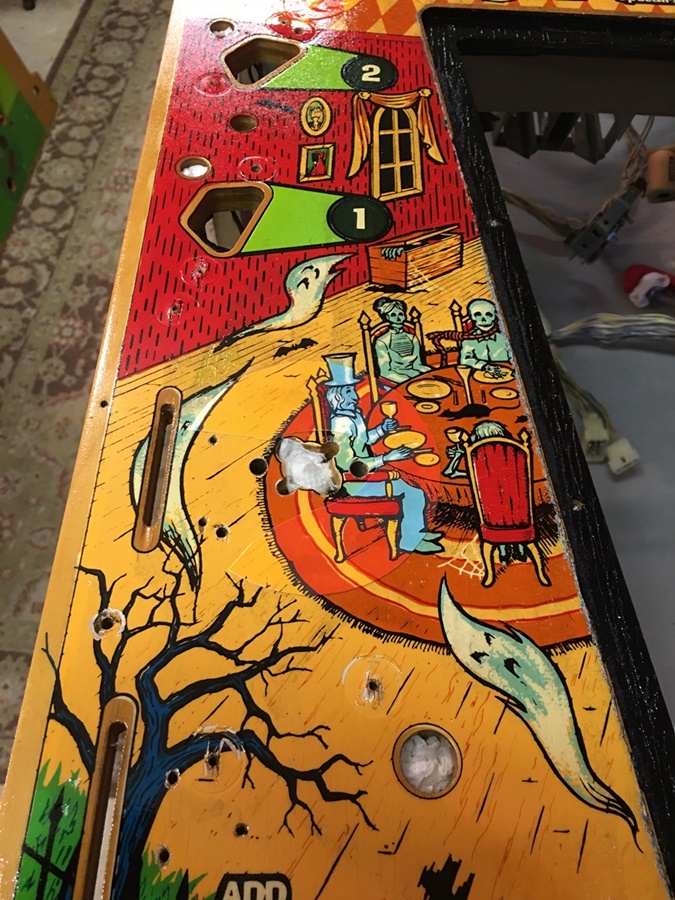
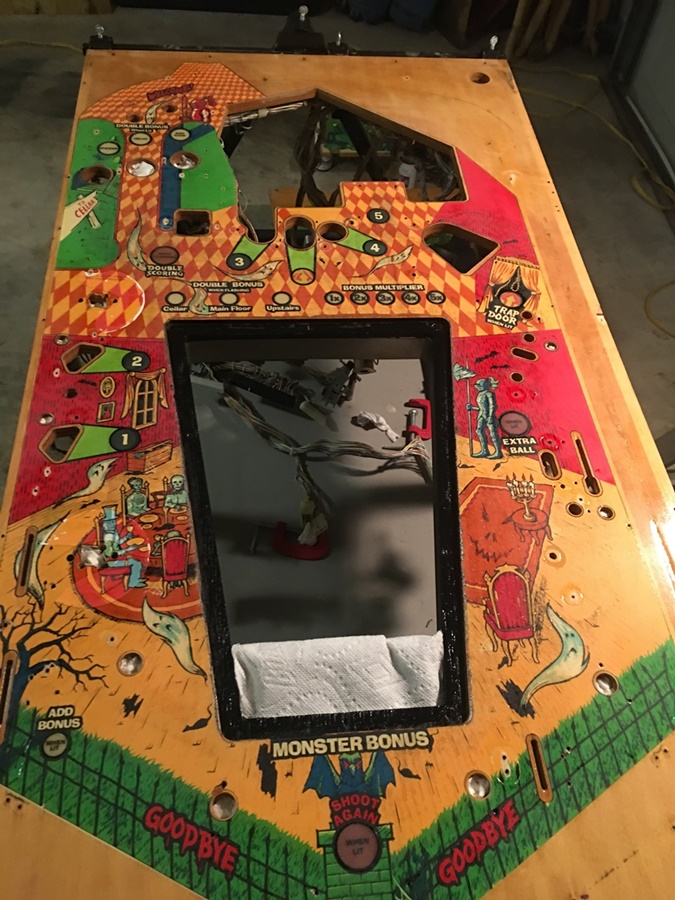
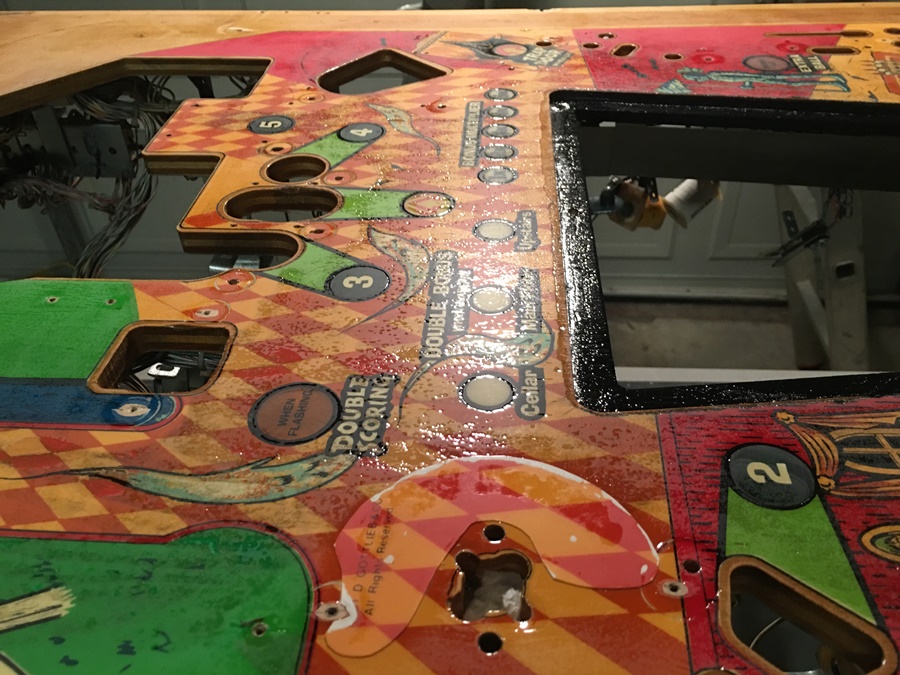
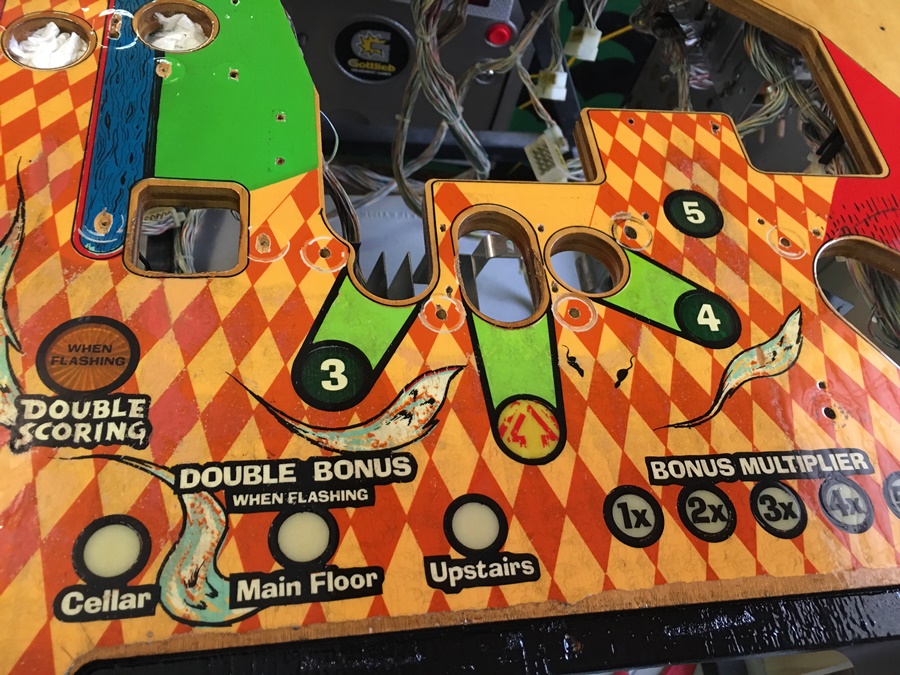
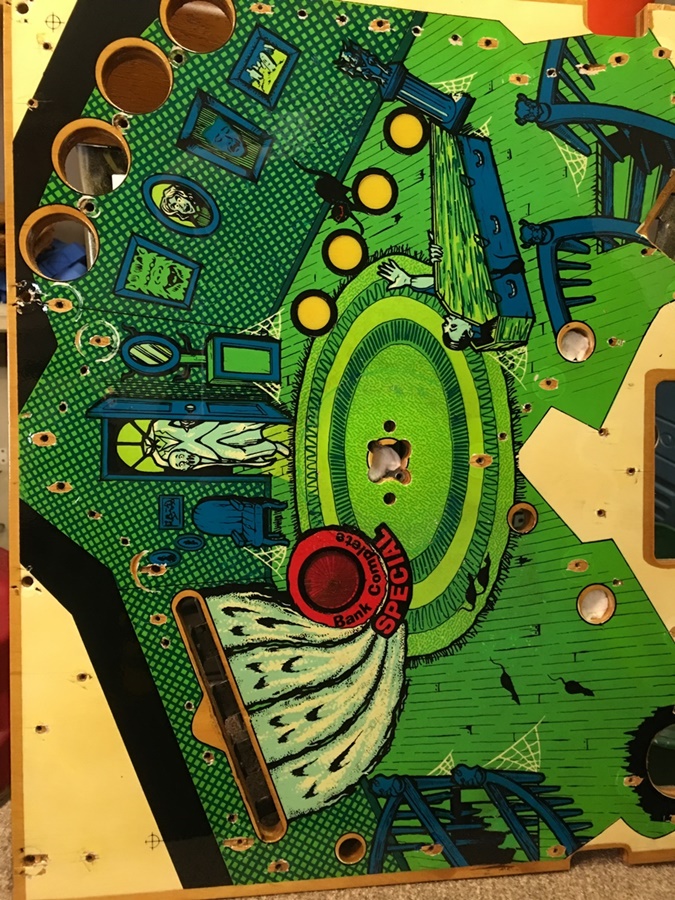
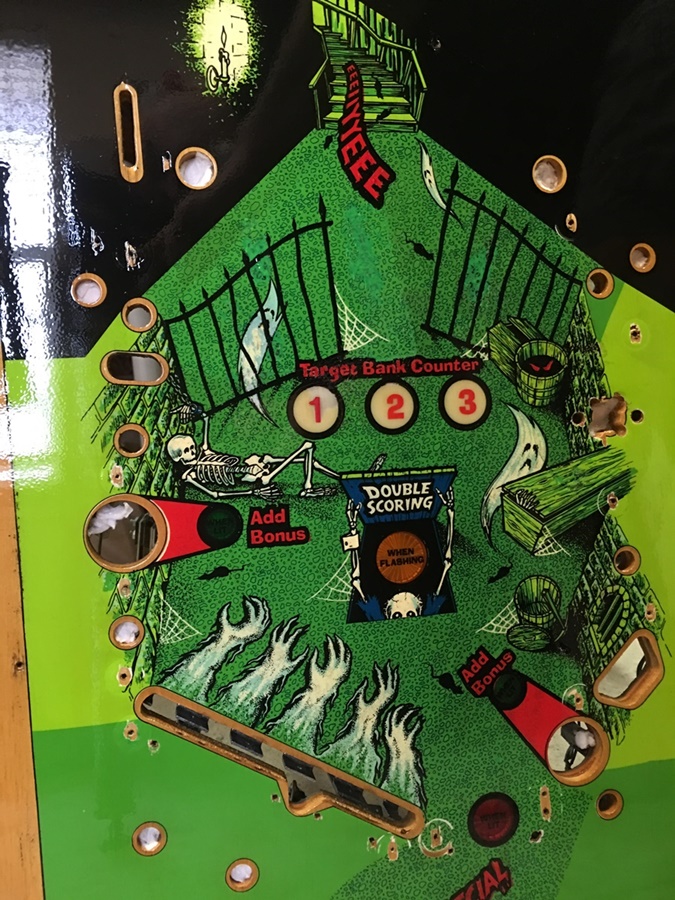
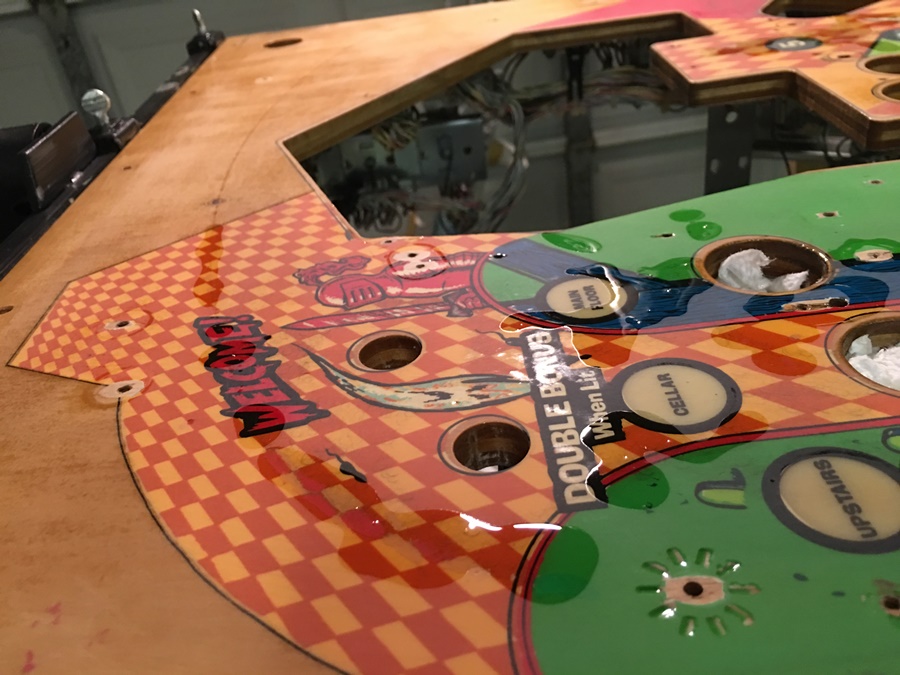
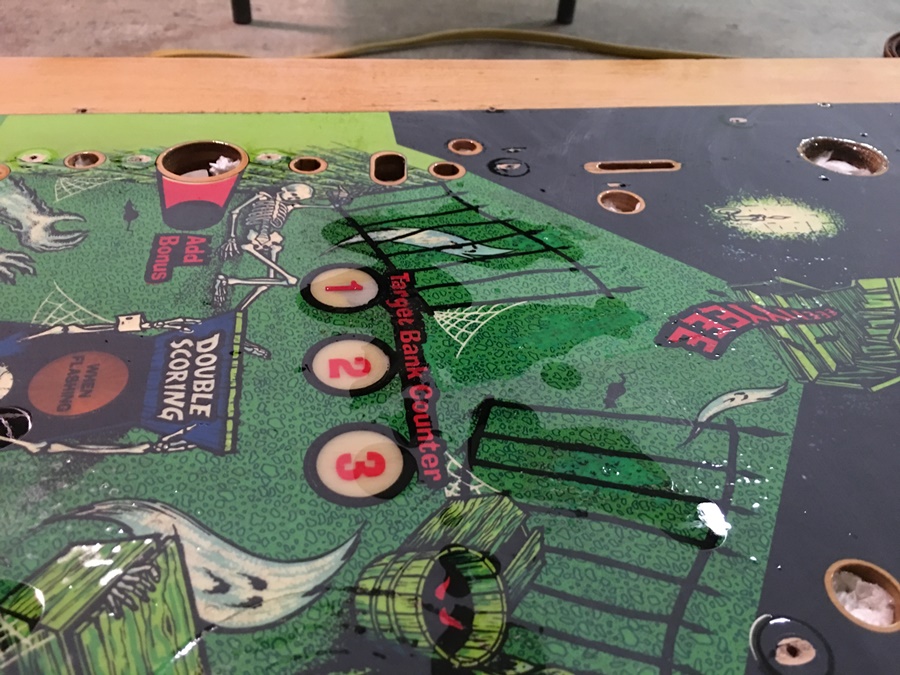
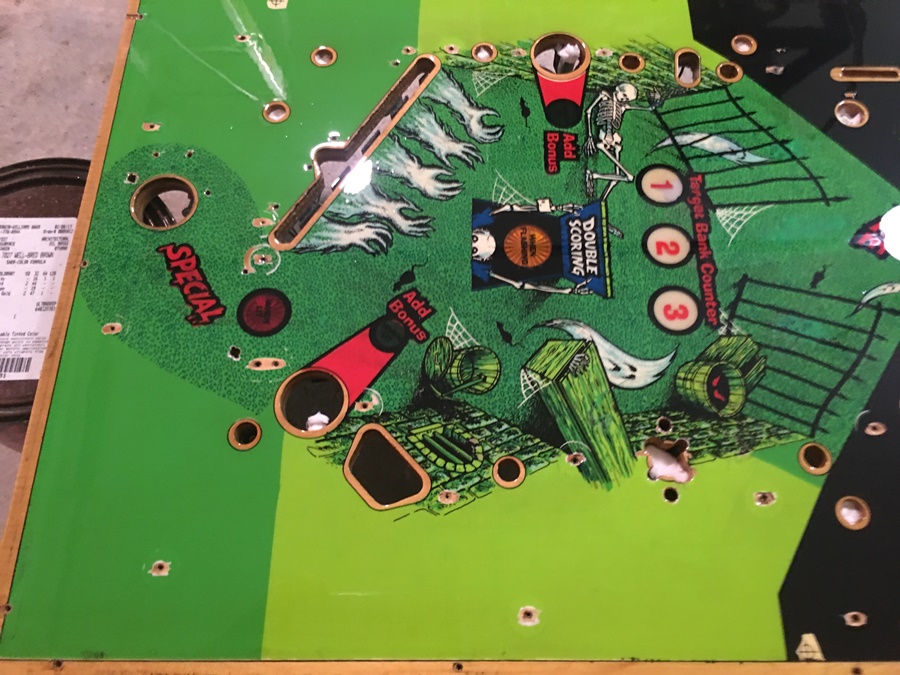
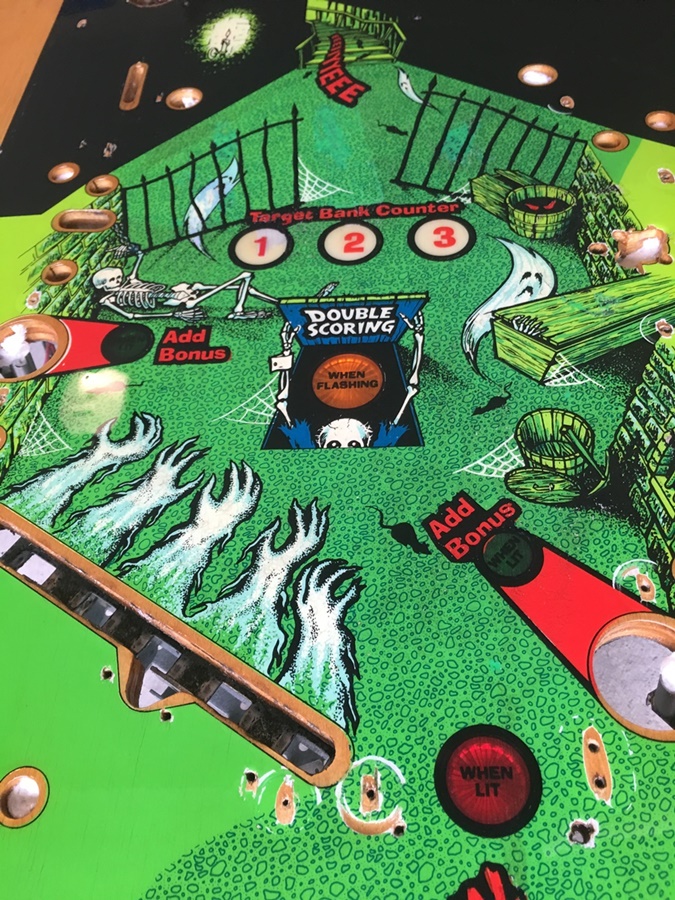
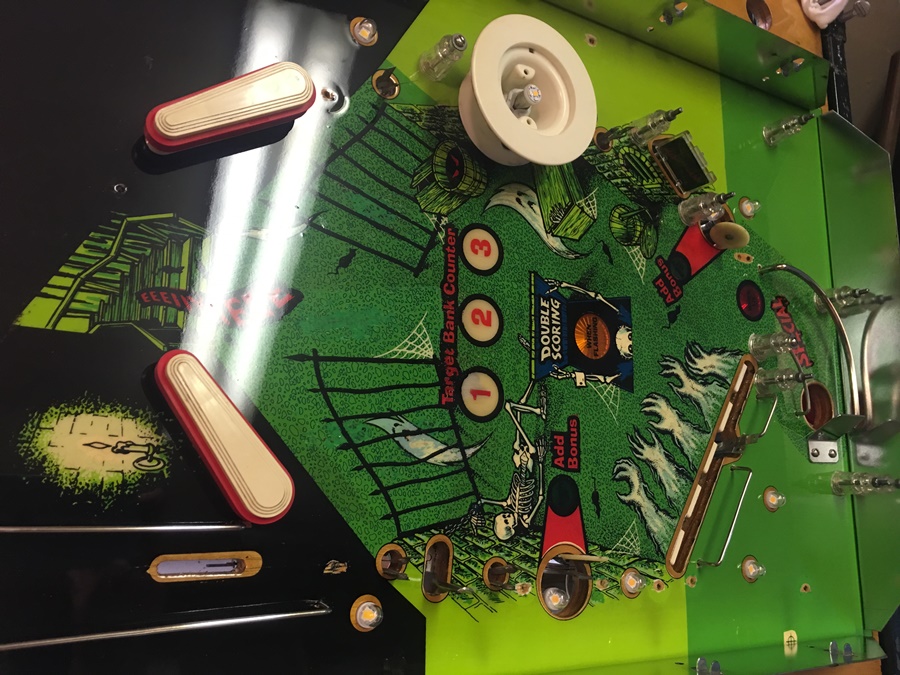
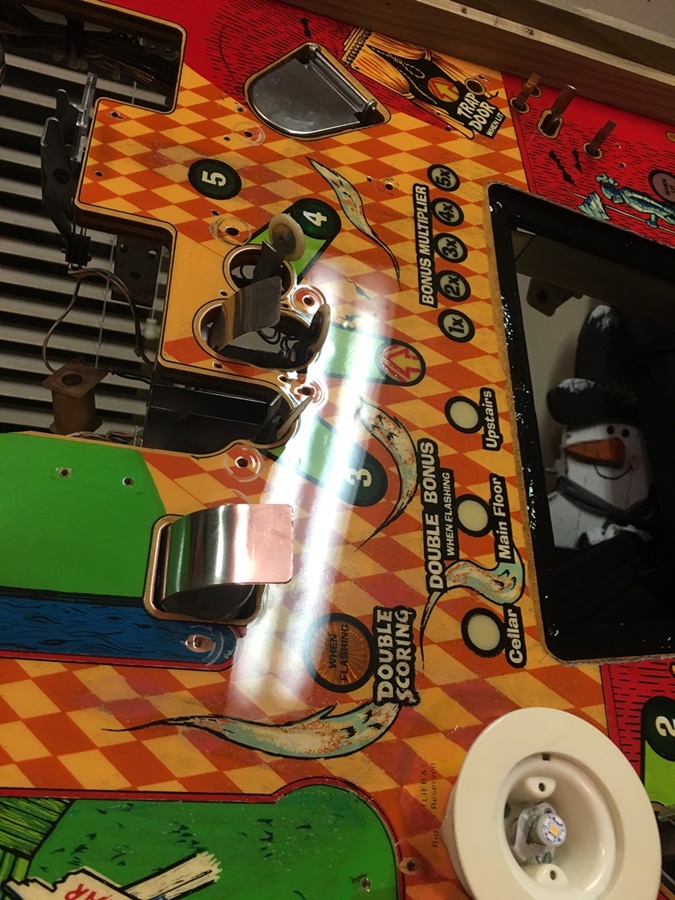
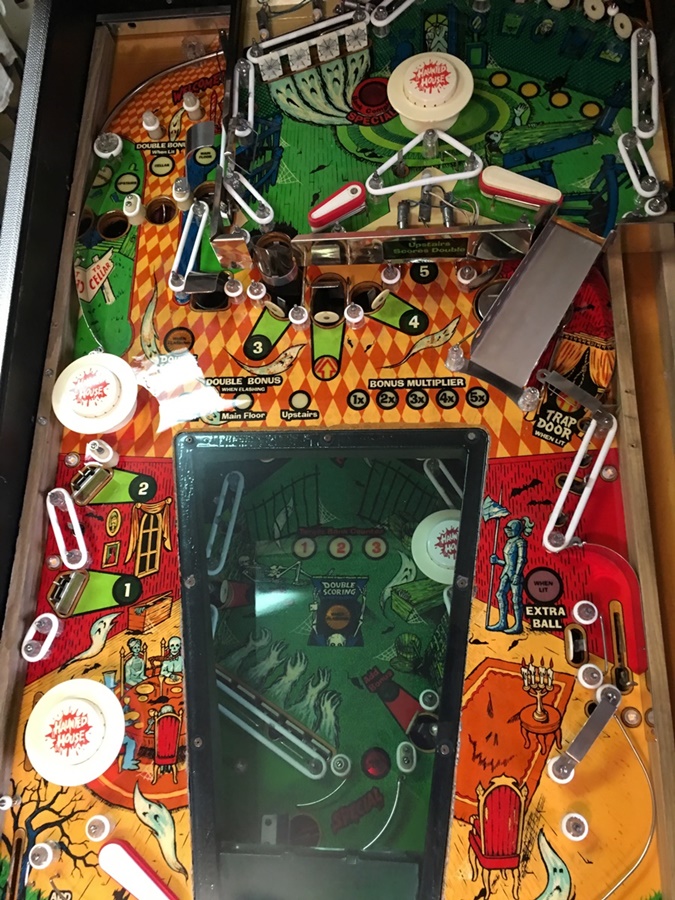
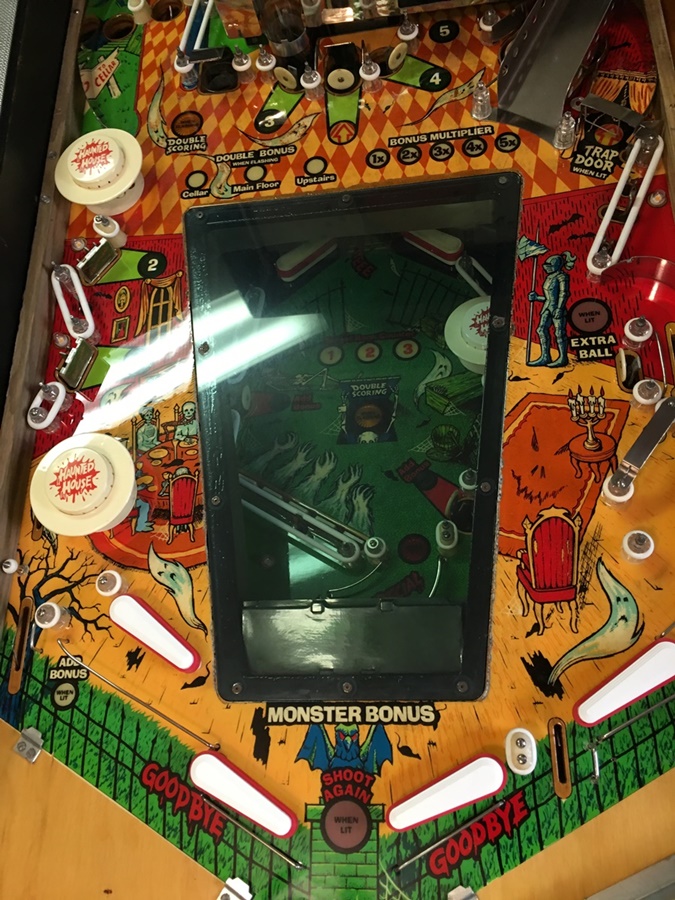
Here's the lower playfield
It's got a few bare spots where the ball drops.
Kinda grimey
Overall, it's not too bad
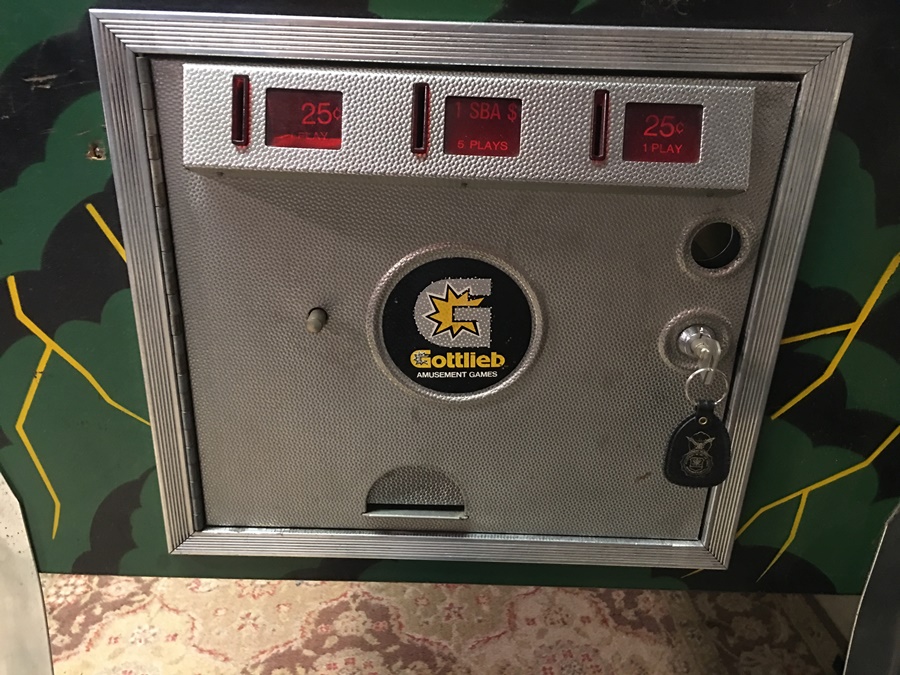
The coin door is in good shape, just needs a bit of shine
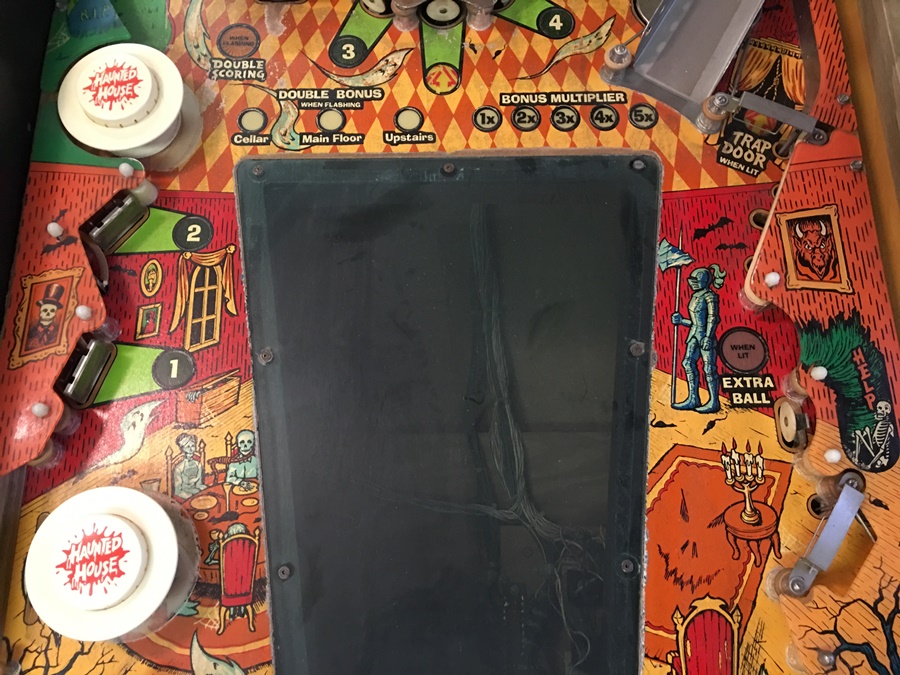

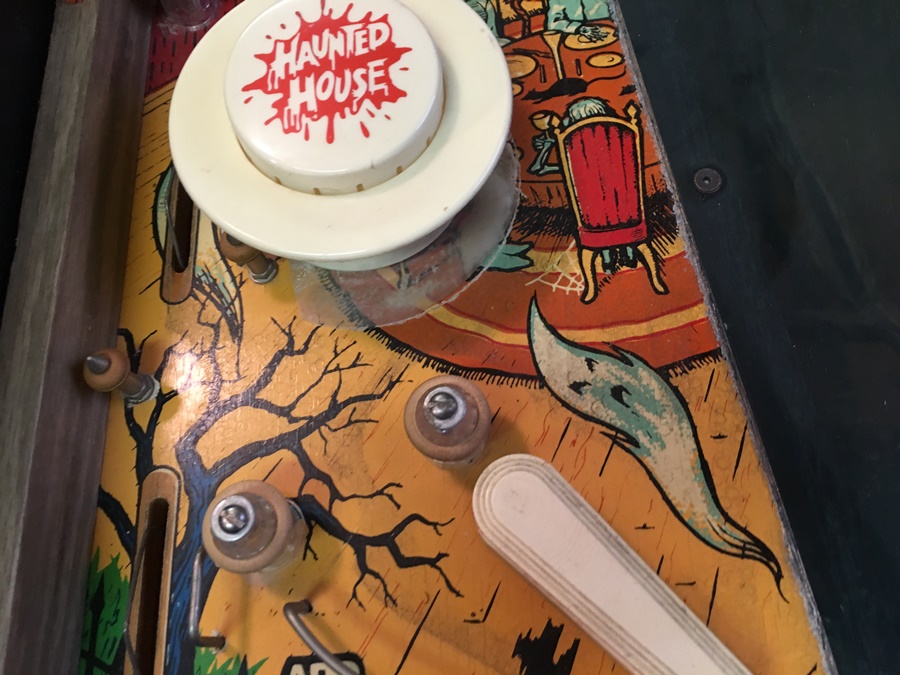
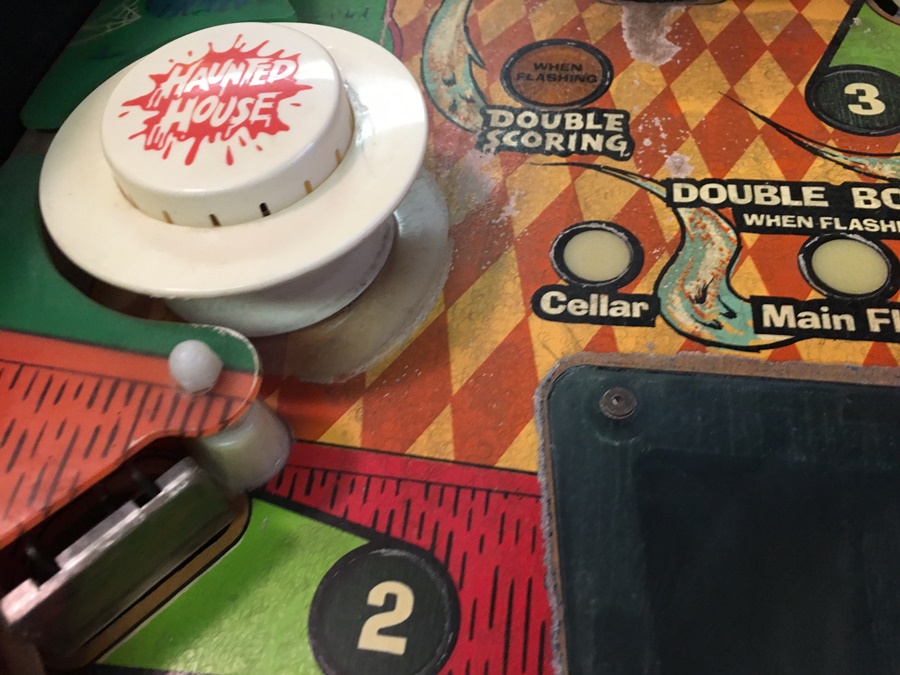
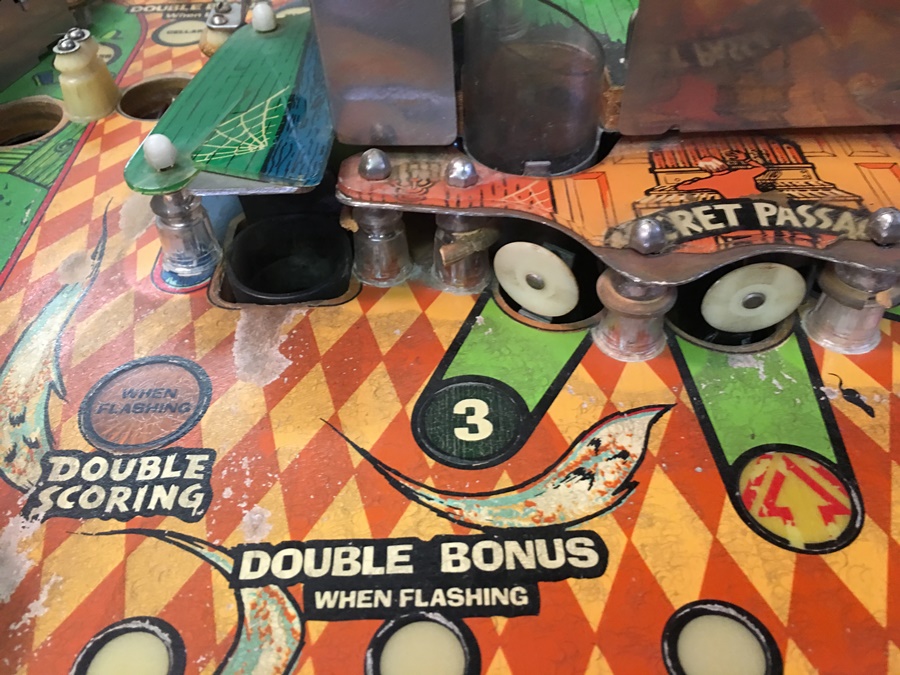
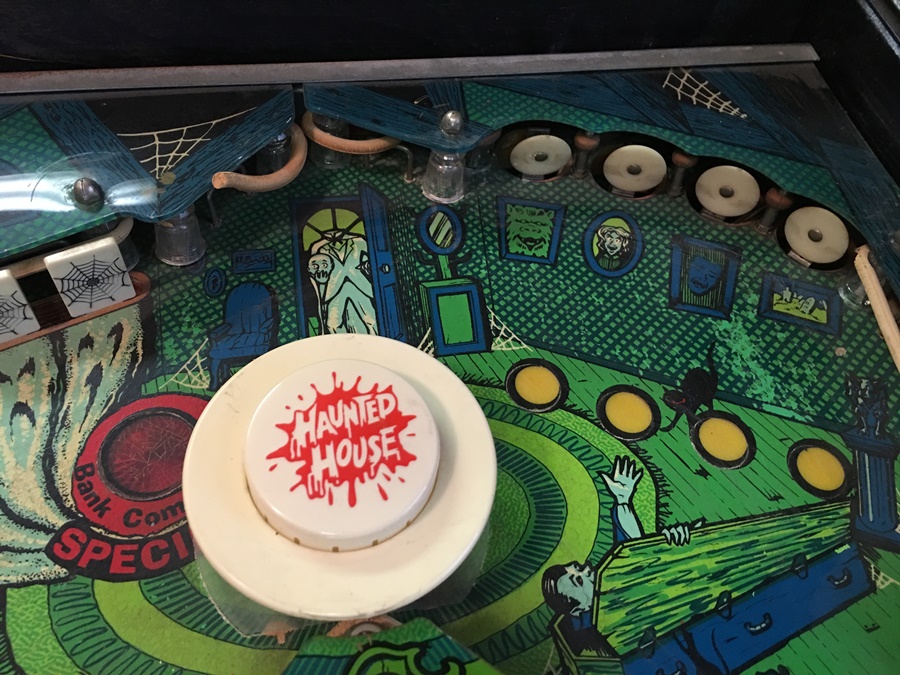
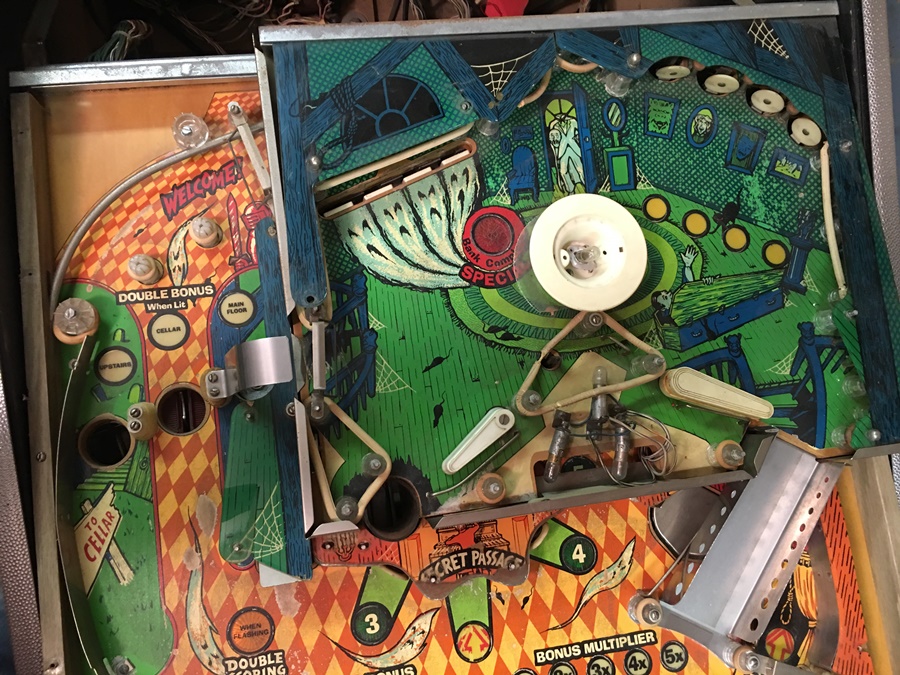
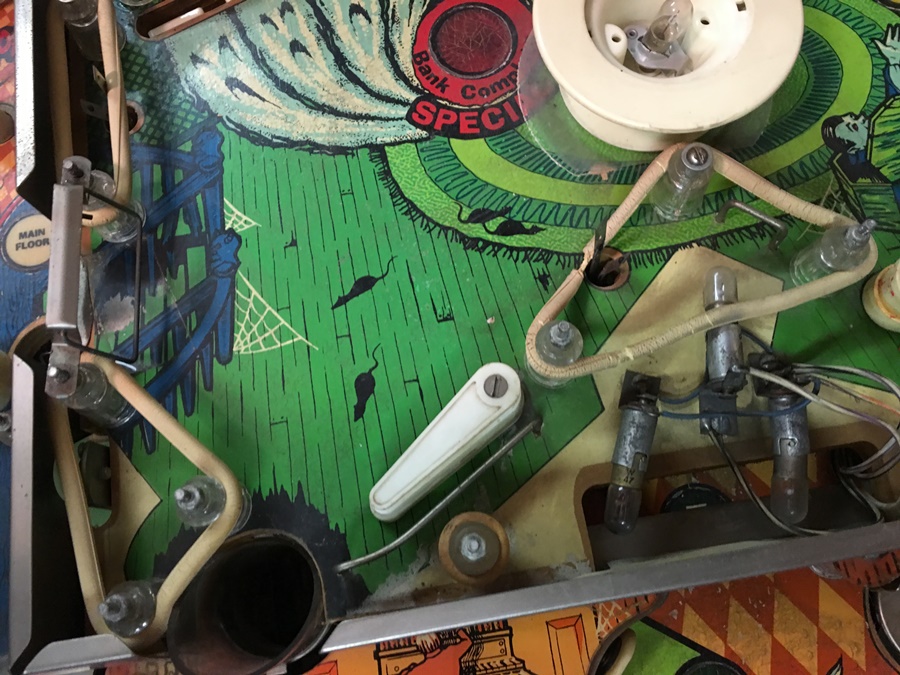
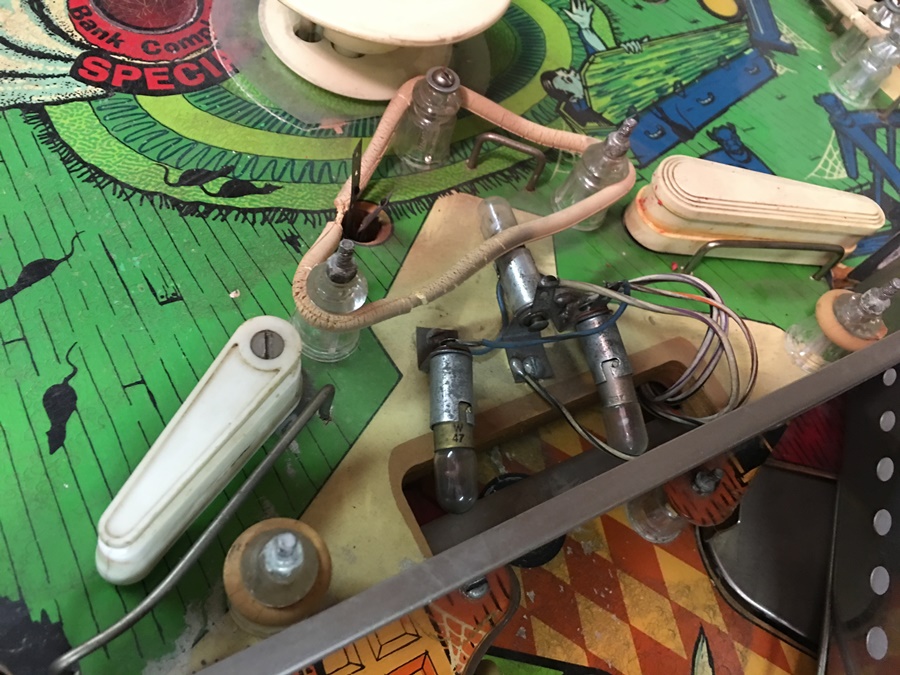
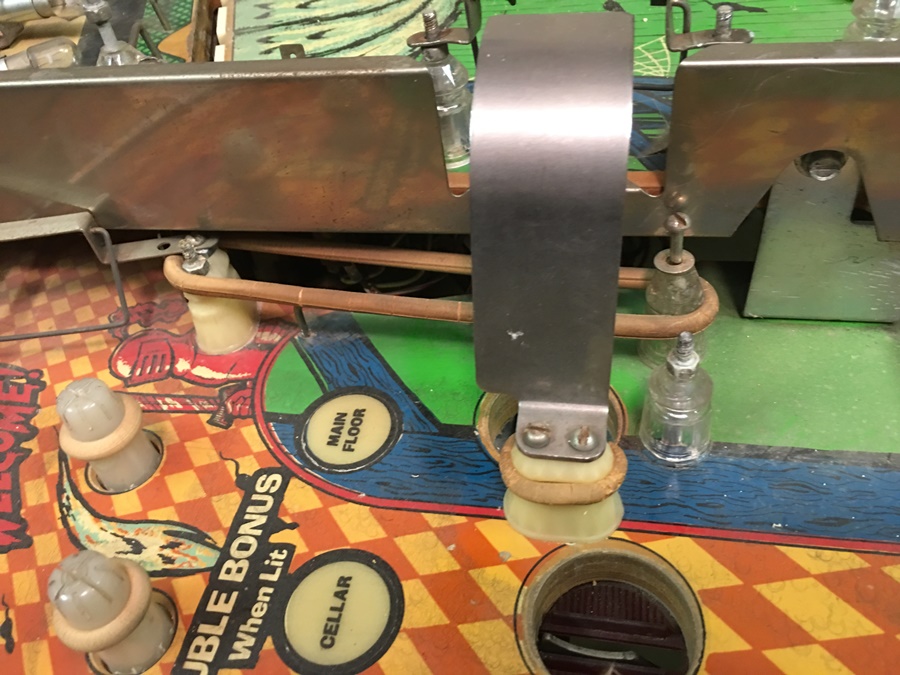
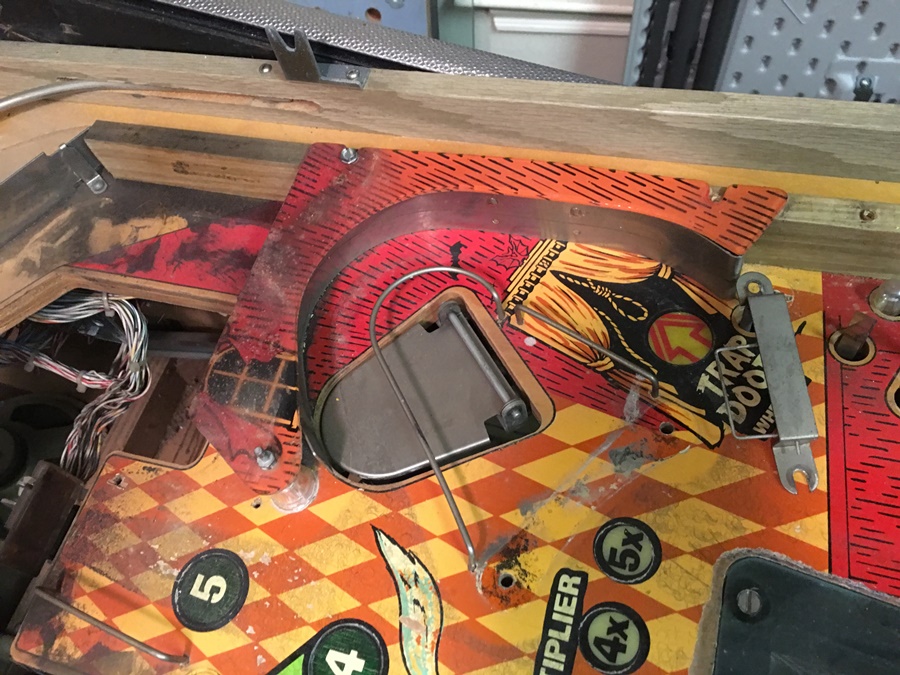
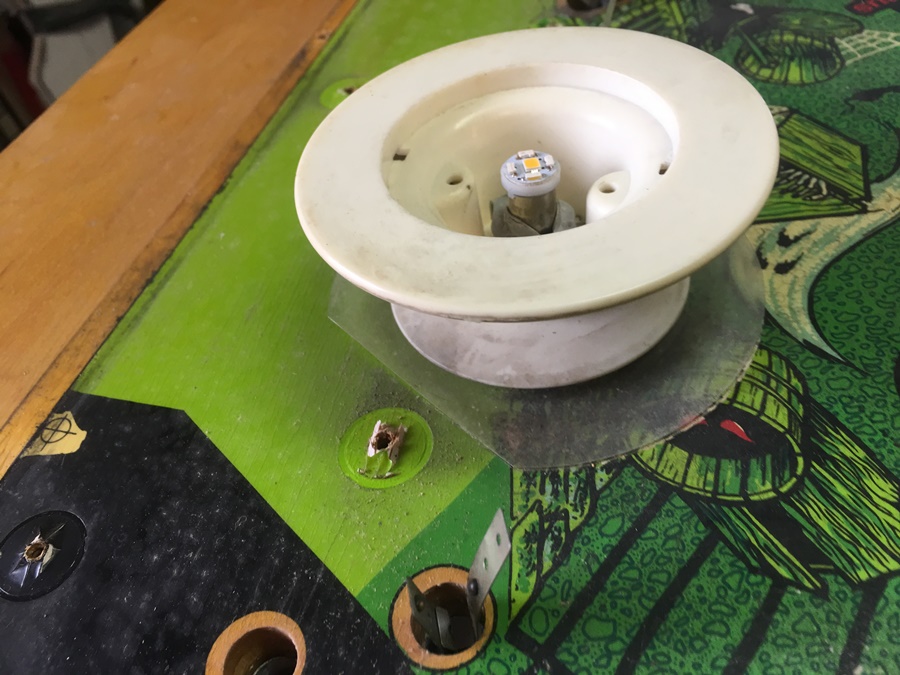
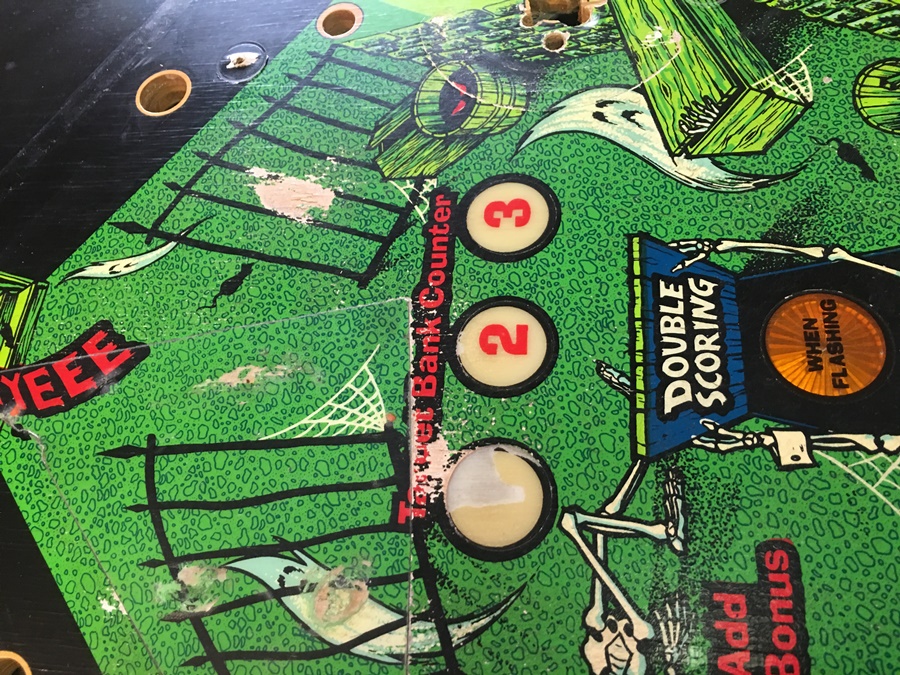
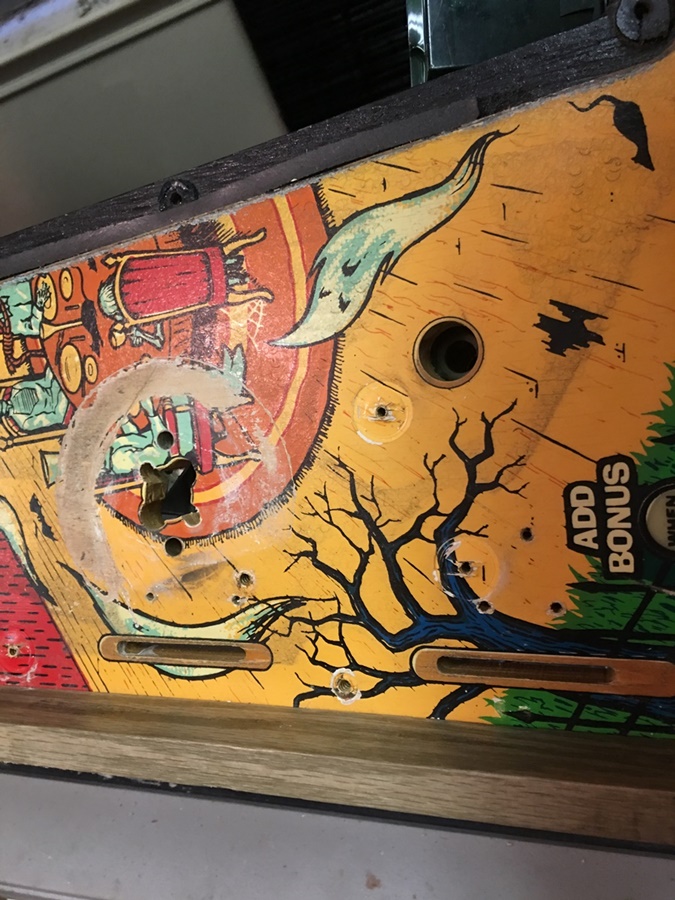
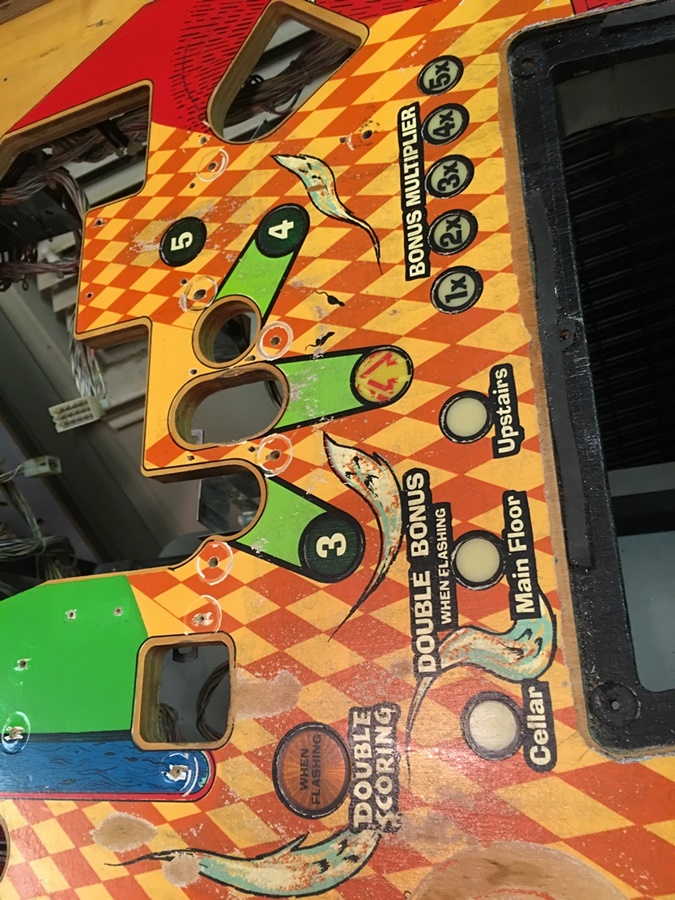
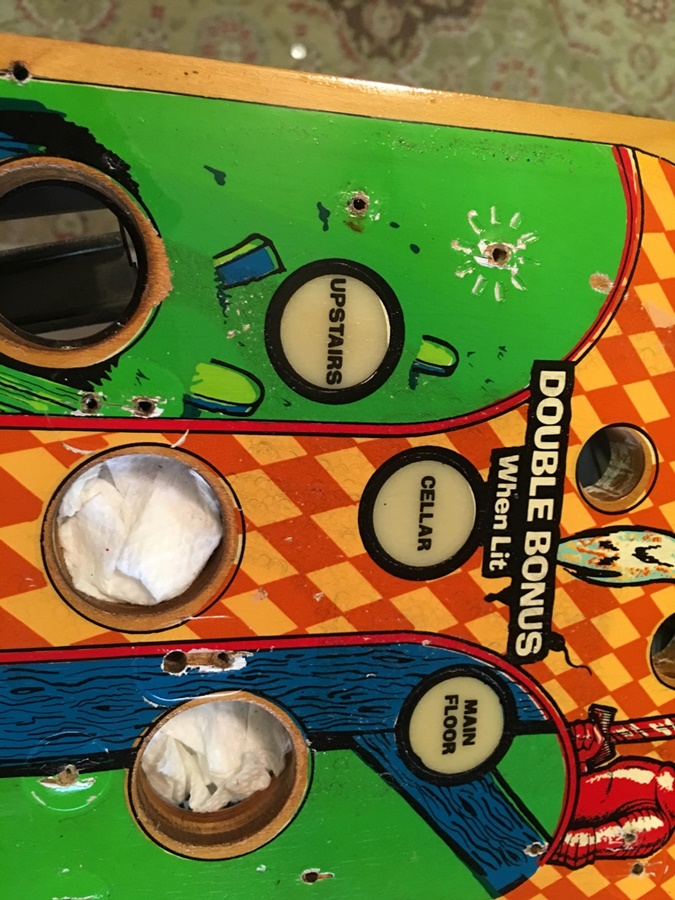
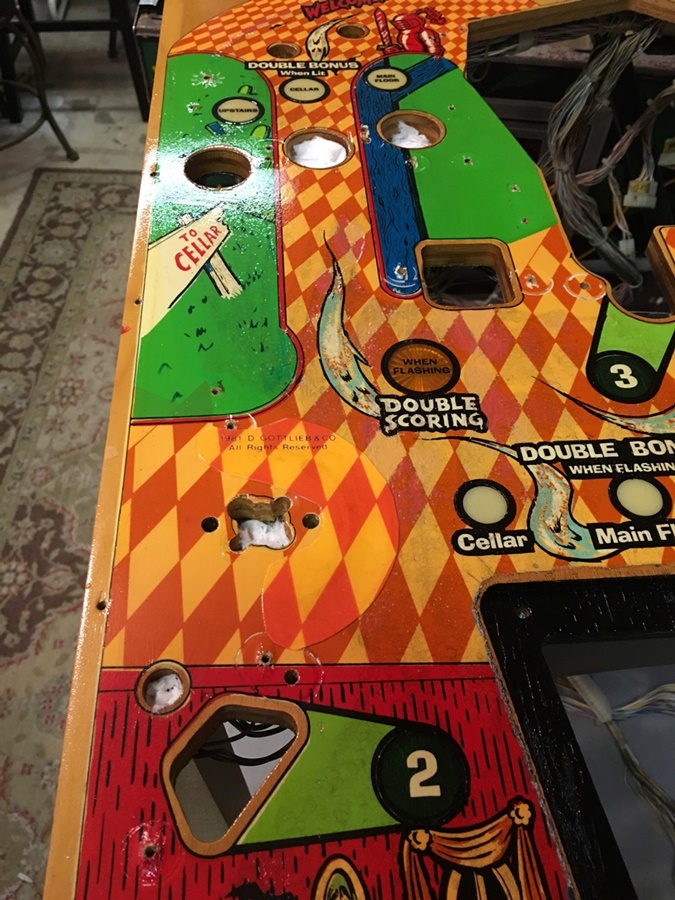
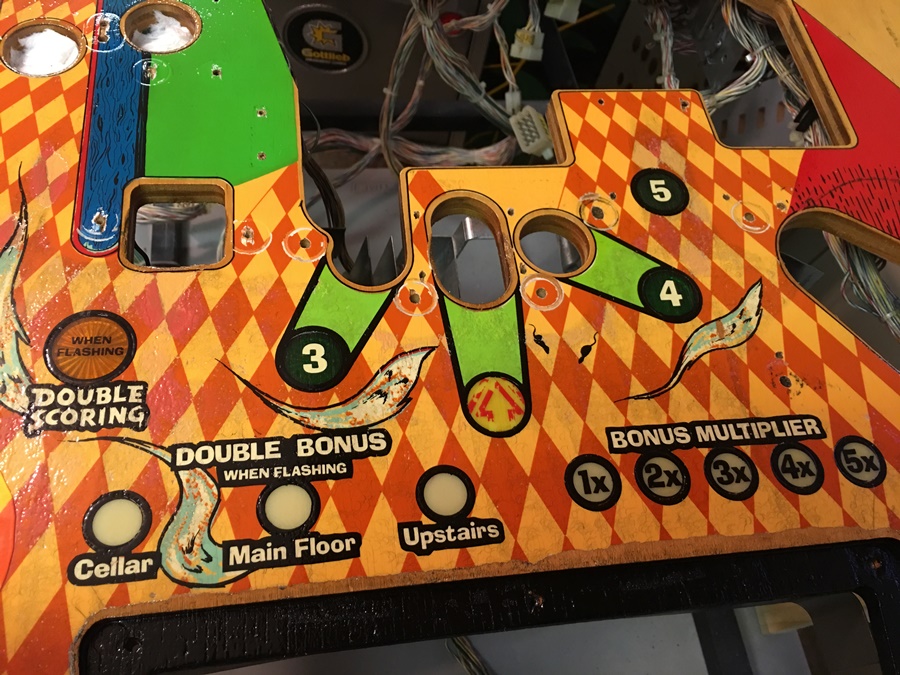
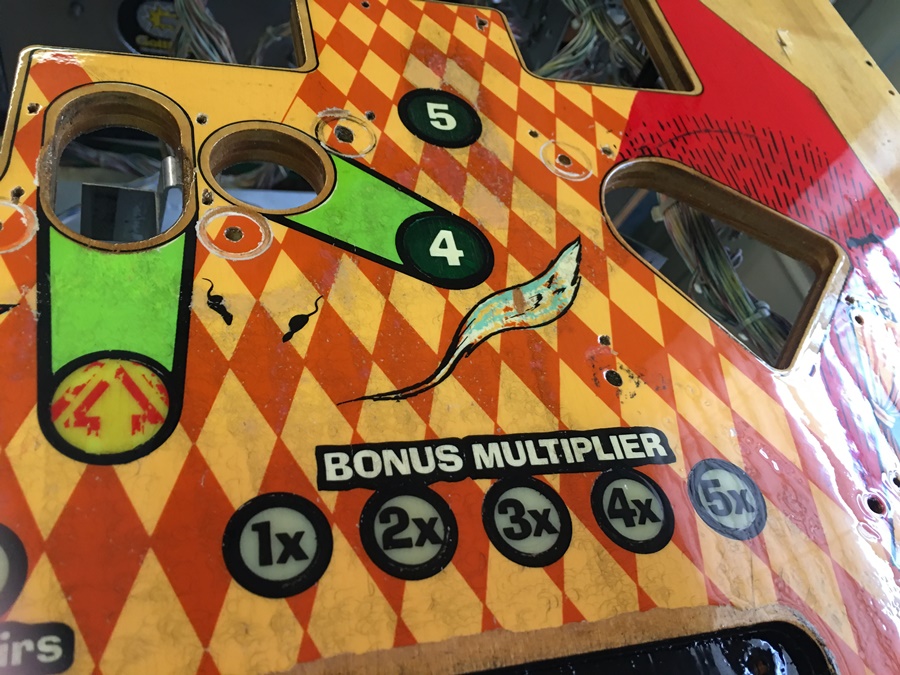
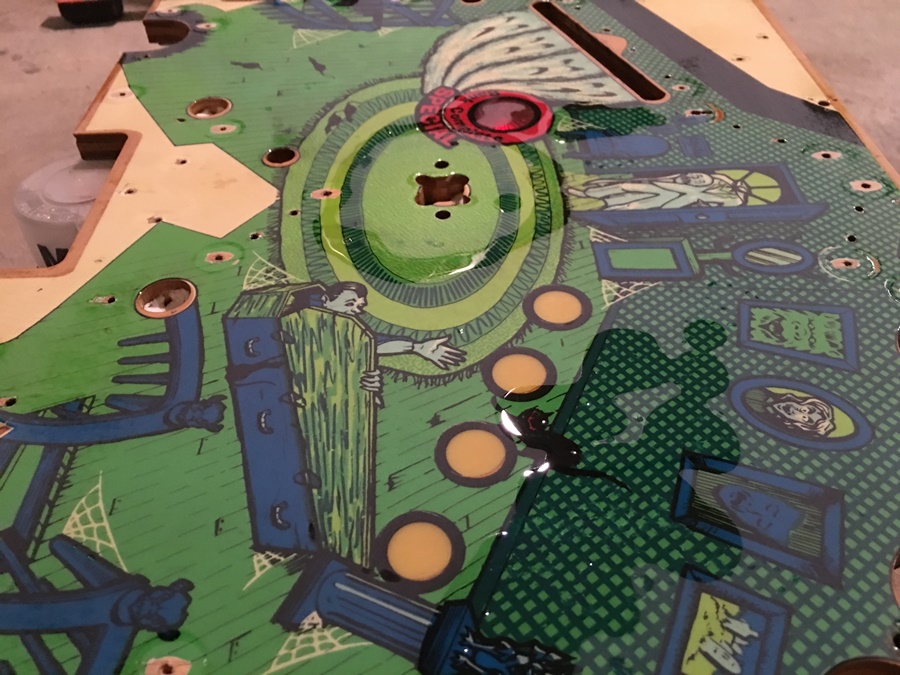
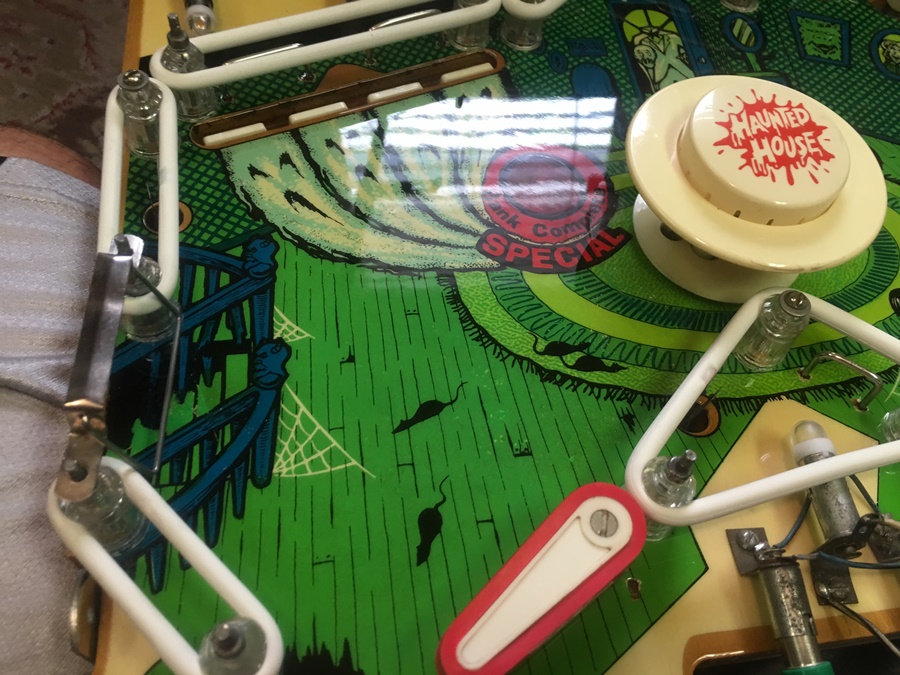
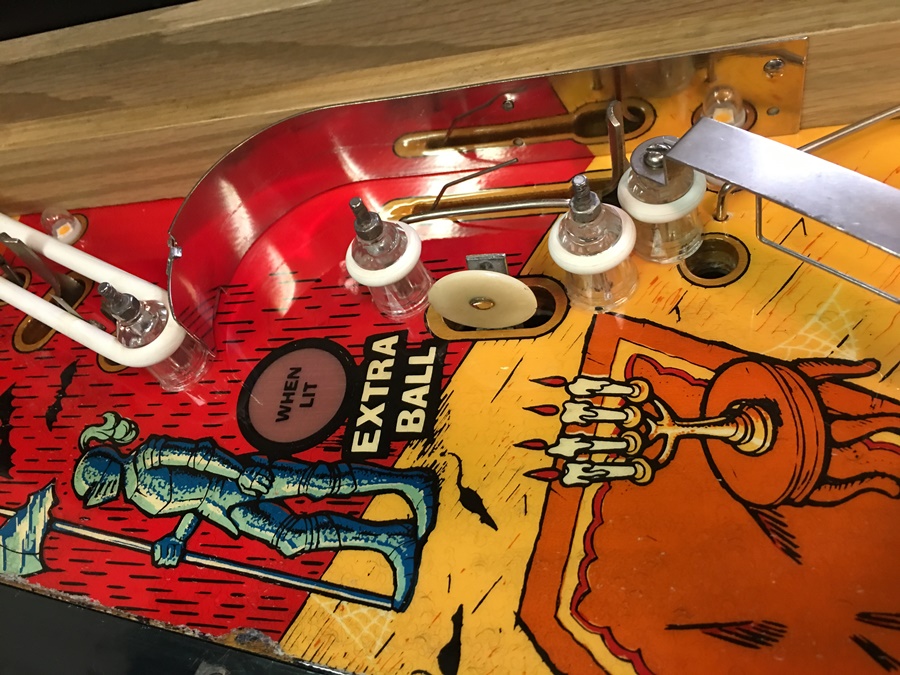
Some good wear at the kickout and around the pop bumpers
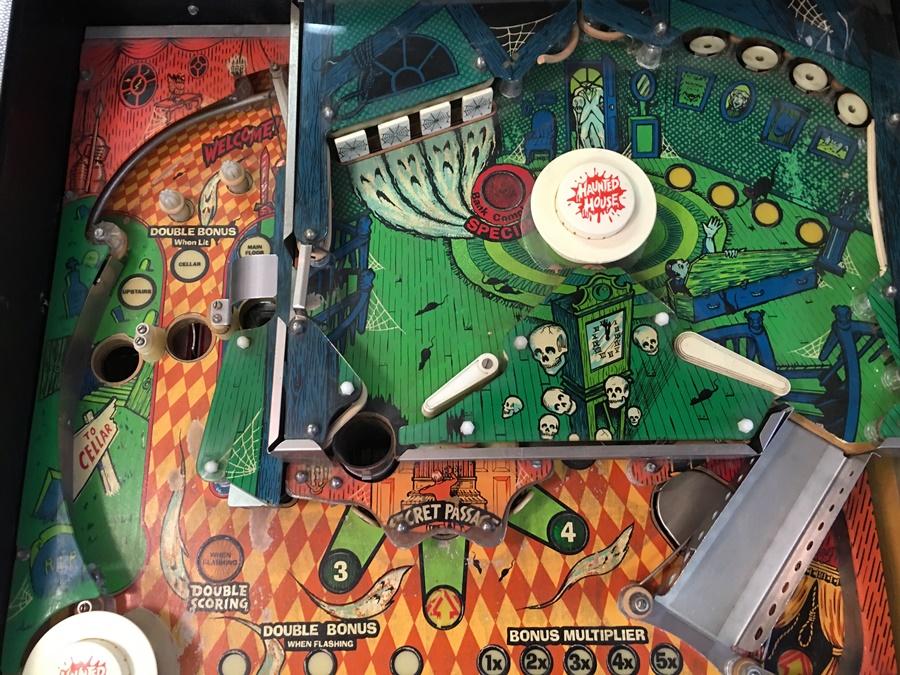
Of course, all the rubbers are old and brittle
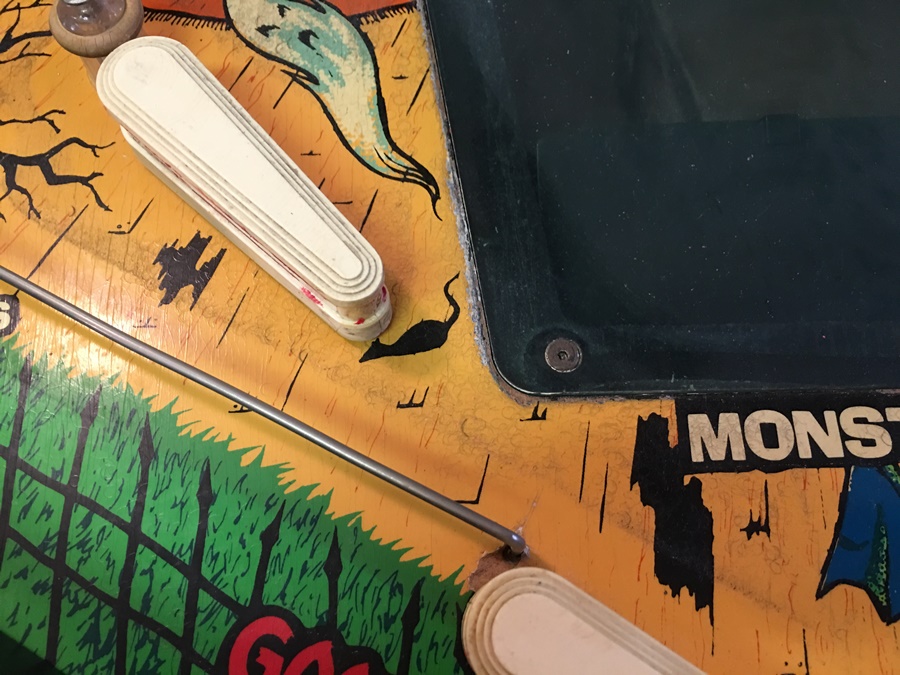
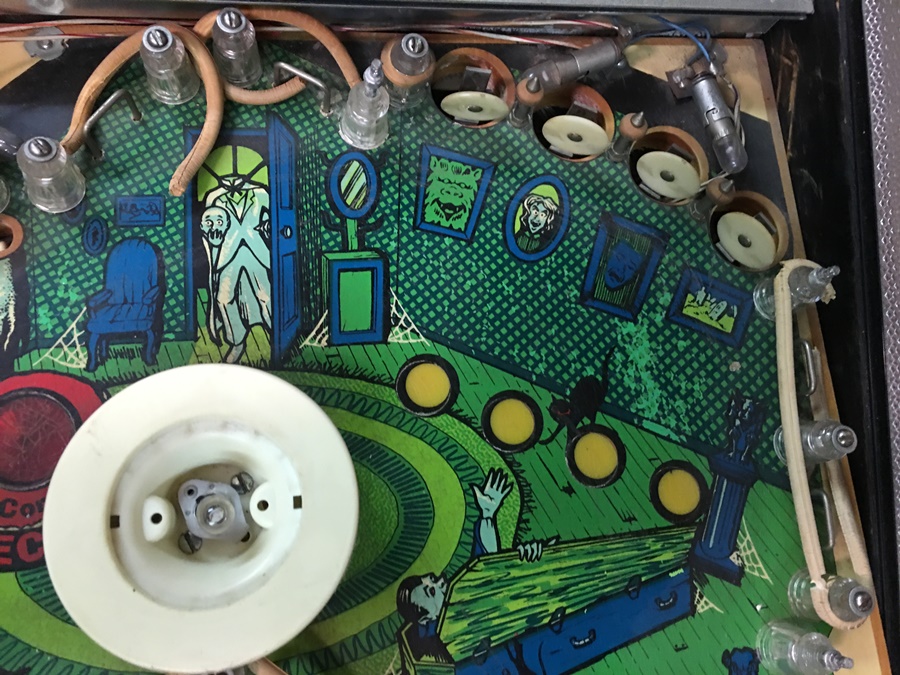
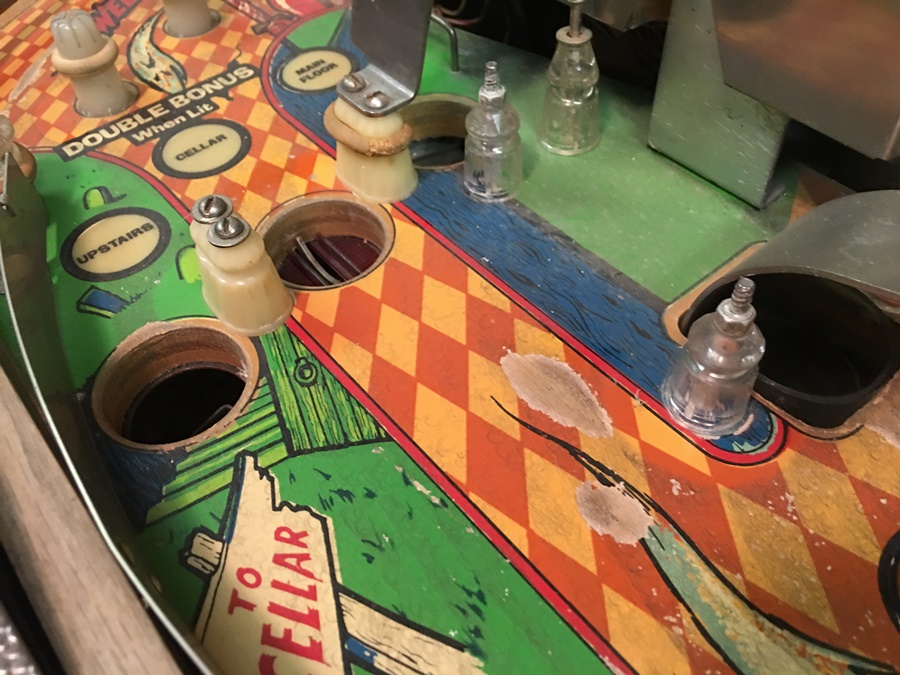
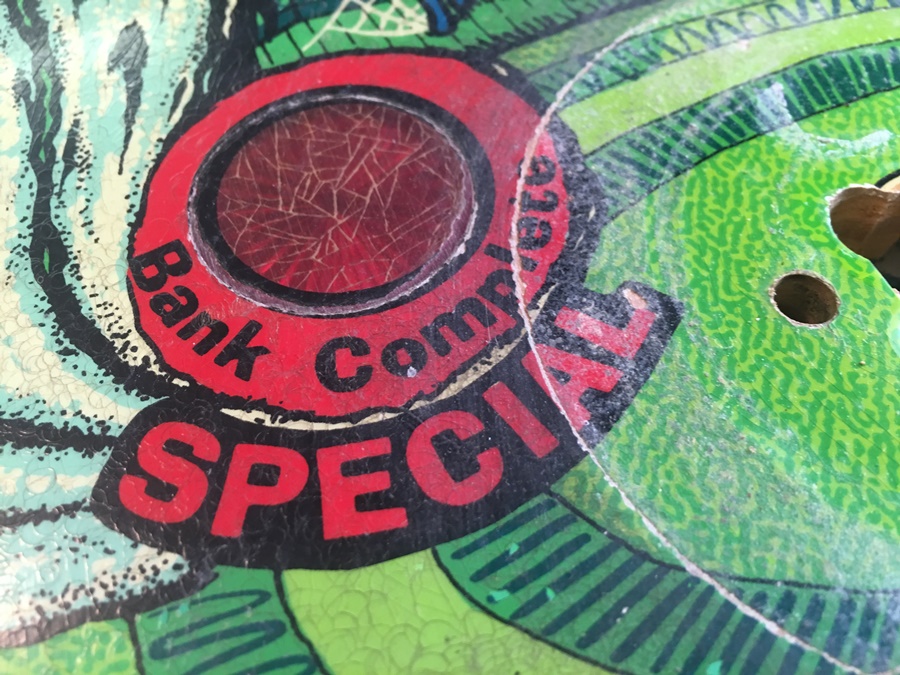
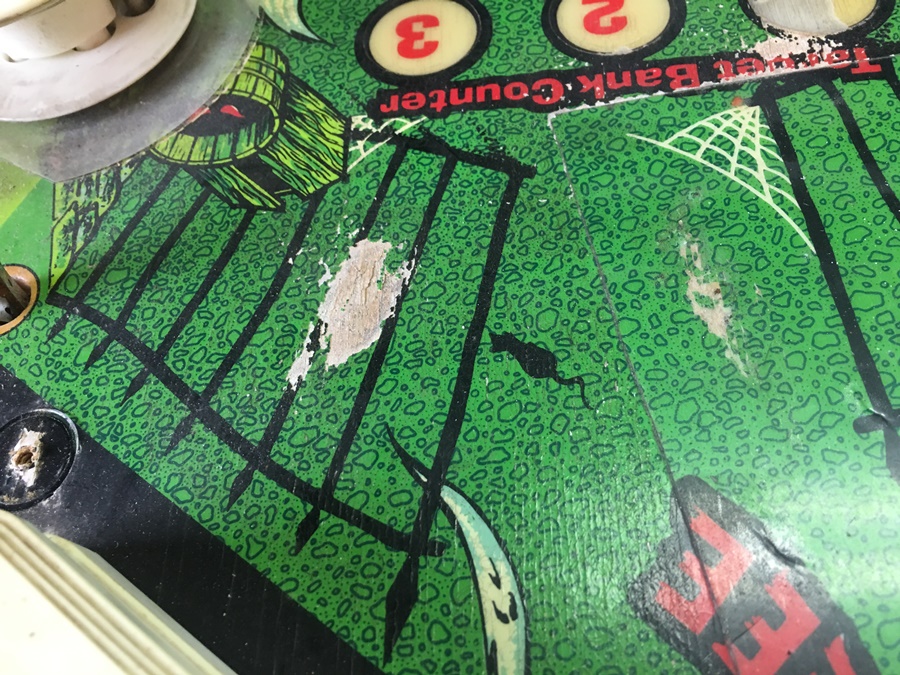
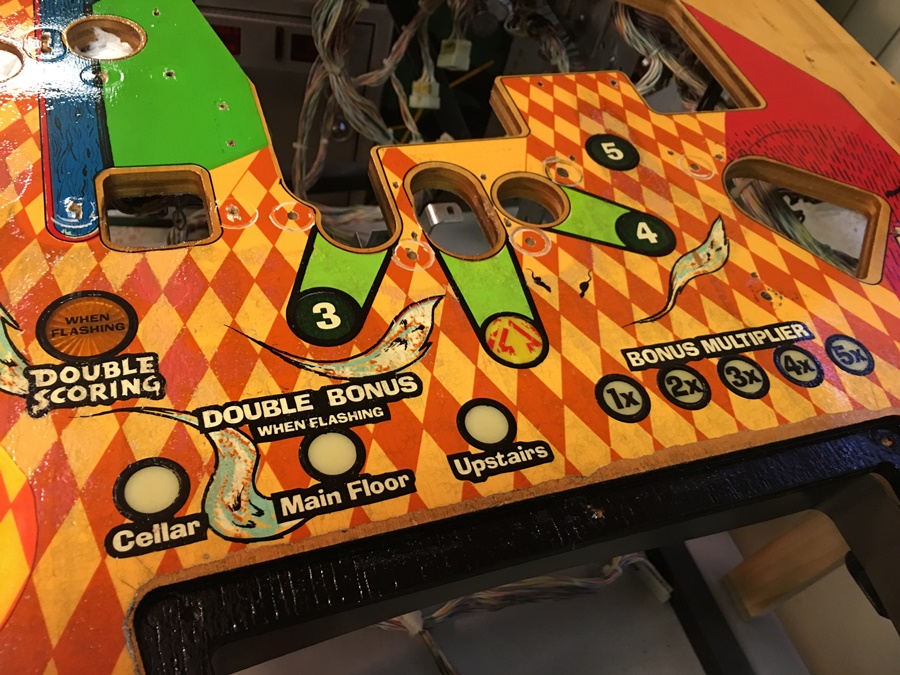
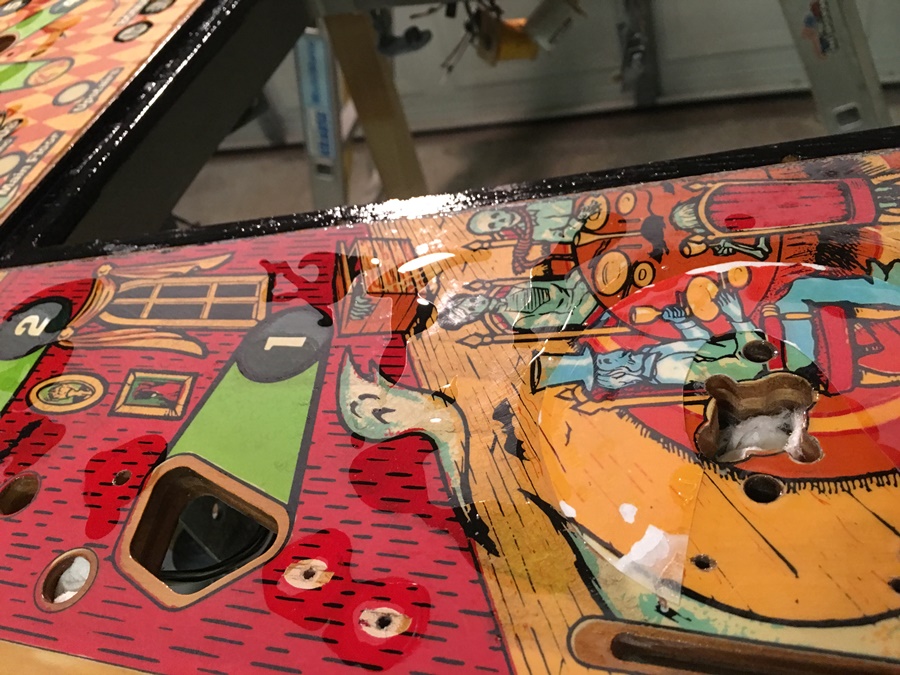
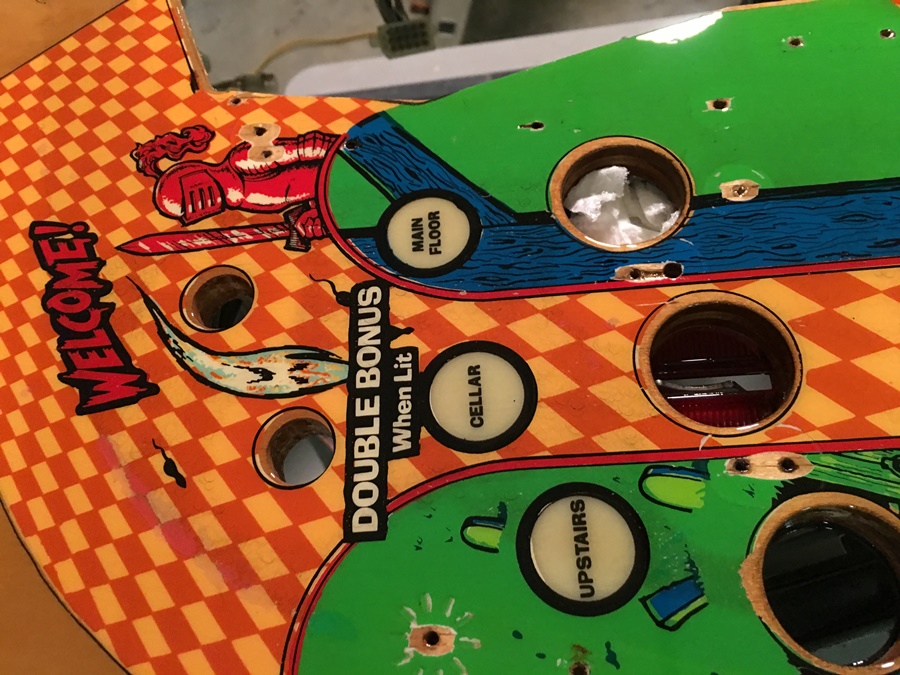
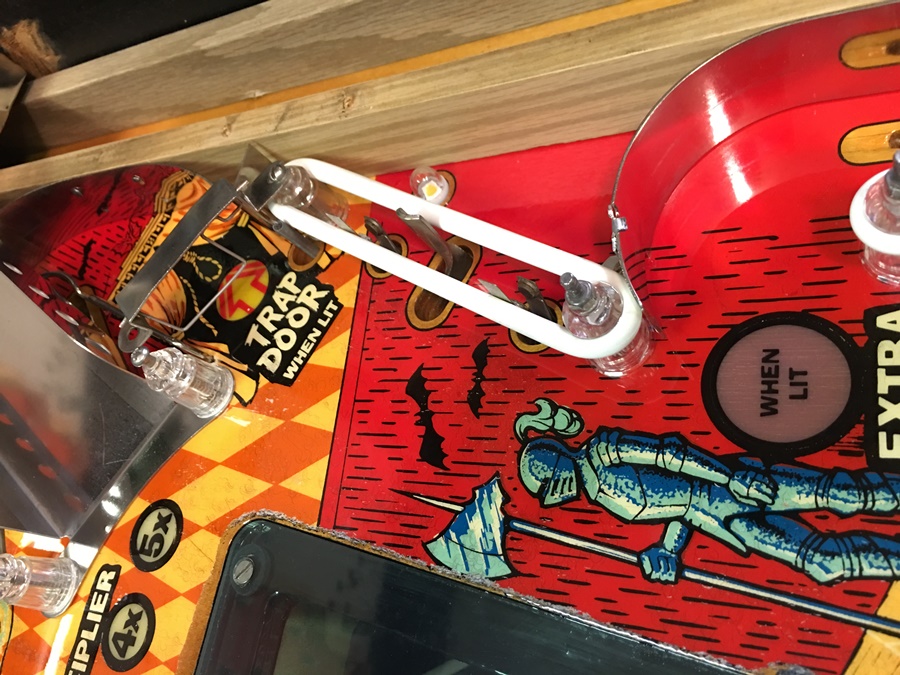
Lots of ball swirls and planking
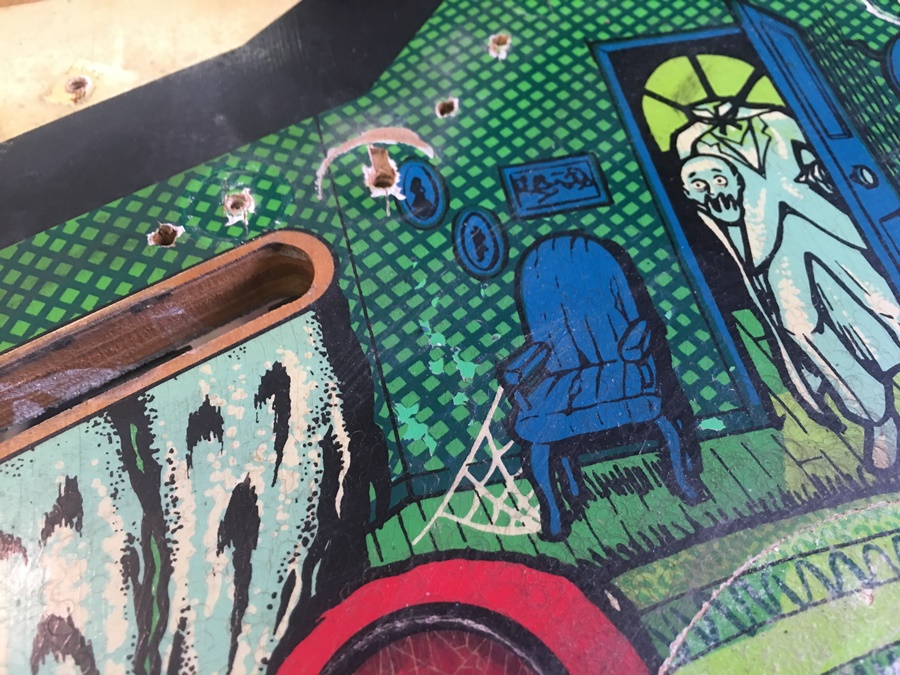
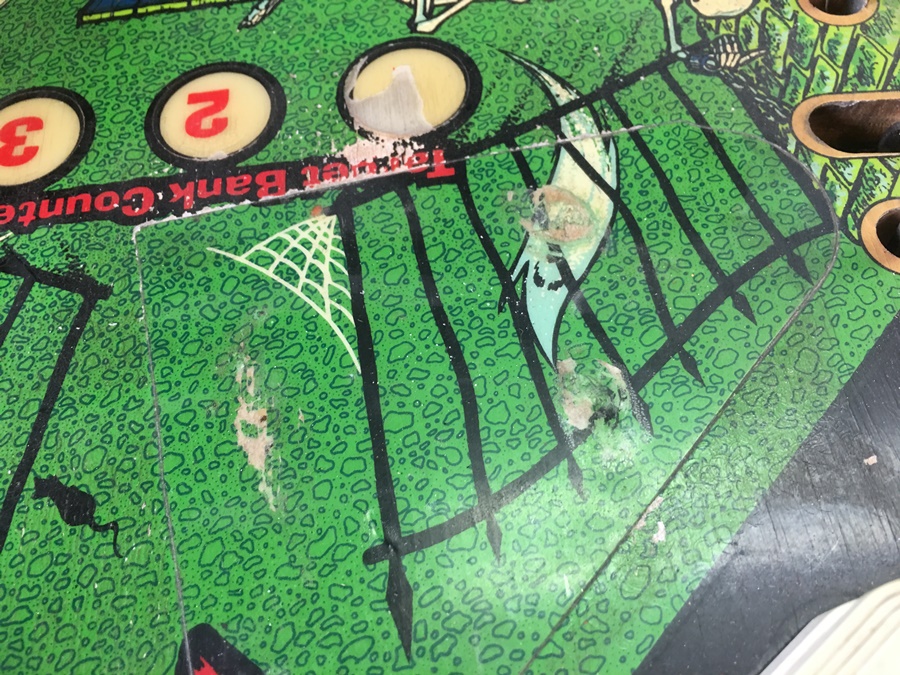
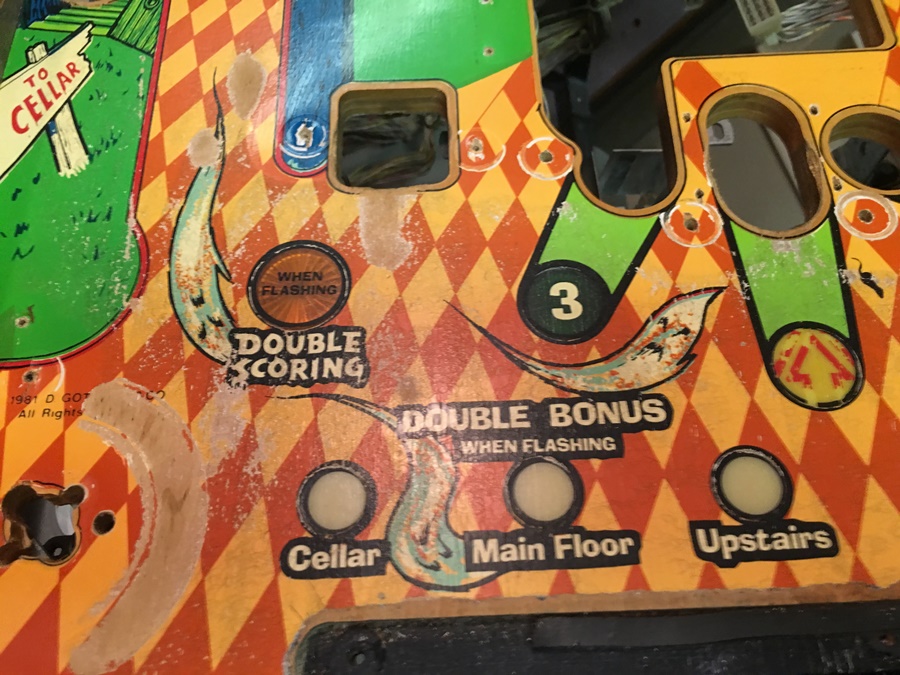
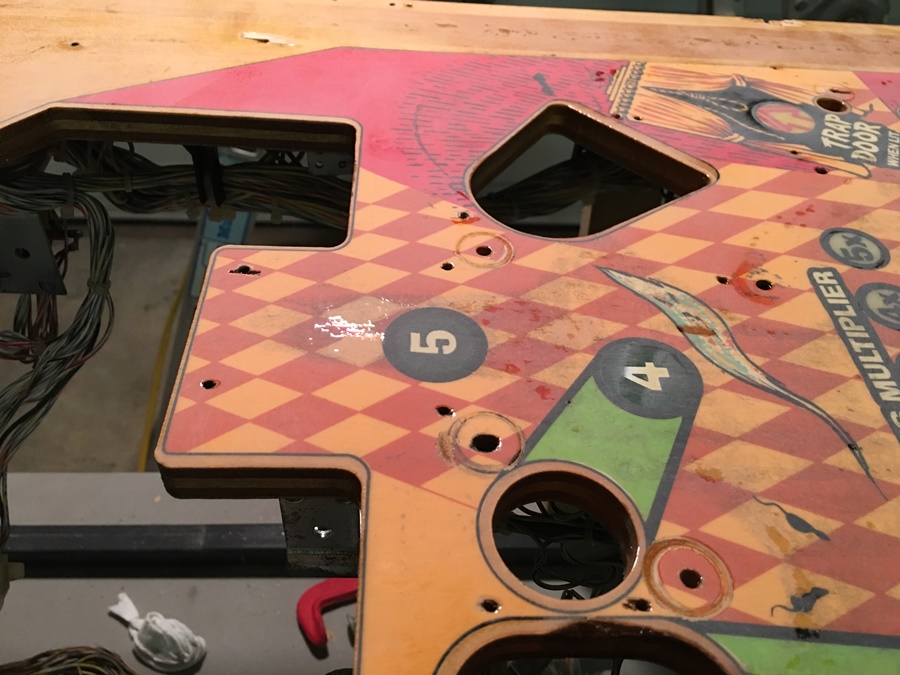
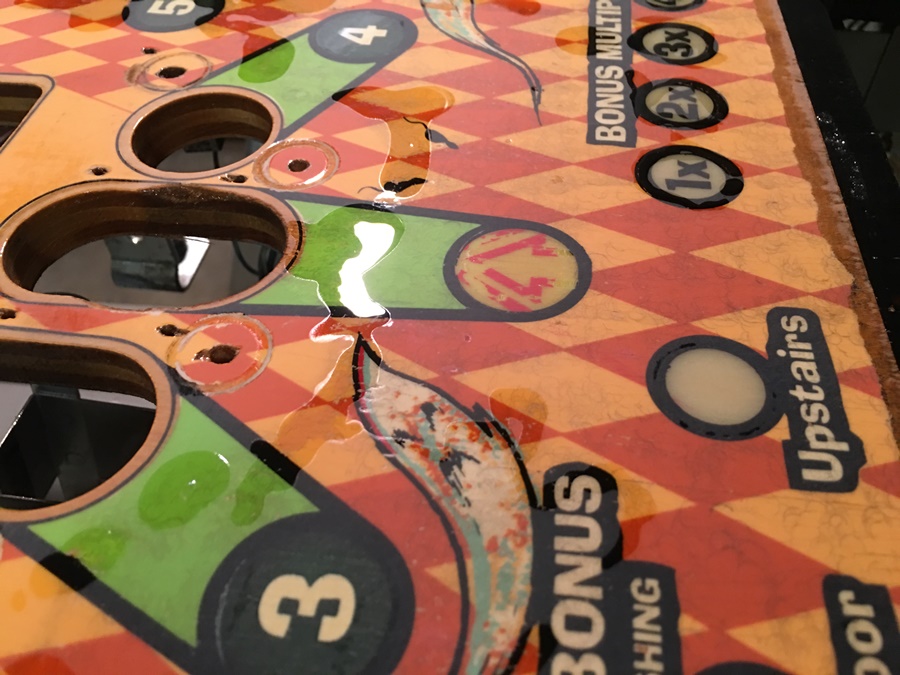
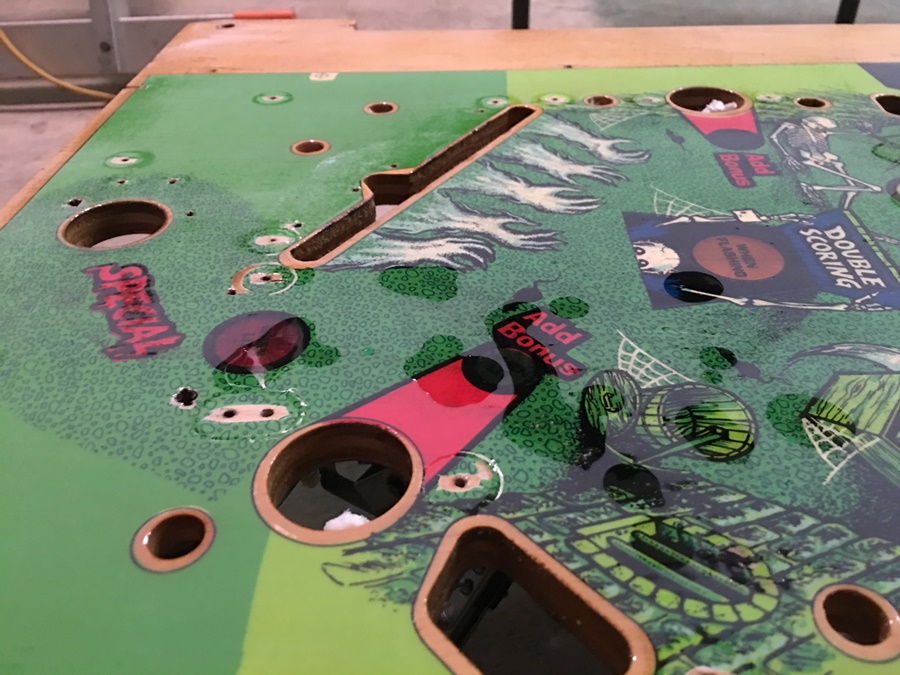
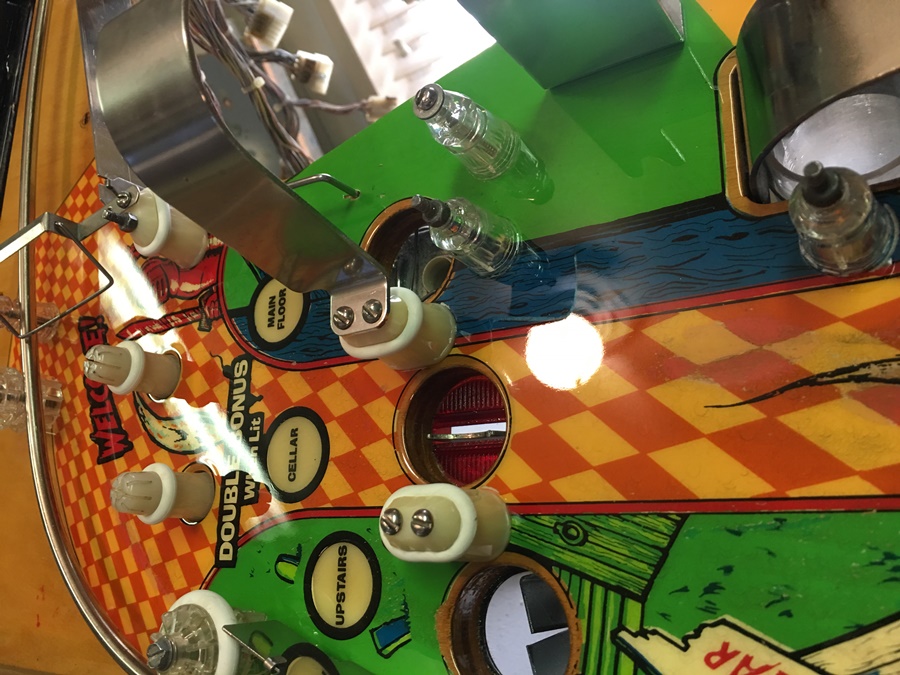
Paint is gone under the mylar (which is loose)
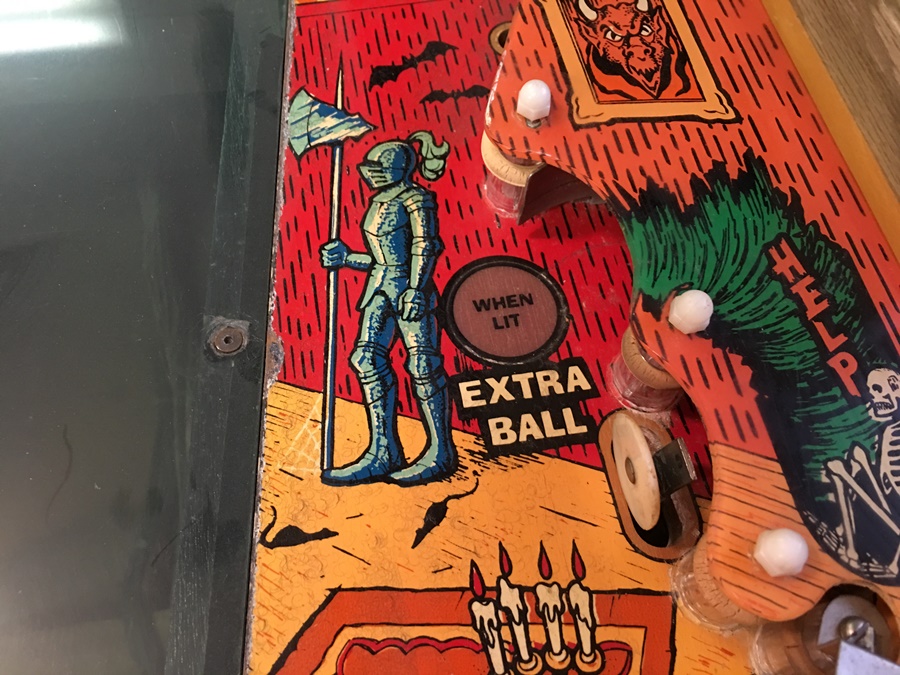
Lots of wear here


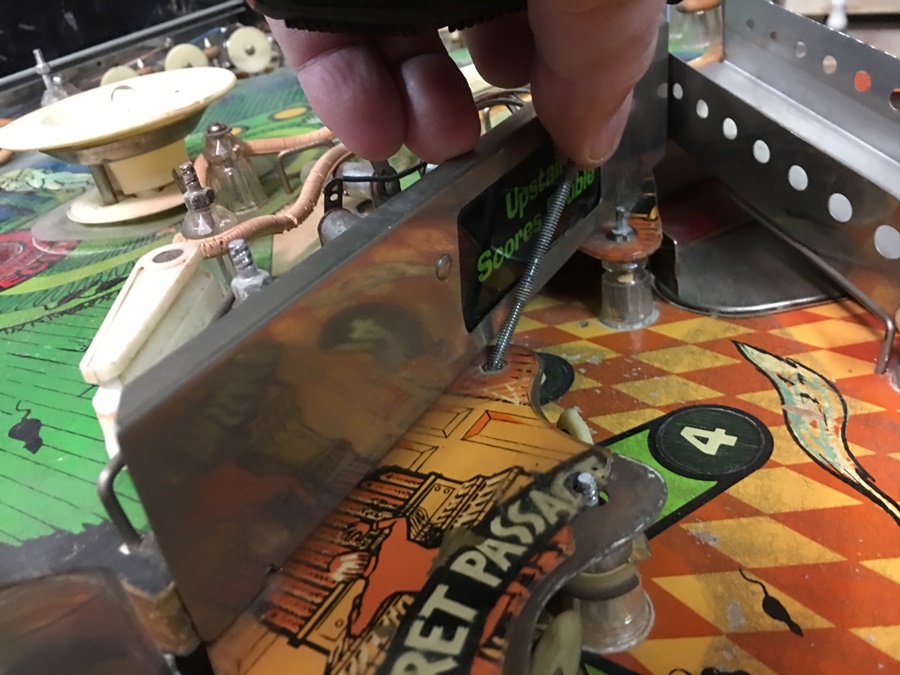
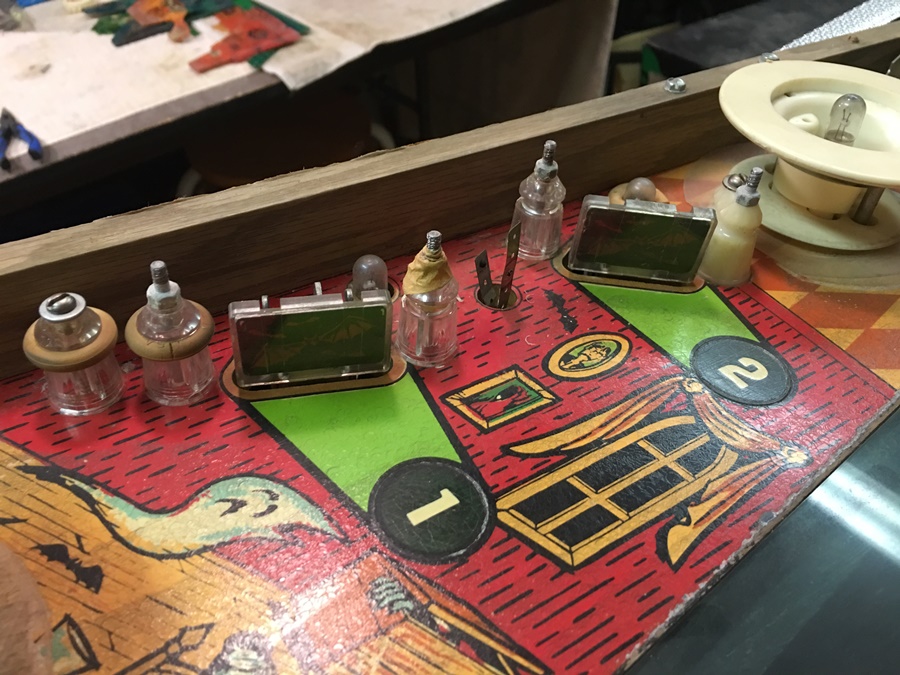
OK - let's start removing the plastics
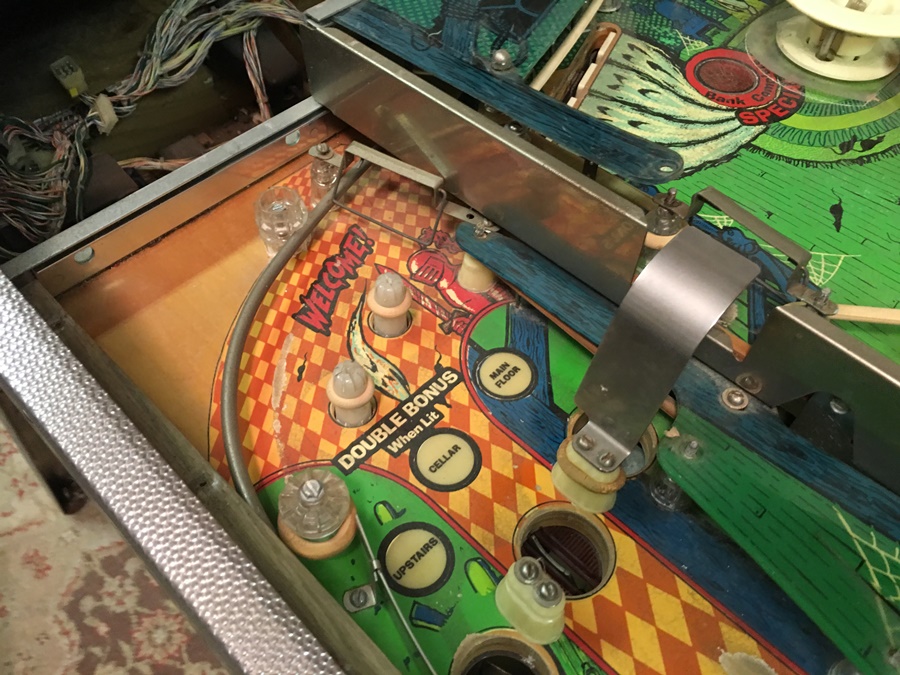
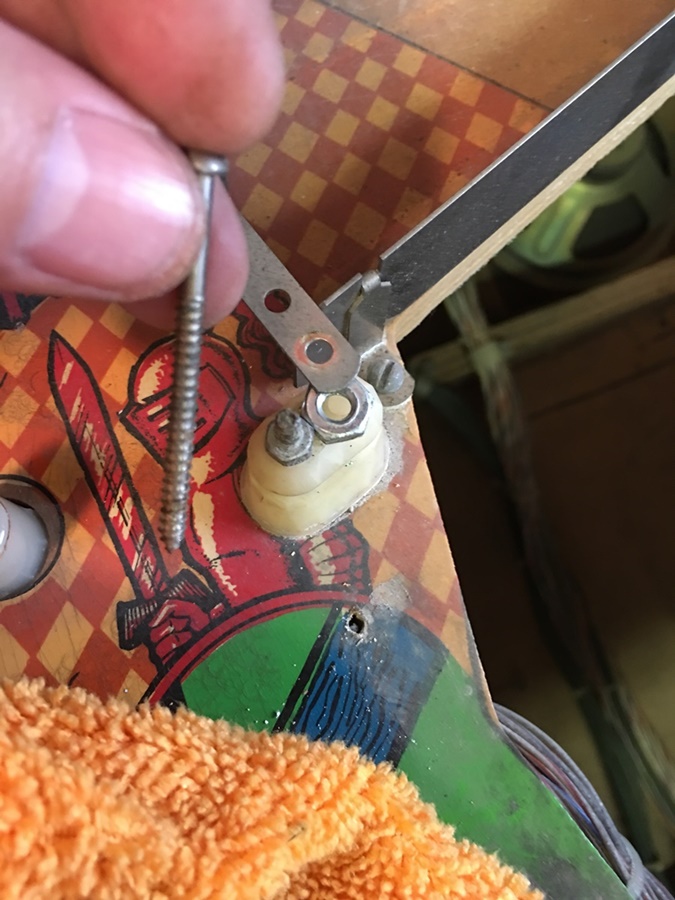
I'm sure this machine has seen it's fair share of repairs, and when going back
together - you use what you have evidently.


It's always dirty under the apron.
I took probably 1,000 pictures during the teardown, as that's the only way to
know how it goes back together.
But don't worry - I'm only posting a few of those.

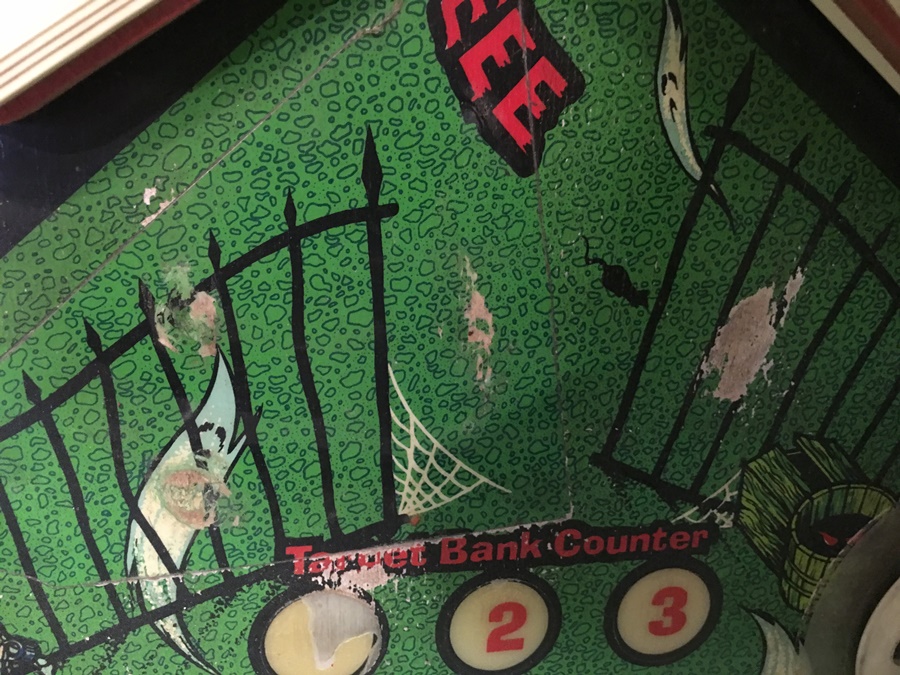
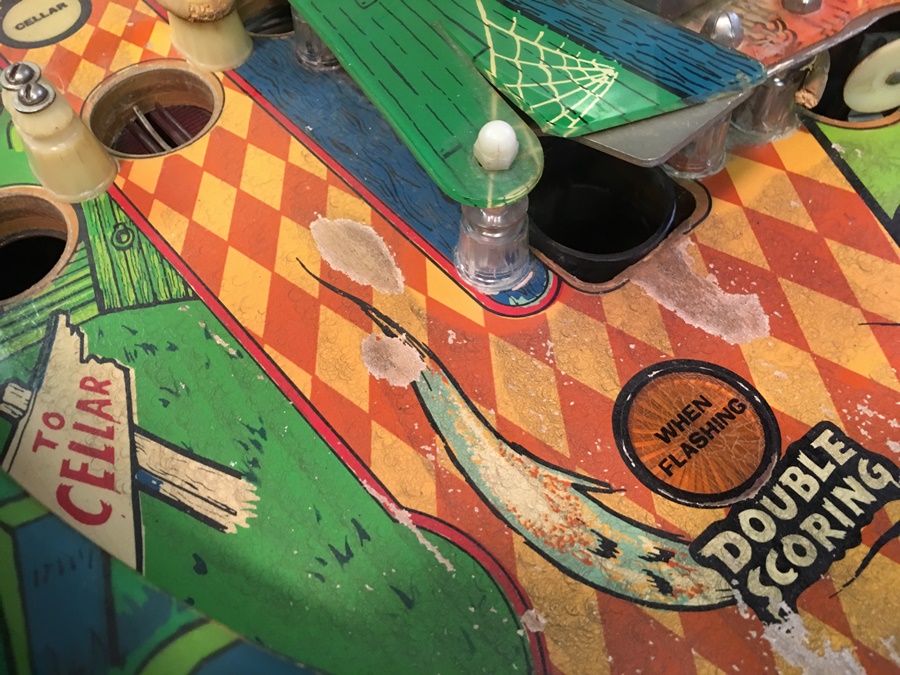
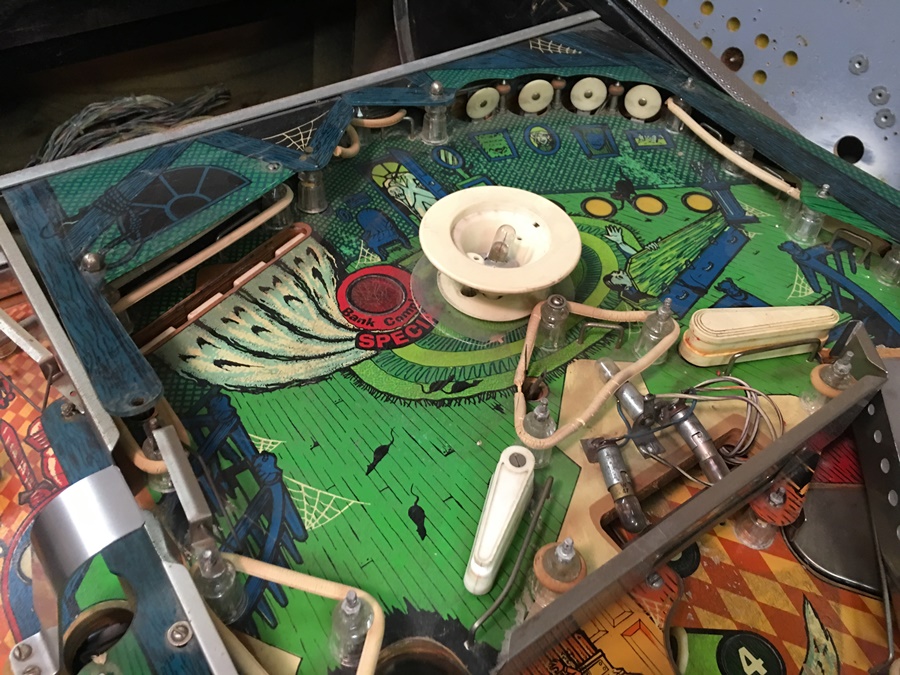
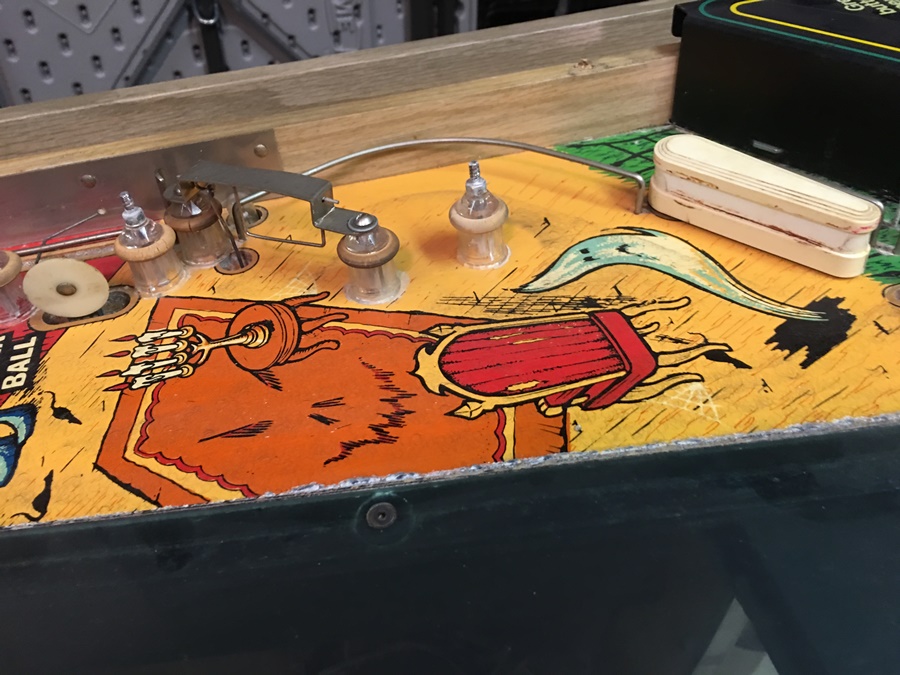
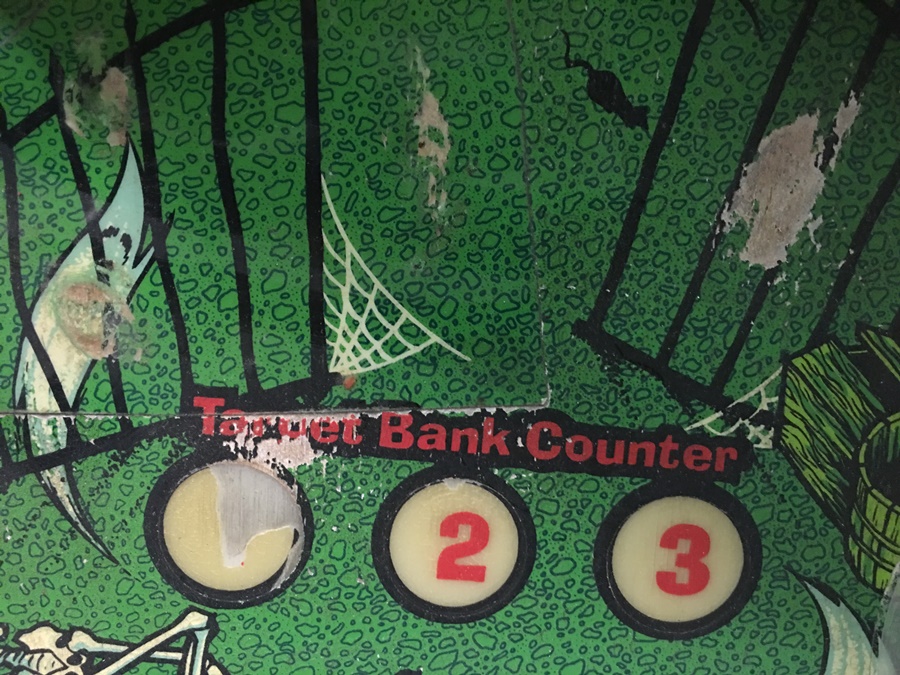
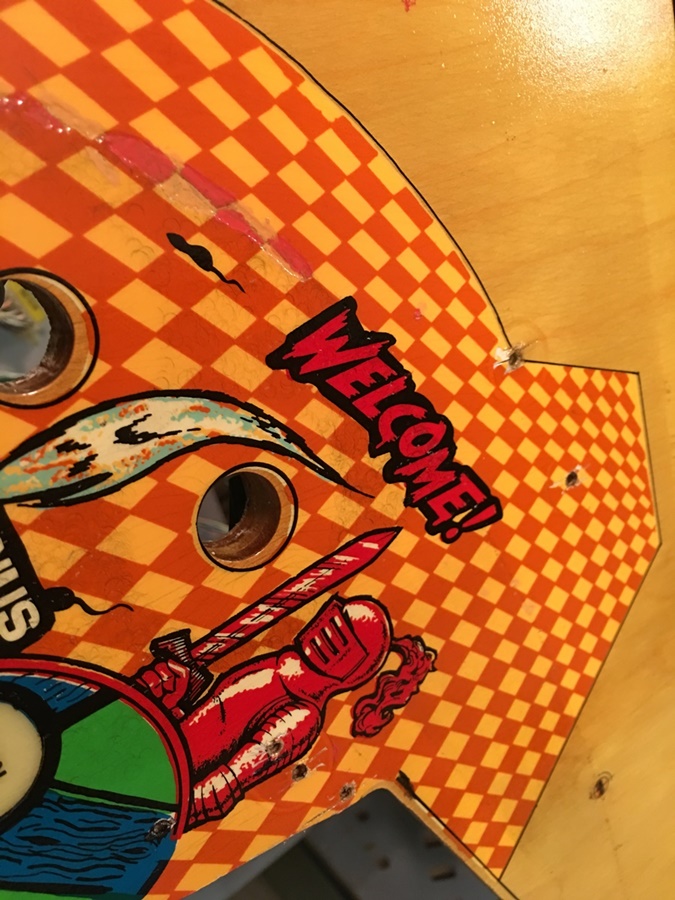
See how the paint almost looks like it is flaking off?
It made cleaning the playfield tricky, as it was easy to clean right through
the paint.
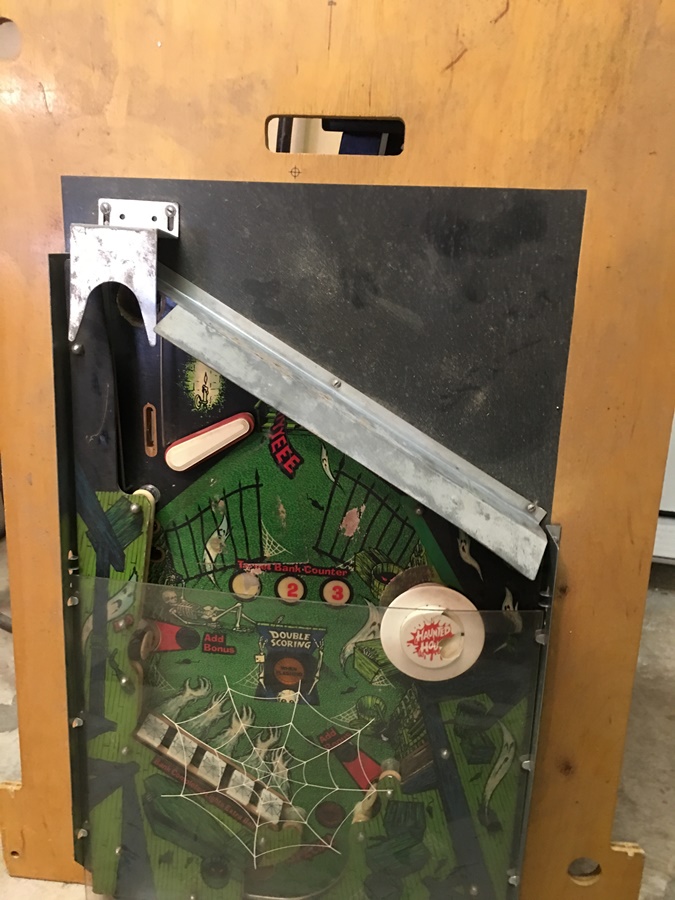
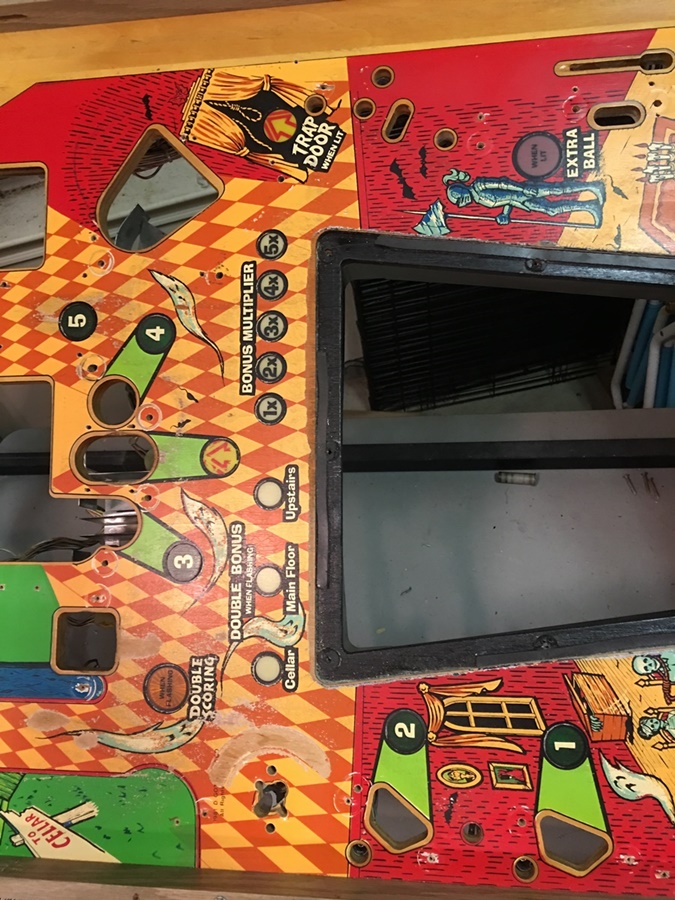
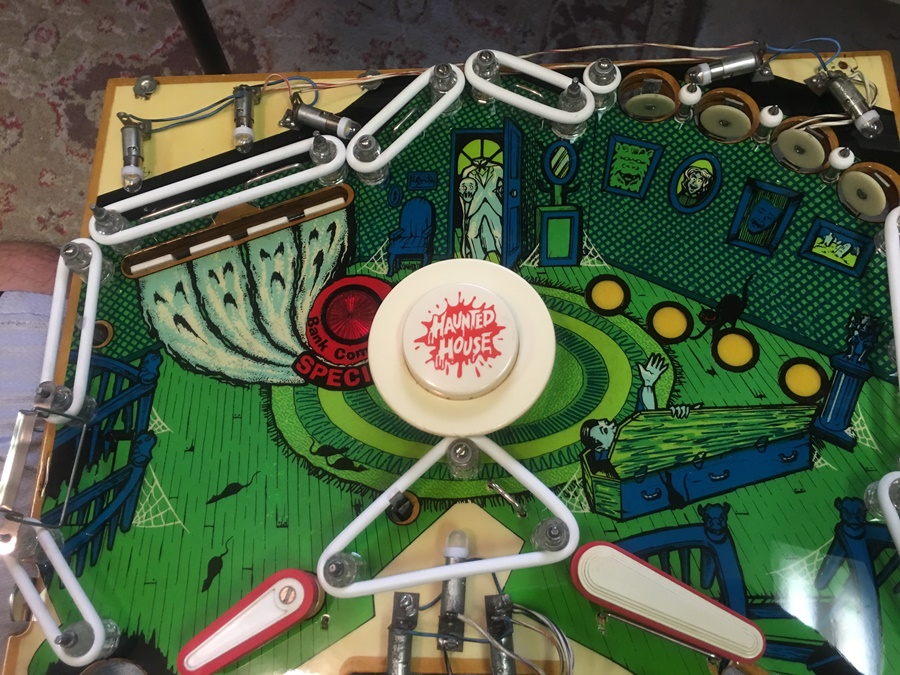
Allright - the upper playfield is off.
I think we should clean this, yes?

It was a lot to disassemble and document
Oh yes - it's not just cleaning - but we intend to actually get this working
again too!
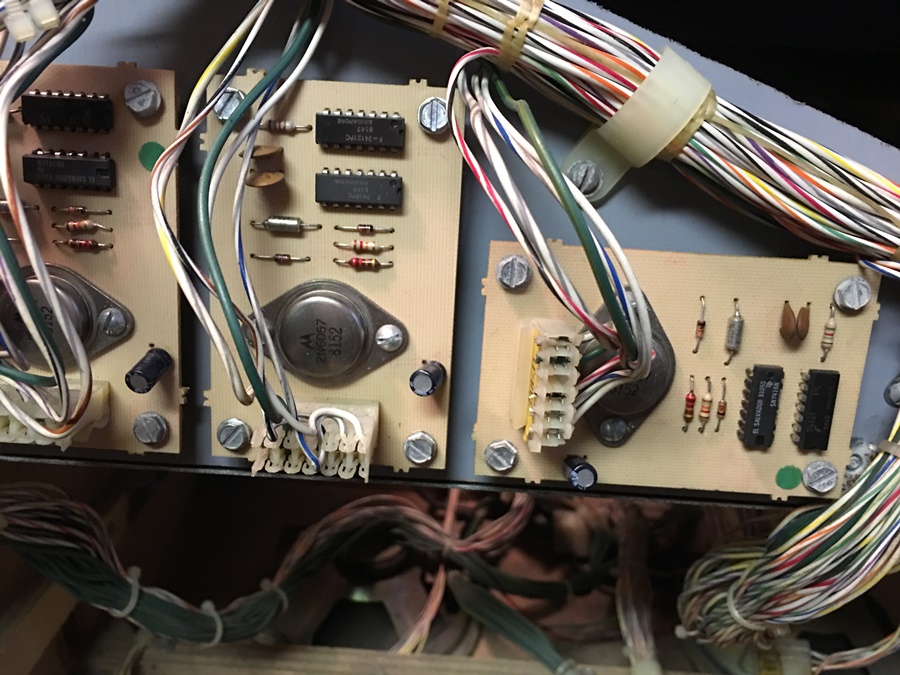
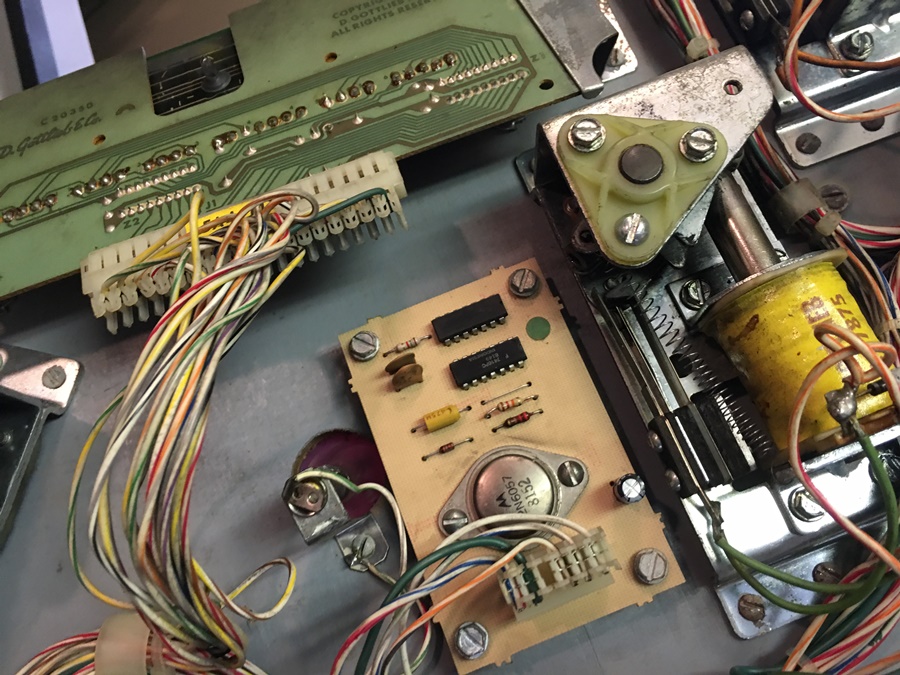
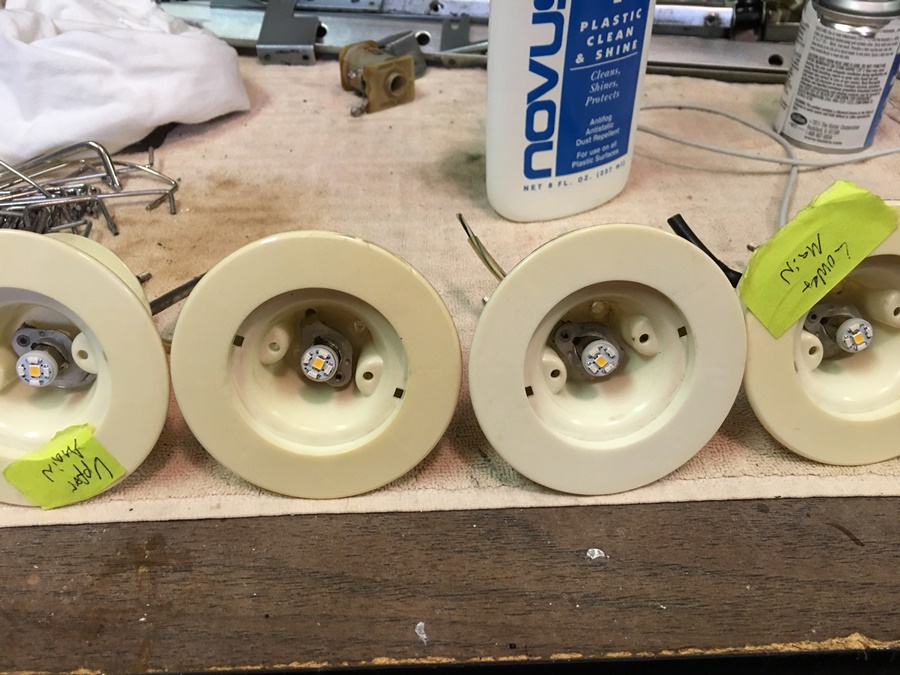
This is one of the Gottlieb pop bumper boards.
I had to update components on each of the four boards.
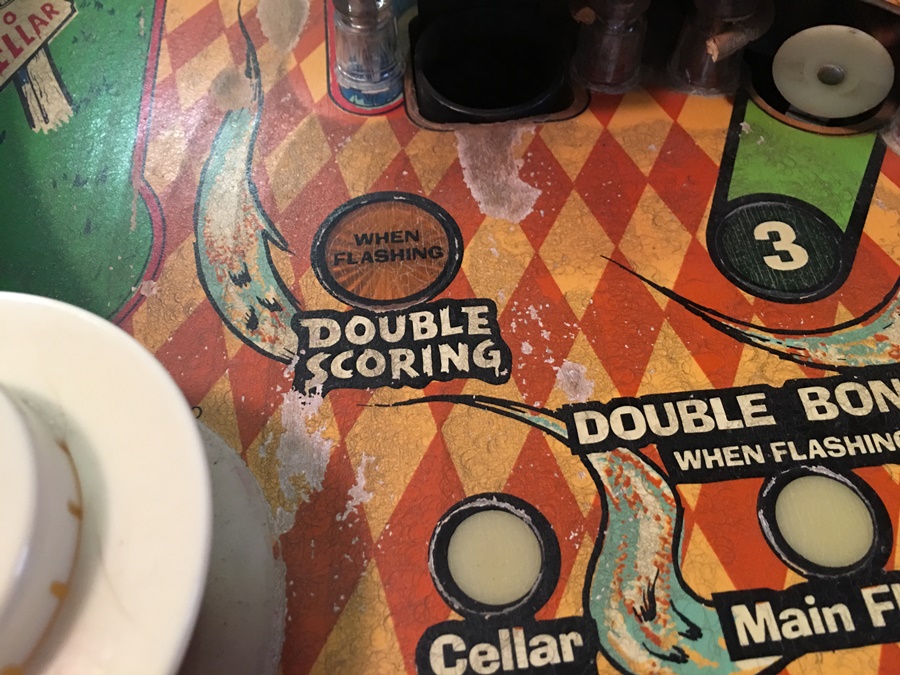
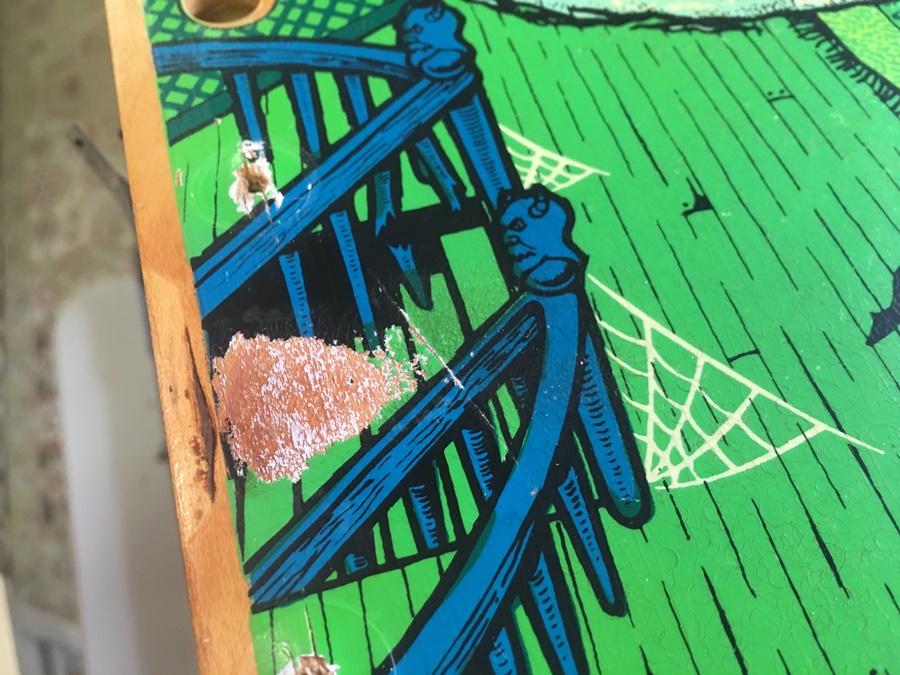
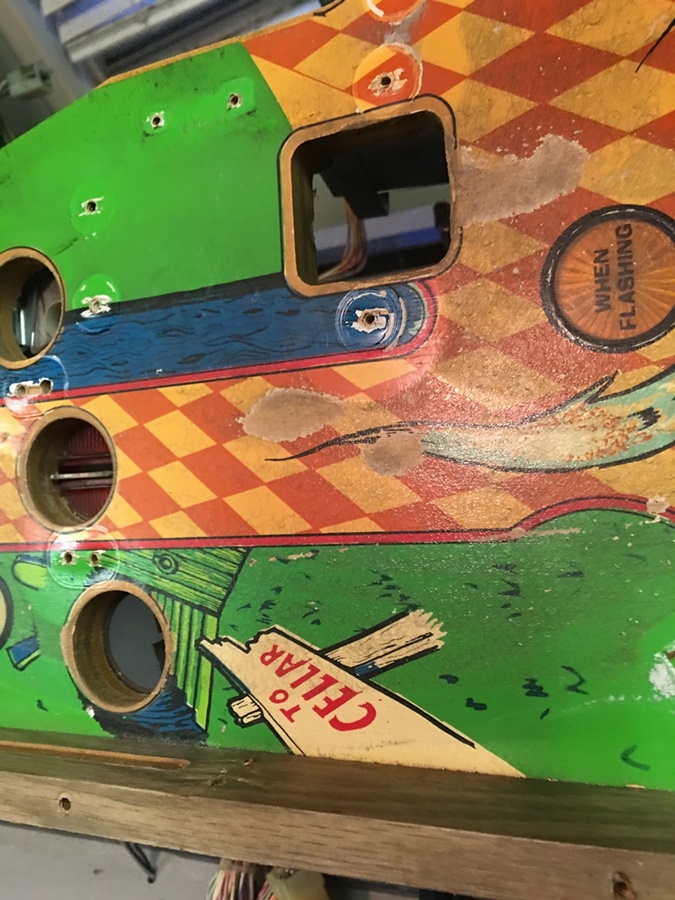
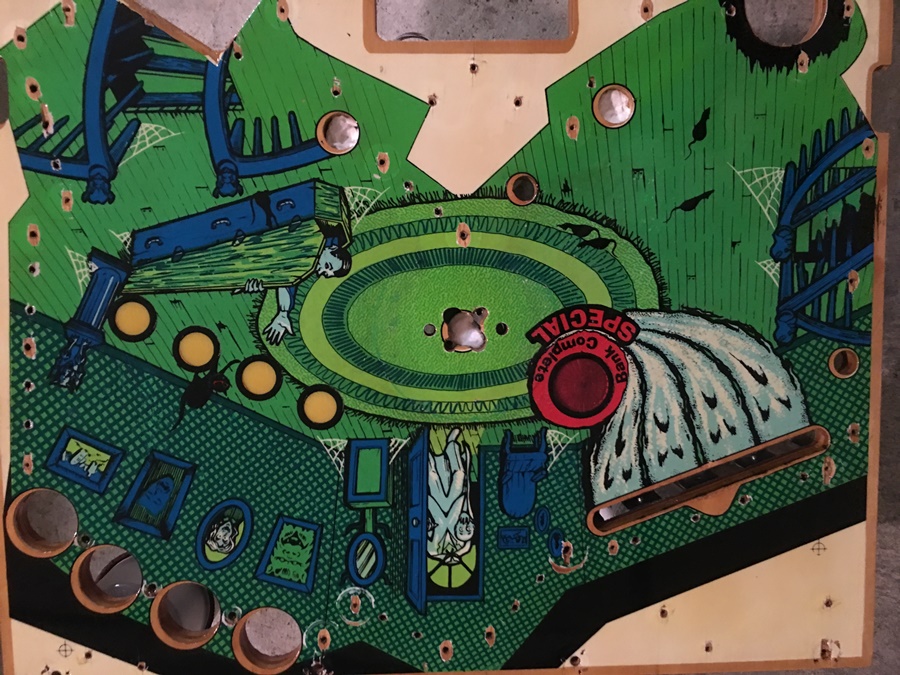
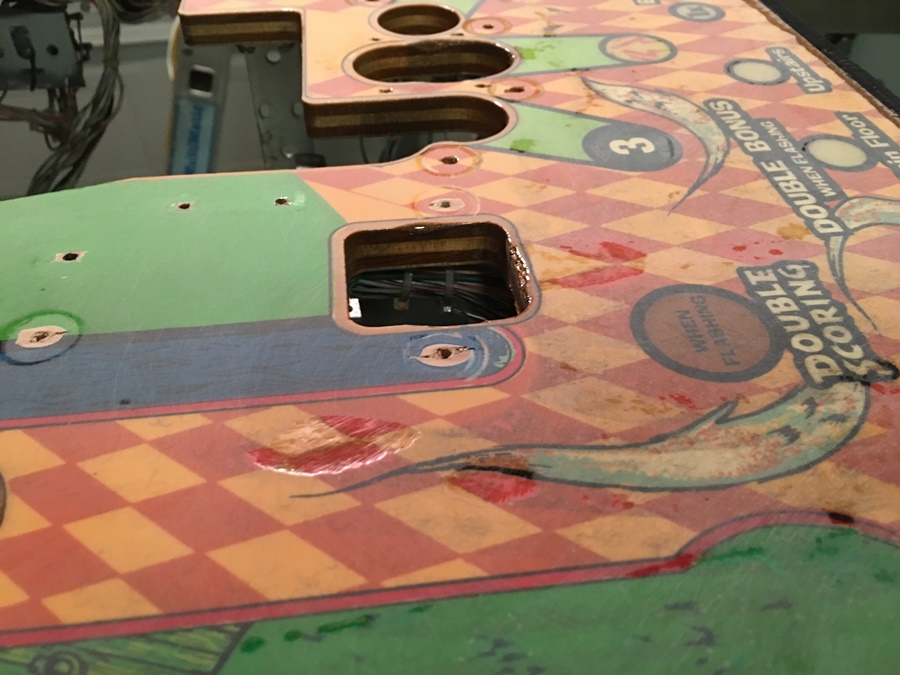
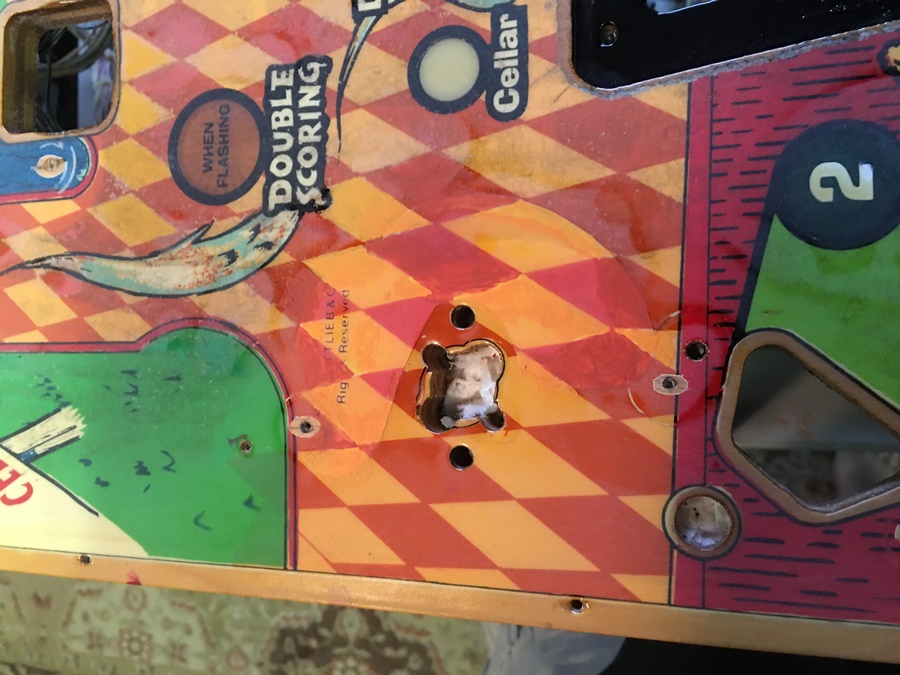
Yeah, that's the worse spot on the bottom playfield.
That's gonna shine up real nice.
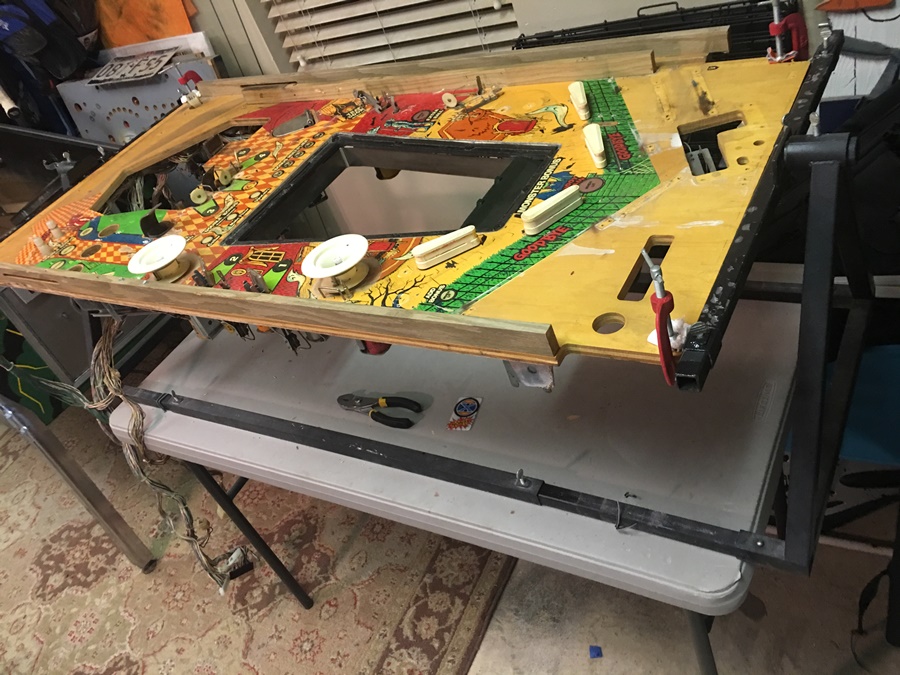
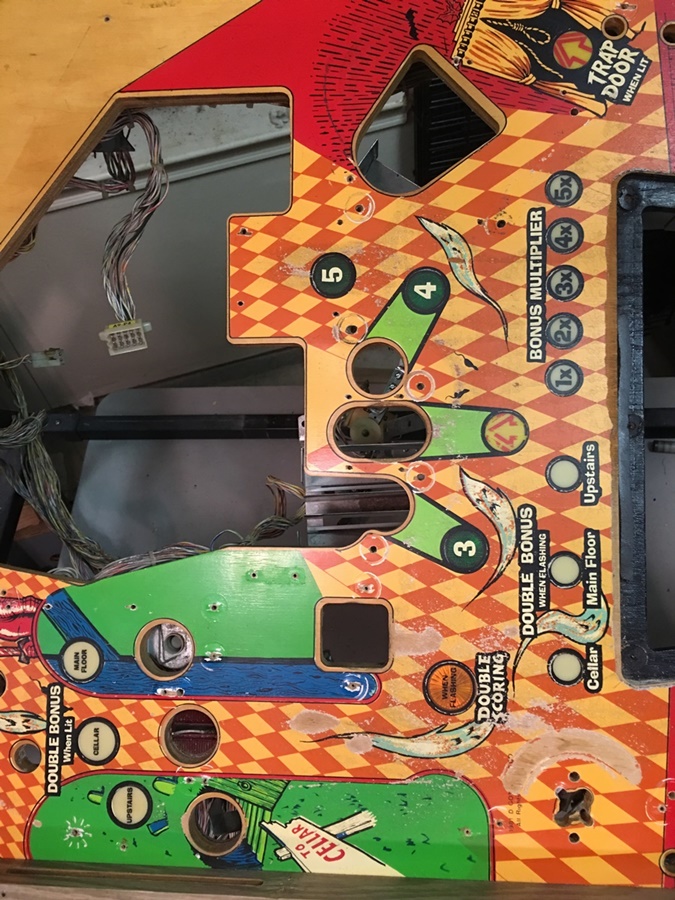
With the upper playfield on the bench, it's time to start the teardown

The goal is to strip the playfield surface bare, so you can clean, touchup and
apply clear coat.

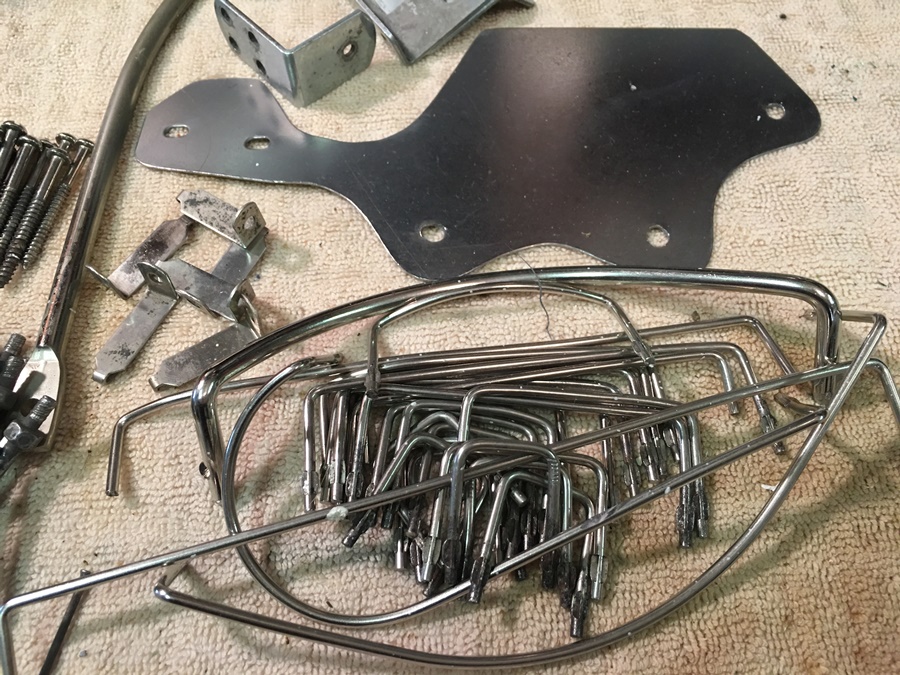
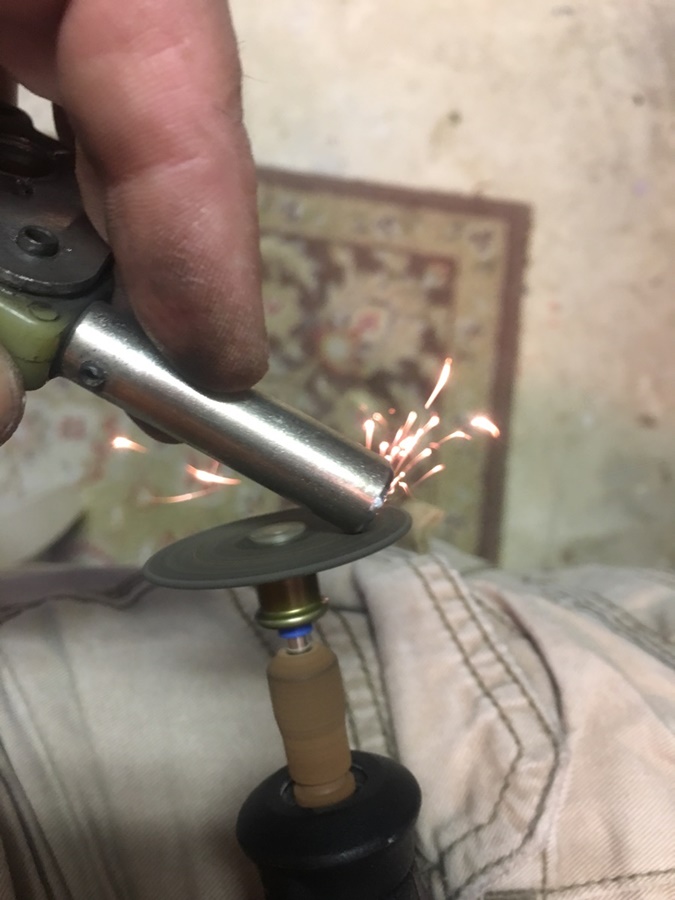
All the smaller metal parts go in the tumbler.
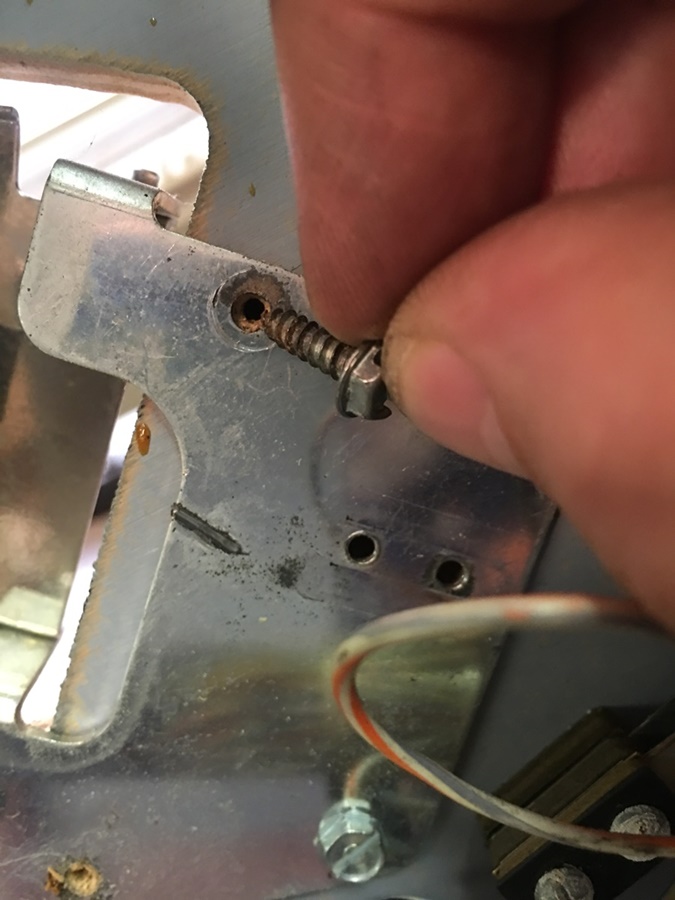
I'd pretty much take a picture of almost every screw I removed...very tedious.
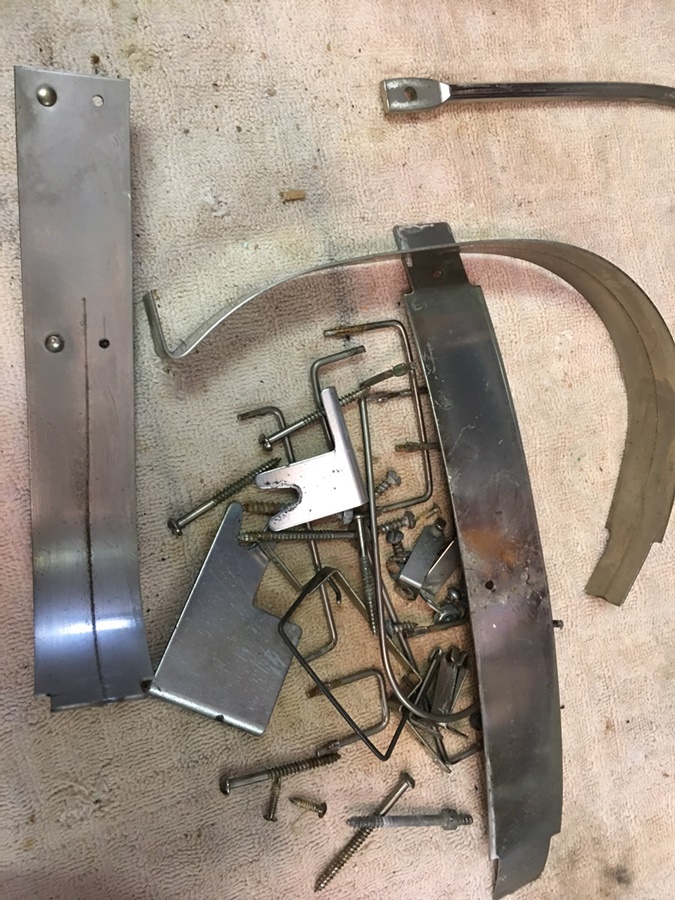
Not as shiny as I'd like, so pretty much had to go over 'em again.

DECISION TIME!!!
I realized that, before I spend a huge amount of time making this game look
pretty,
I wanted to make sure it actually worked.
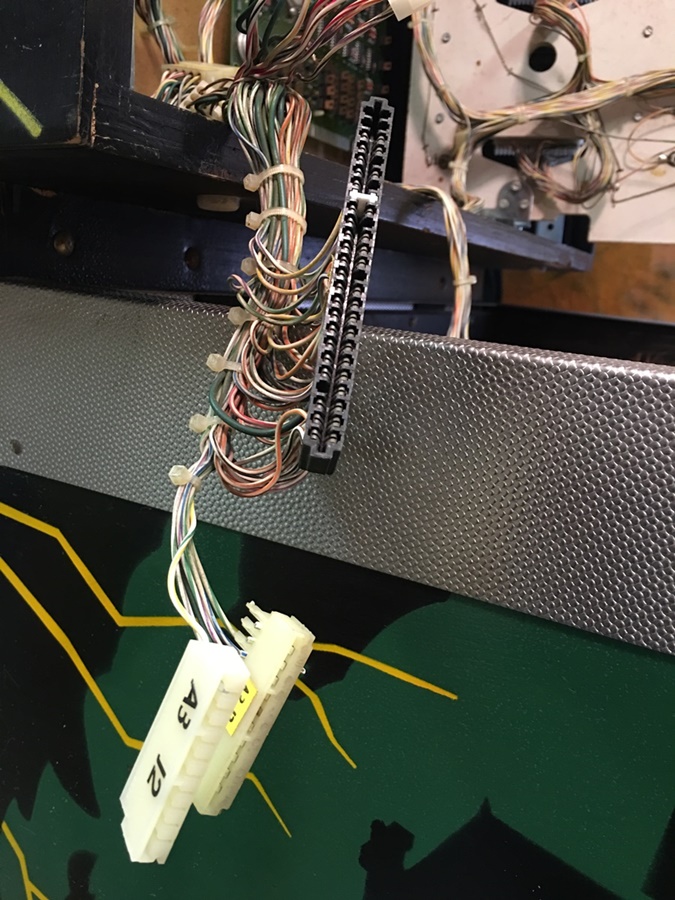
So I started re-pinning all the connectors.
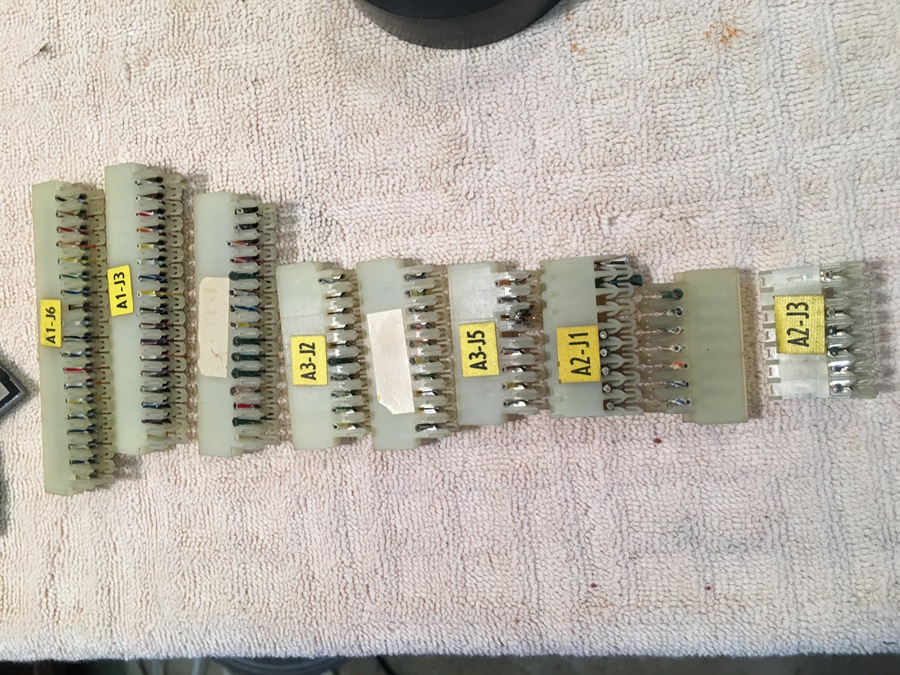
Re-pinning and replacing the connectors is REQUIRED if you want to avoid lots
of problems later.
Clip, strip, crimp - repin and replace - over and over and over
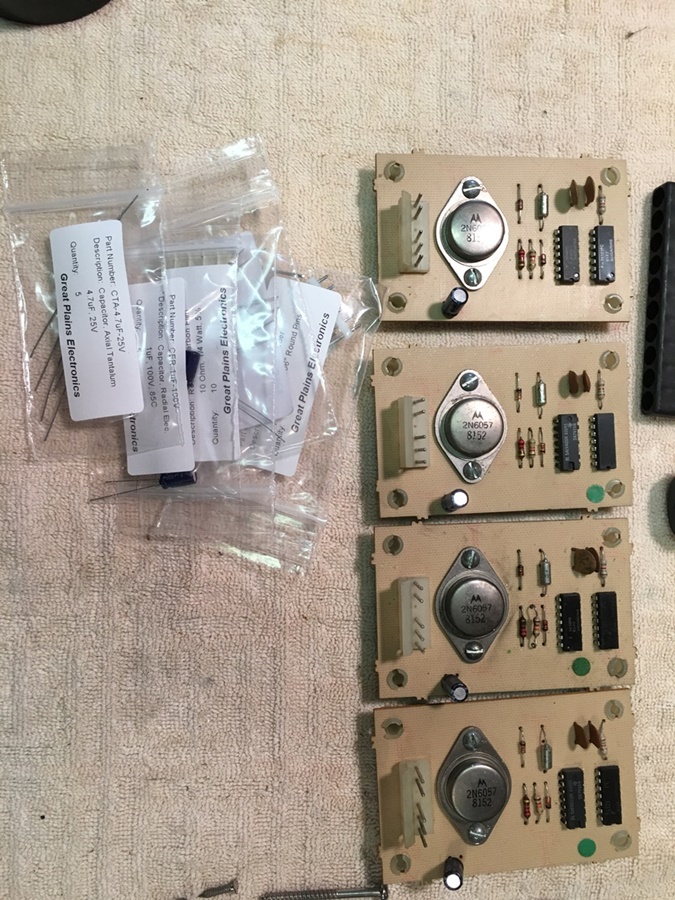
Yipee - the new pop bumper components arrived from GPE~!
There - that looks much better
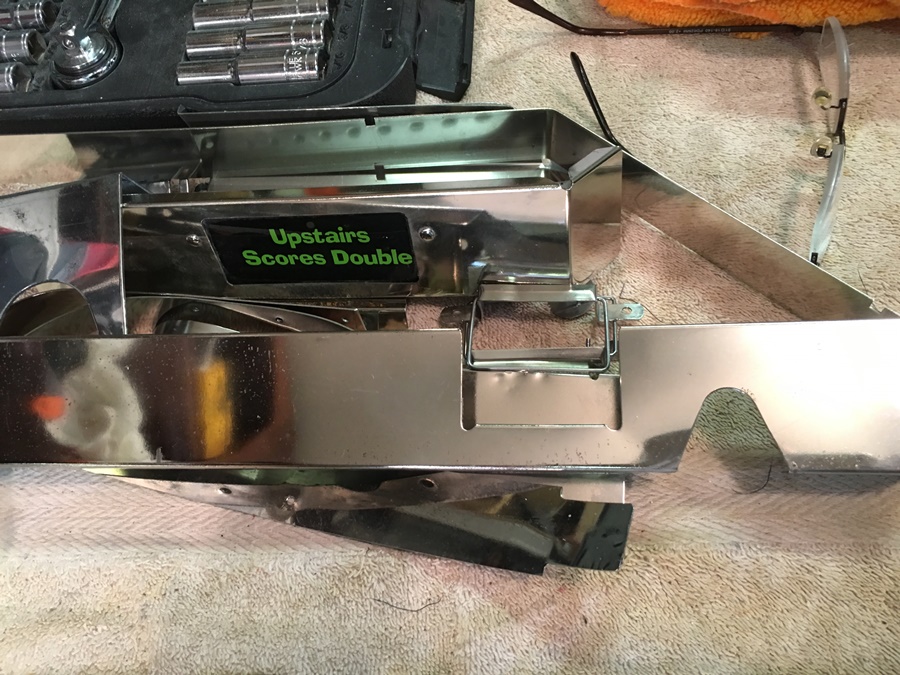
Ohhh yes, this shined up real nice too!
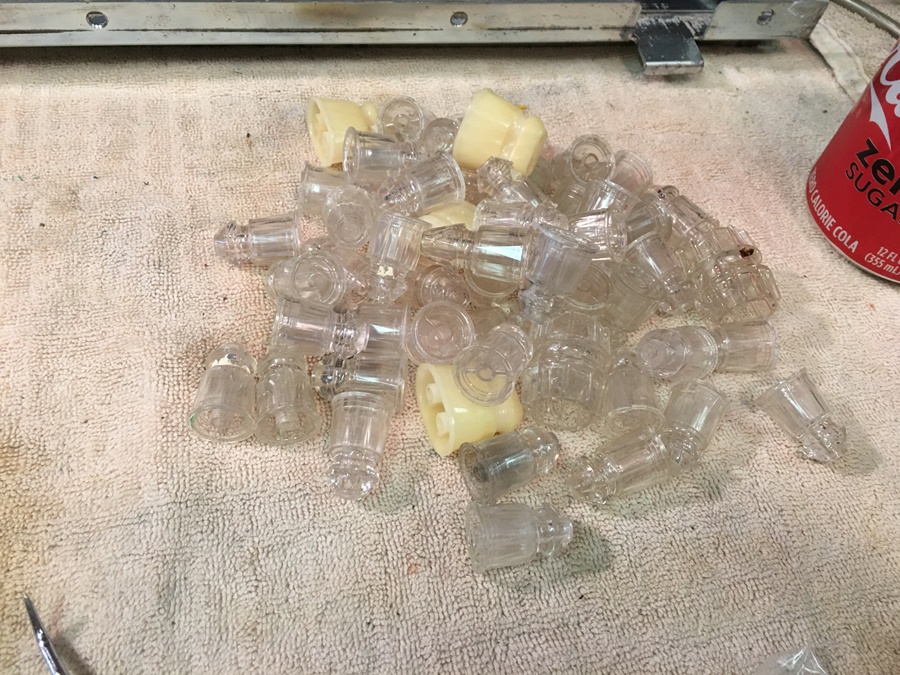
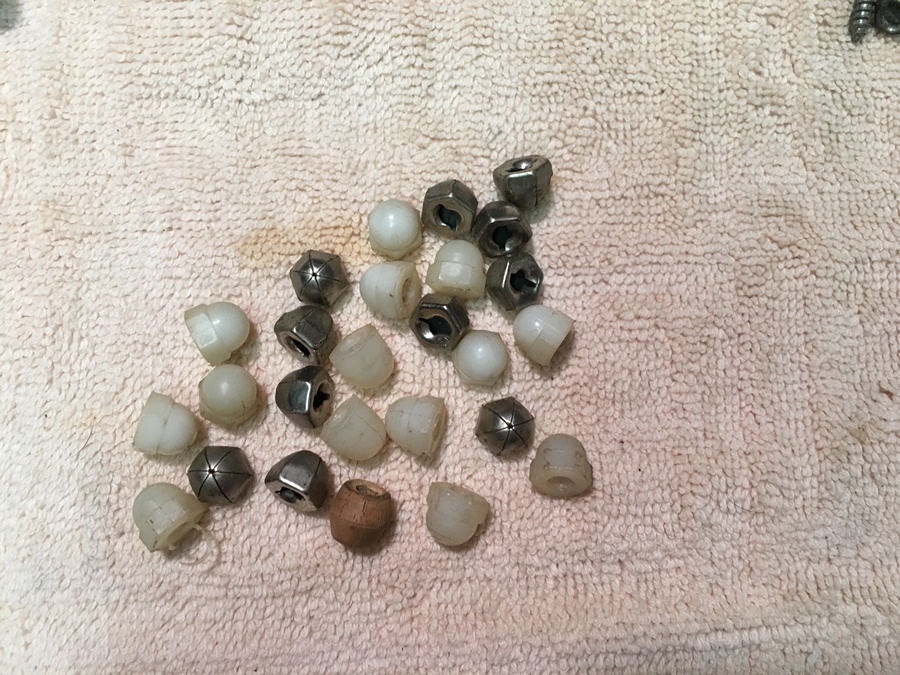
A quick run through the dishwasher cleans up the posts pretty well.
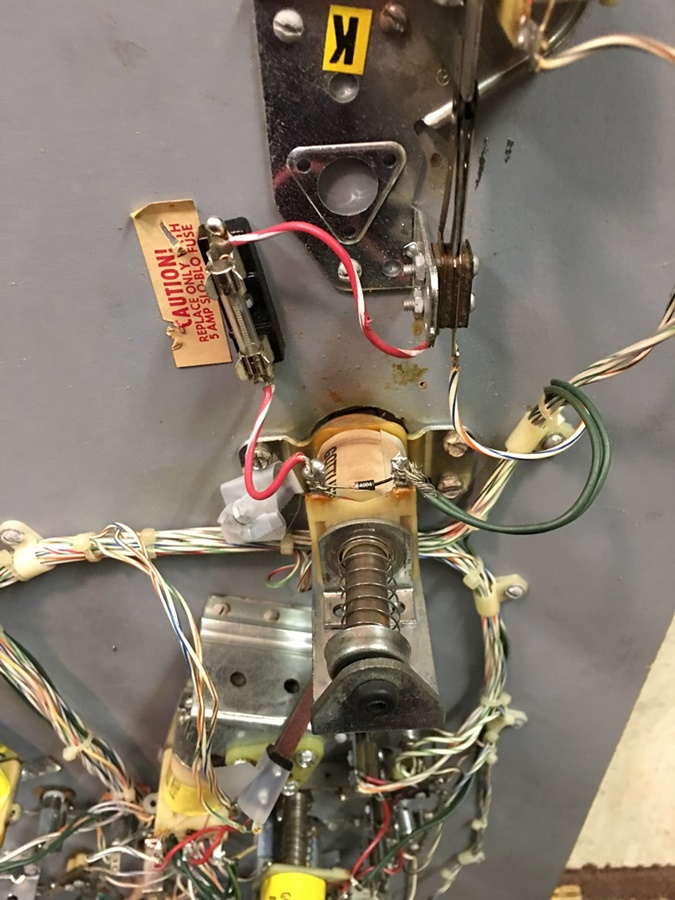
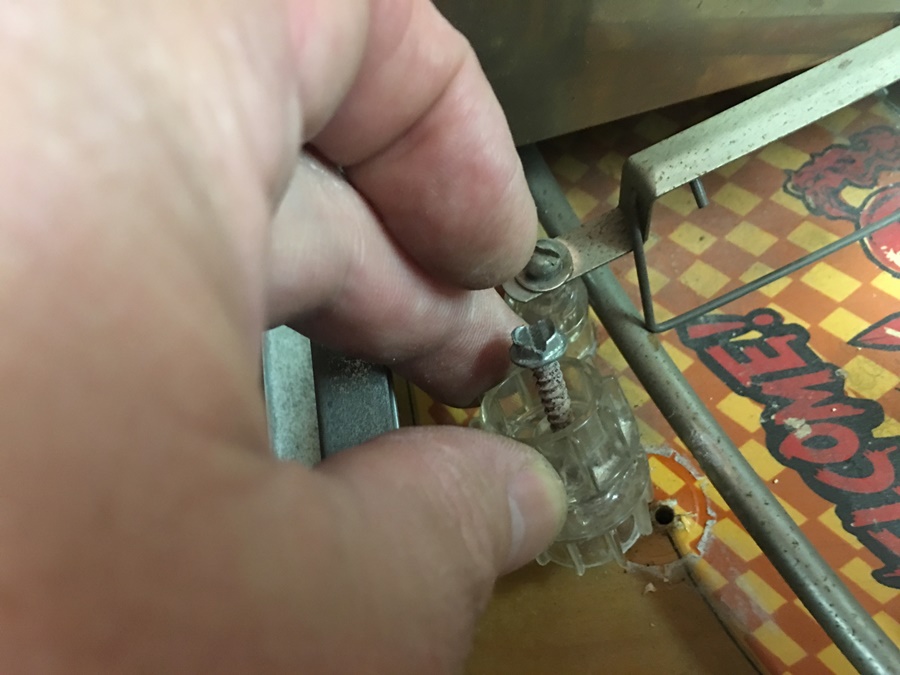
Uhh Ohhh....what do we have here?
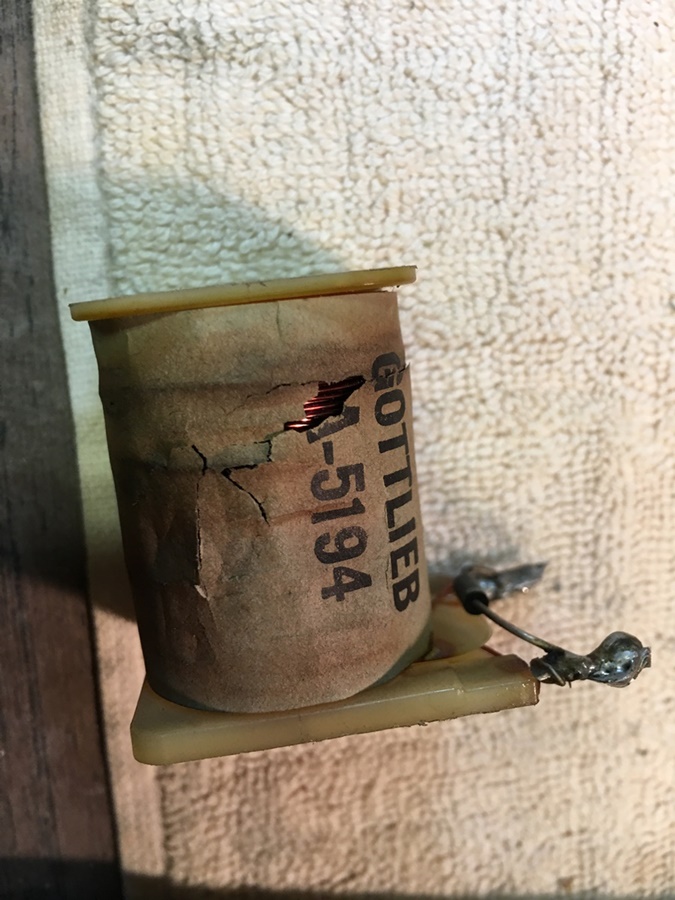
This guy looks a little bit toasty.
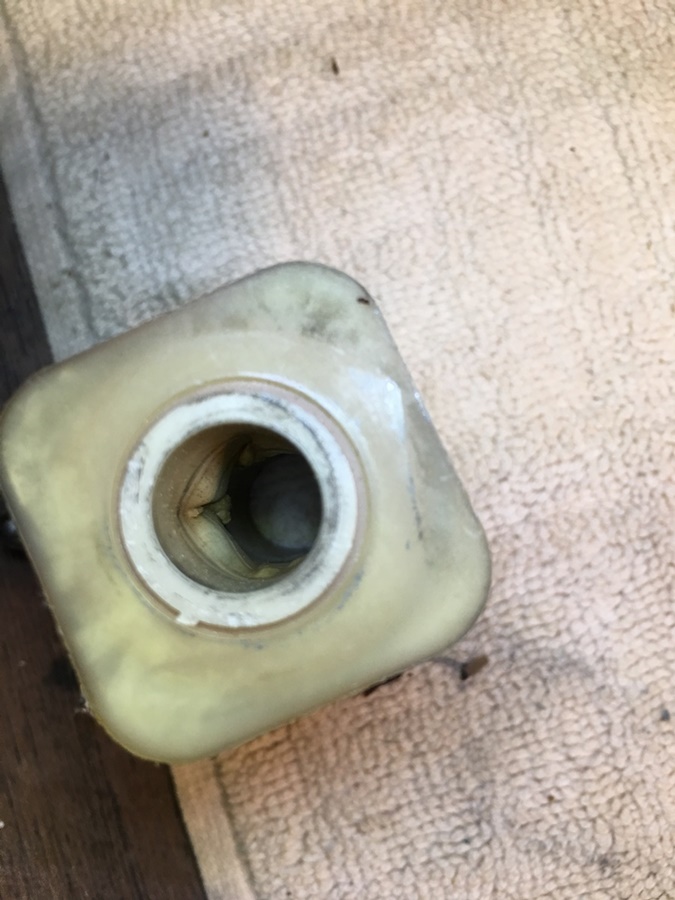
Yep, all burned and bubbled up in there - that's gotta be replaced.
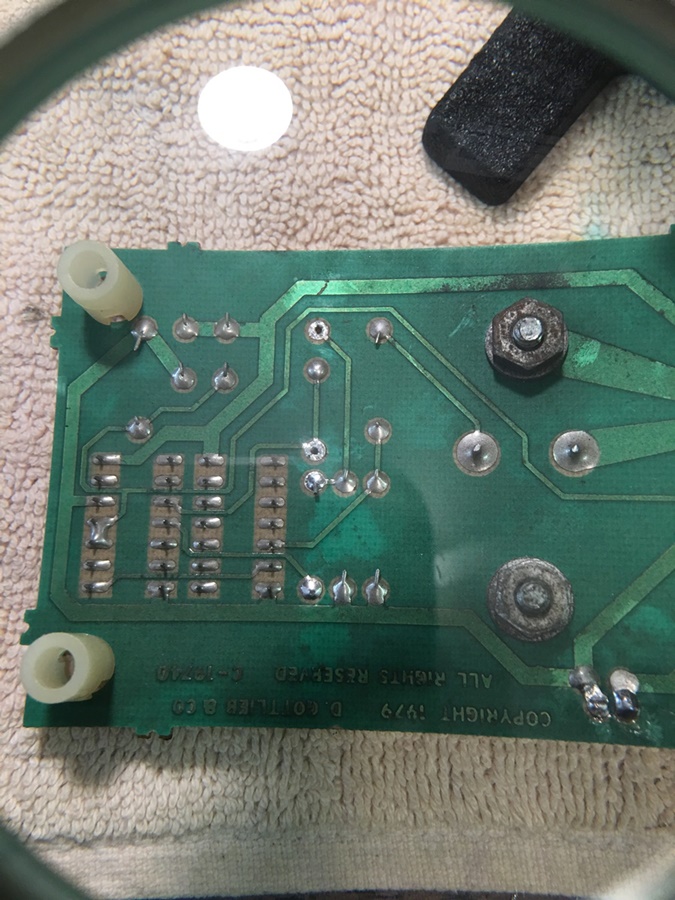
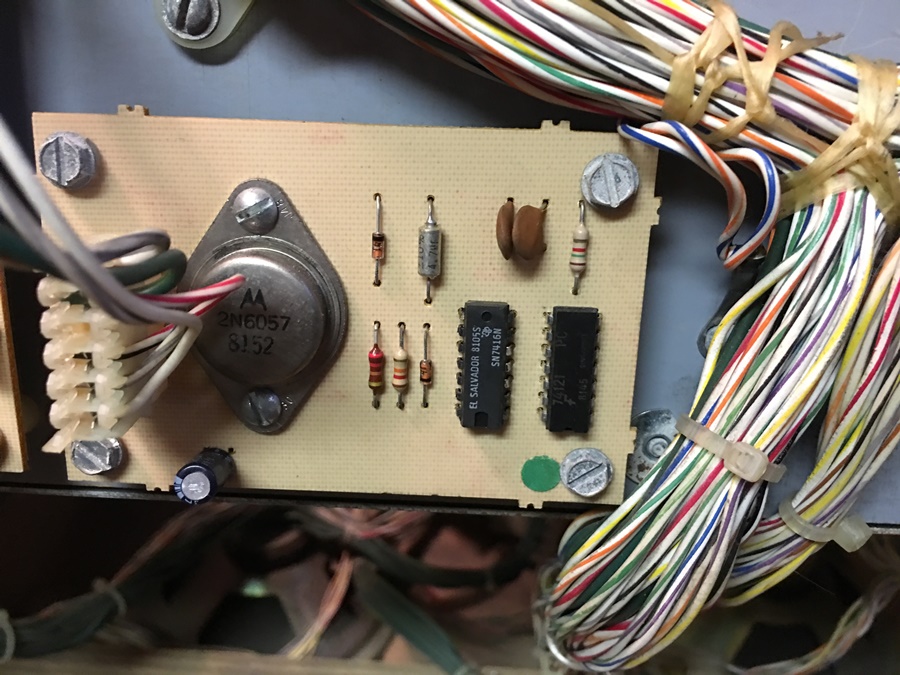
Working on the pop bumper boards
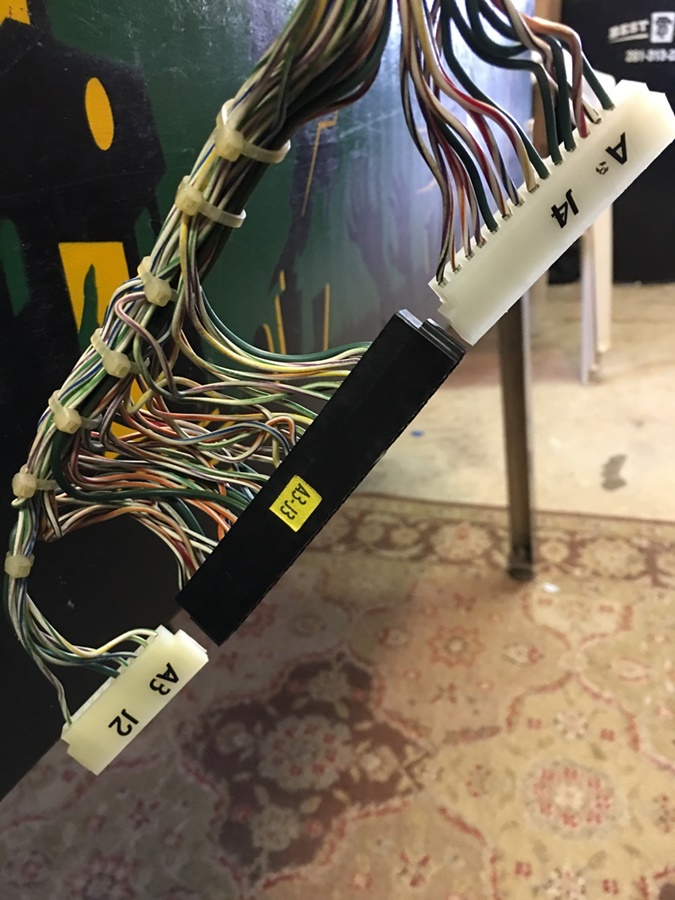
A3-J3 is a double sided connector.
It was difficult to find, and even more difficult to re-pin

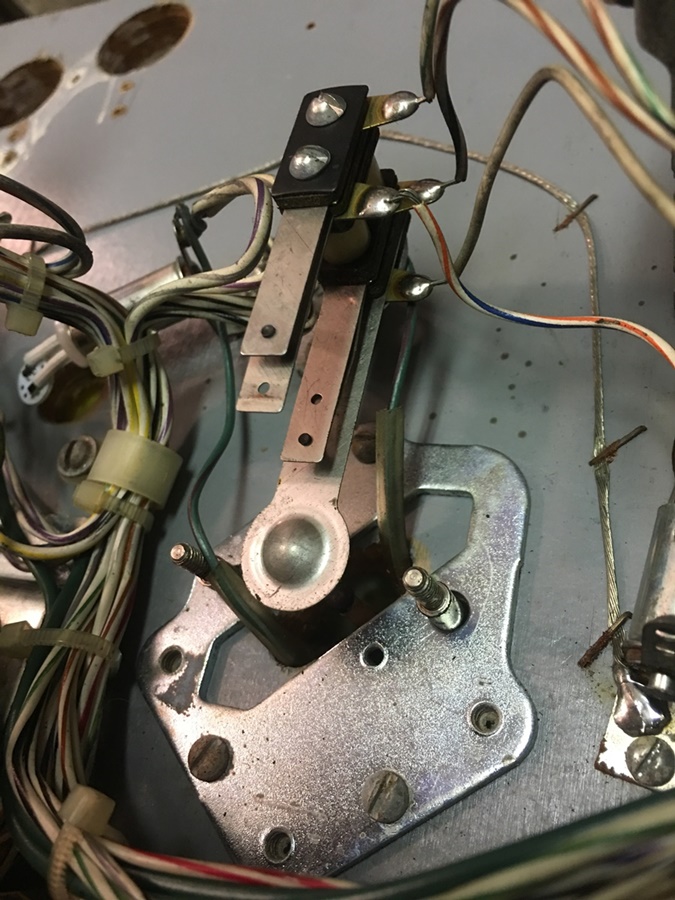
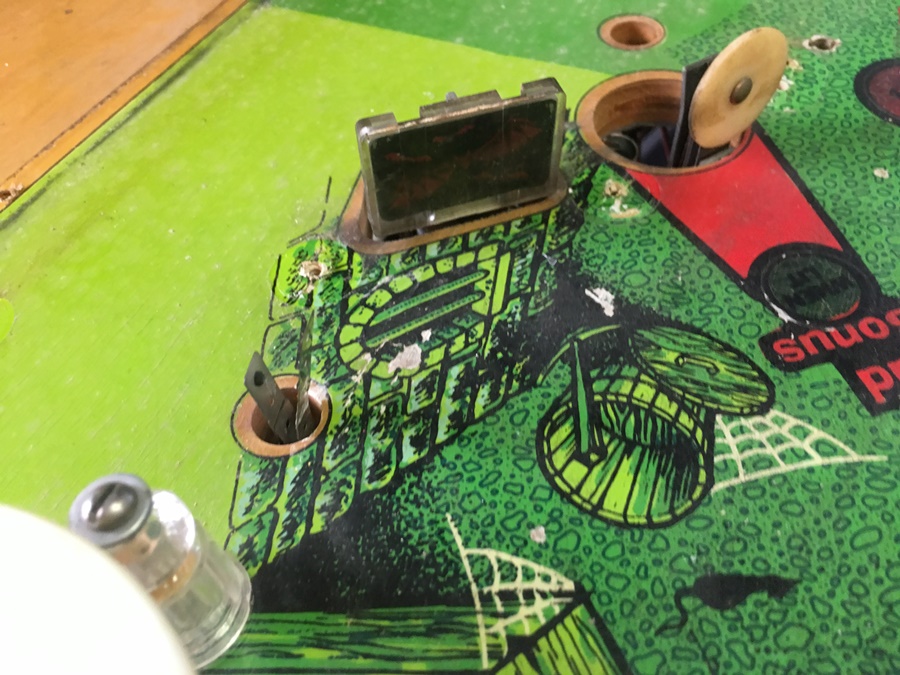
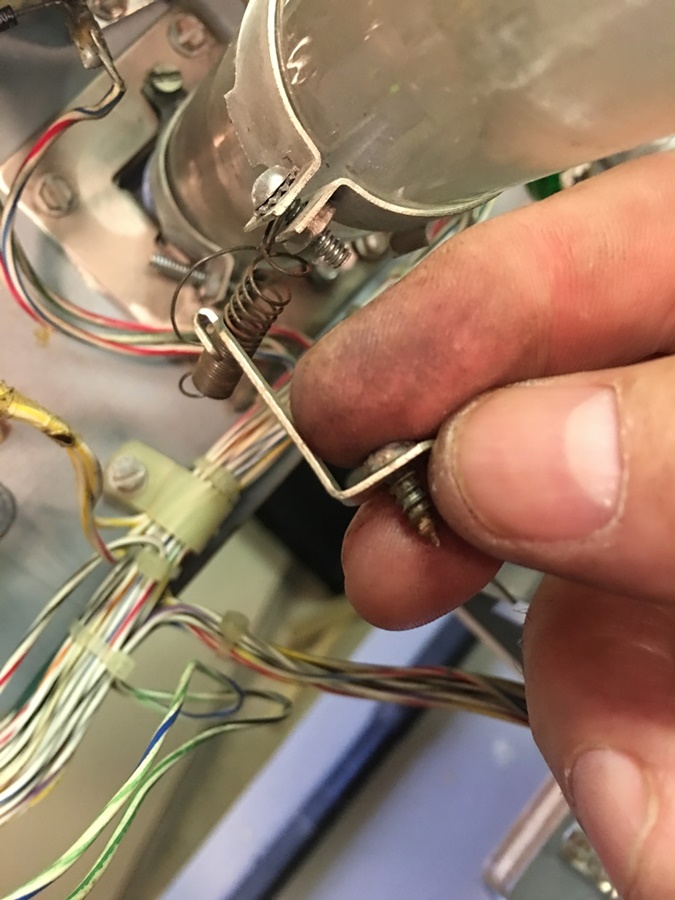
Drop target assembly needs to come off...
And I always take a ton of pics of the pop bumpers, as they can get tricky
Mmmmmm, k.
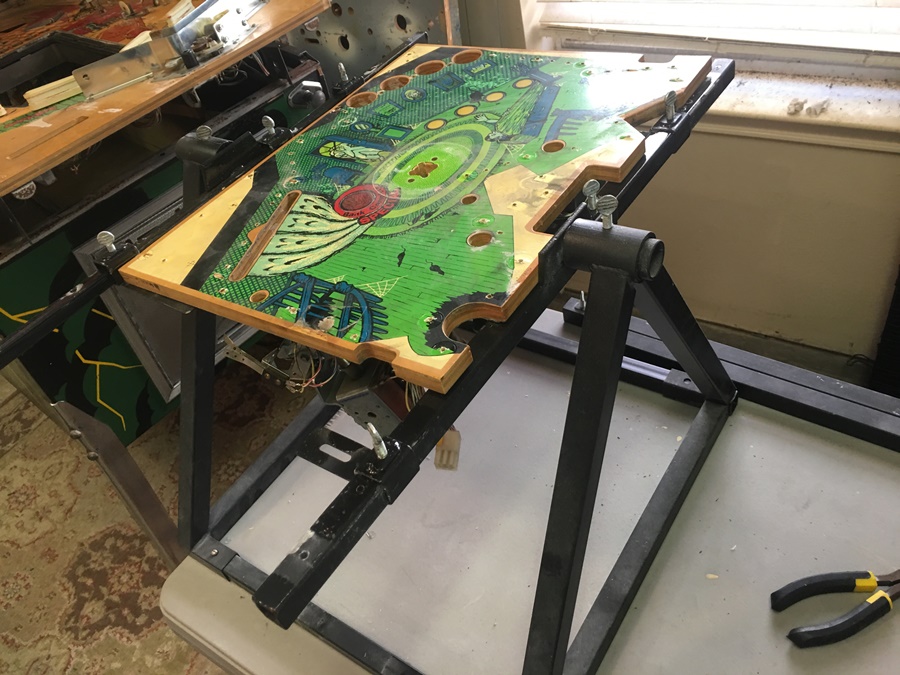
FINALLY, the upper playfield is stripped and on the (mini) rotisserie
After removing the mylar
This was a tedious spot to repair...


After cleaning with Novis and Magic Eraser
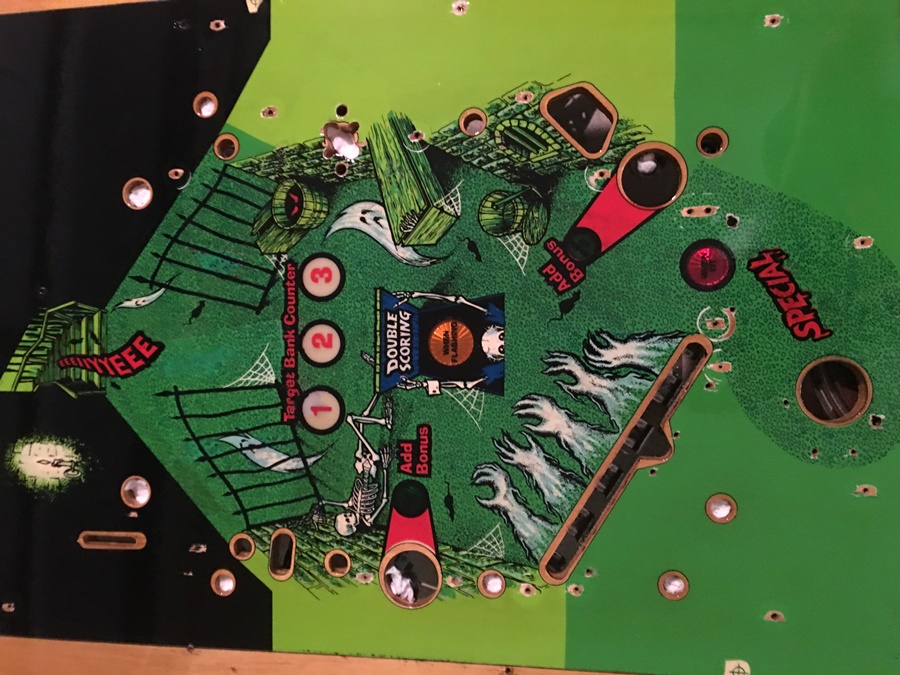
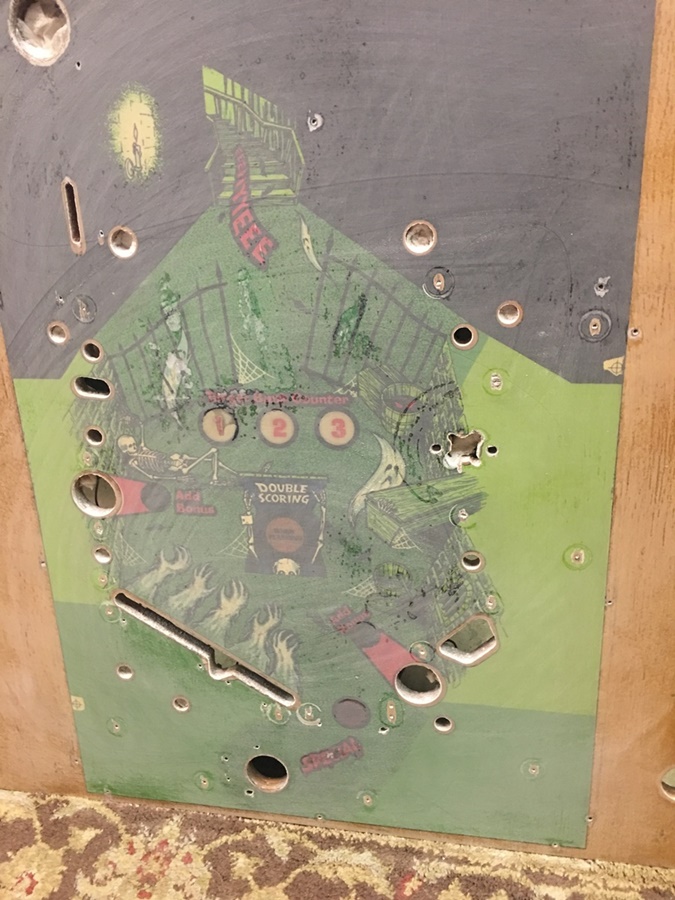
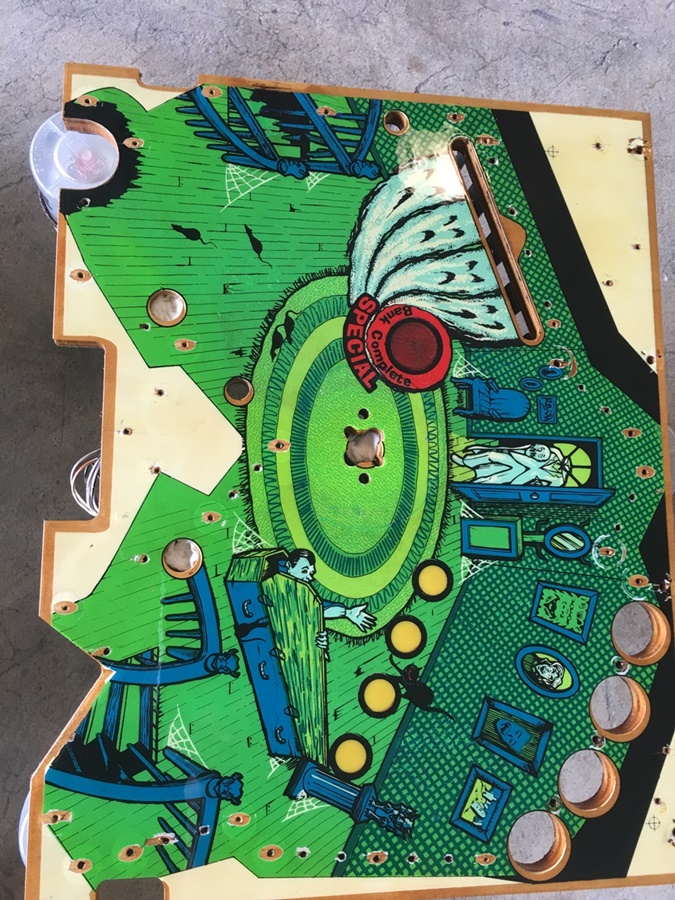
Time to start stripping the bottom playfield
The underside of the bottom playfield
It's stripped - time to clean it now...
Yep - it's dirty allright
And now it's clean!
Looks pretty good too.
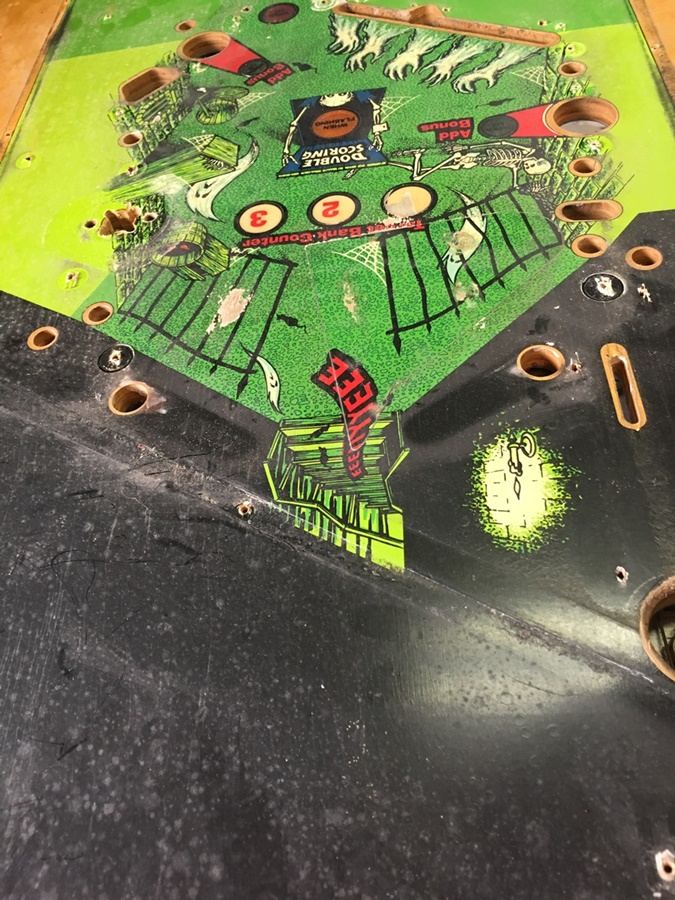
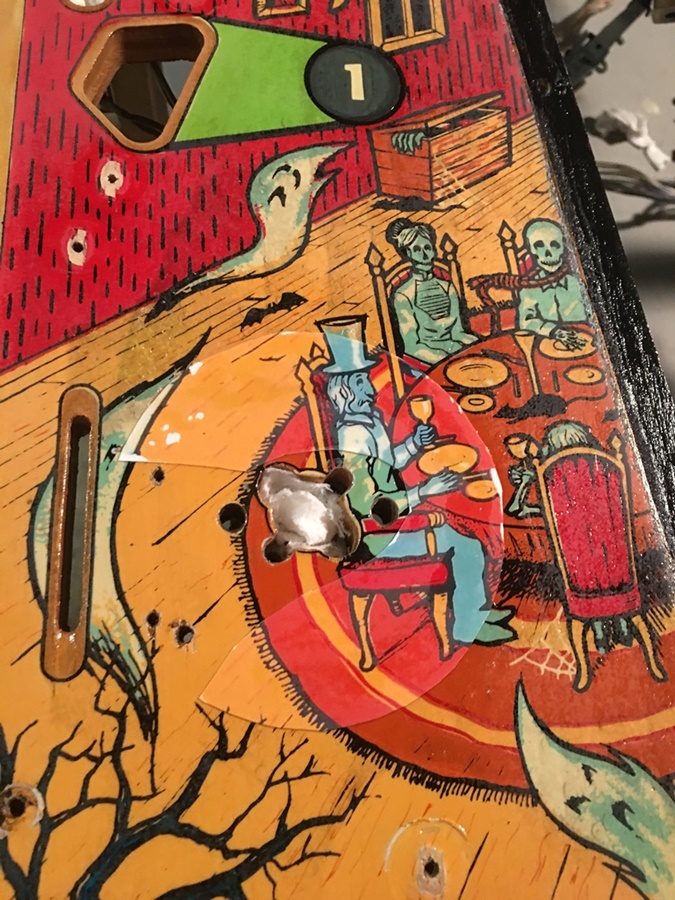
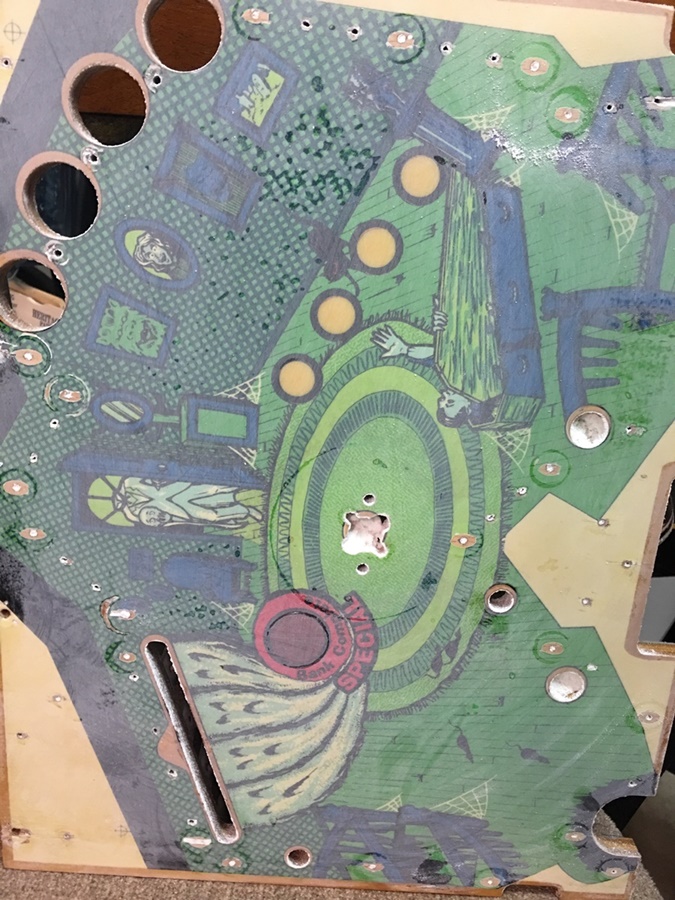
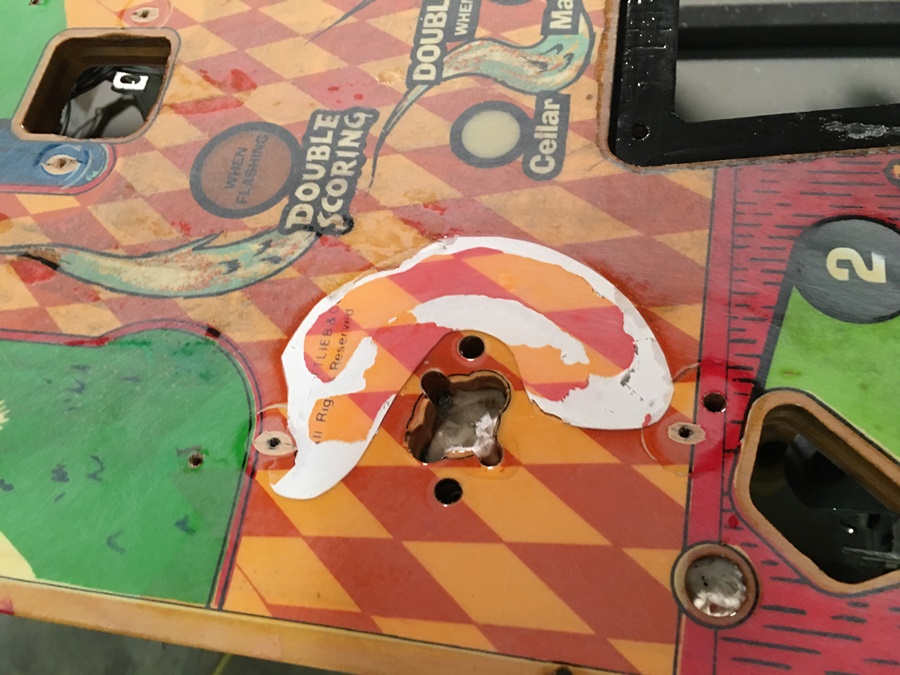
Yikes, a good bit of paint came off with the mylar.

That's gonna be a tricky spot to repair
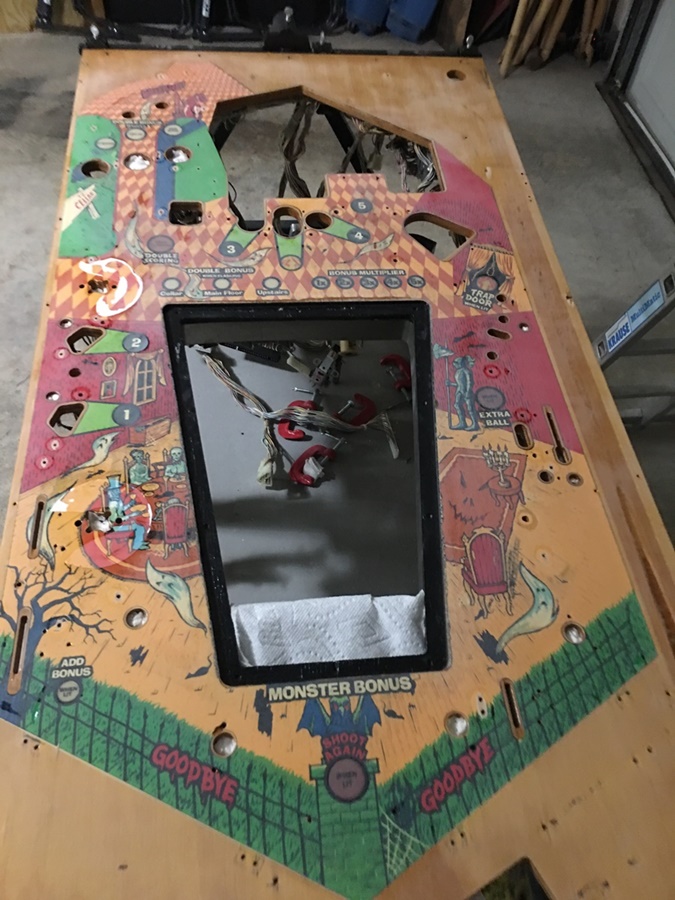
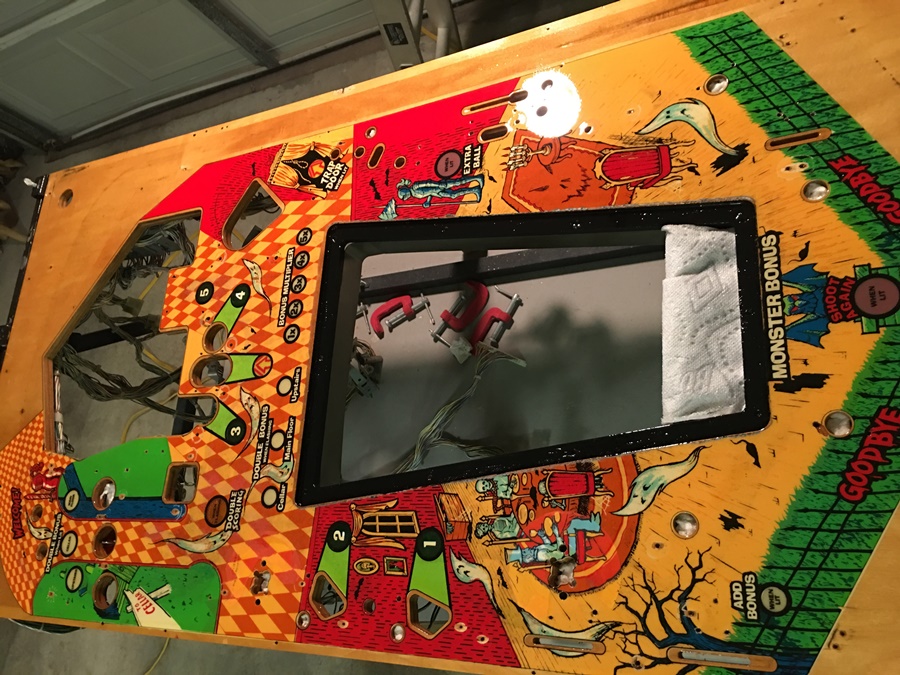
Time to remove the main playfield.
OK - it's on the rotisserie and ready for work
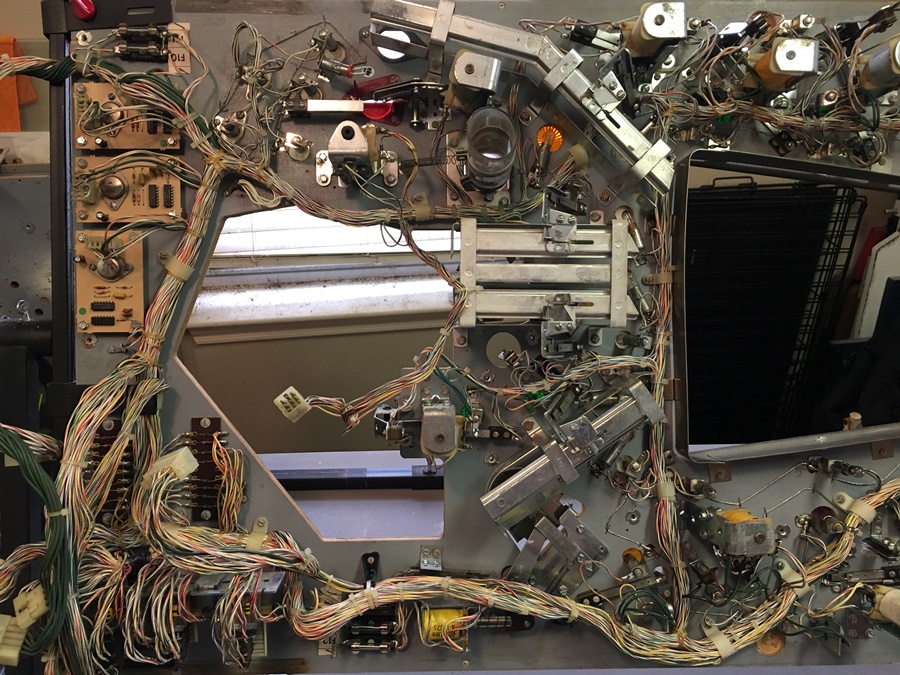
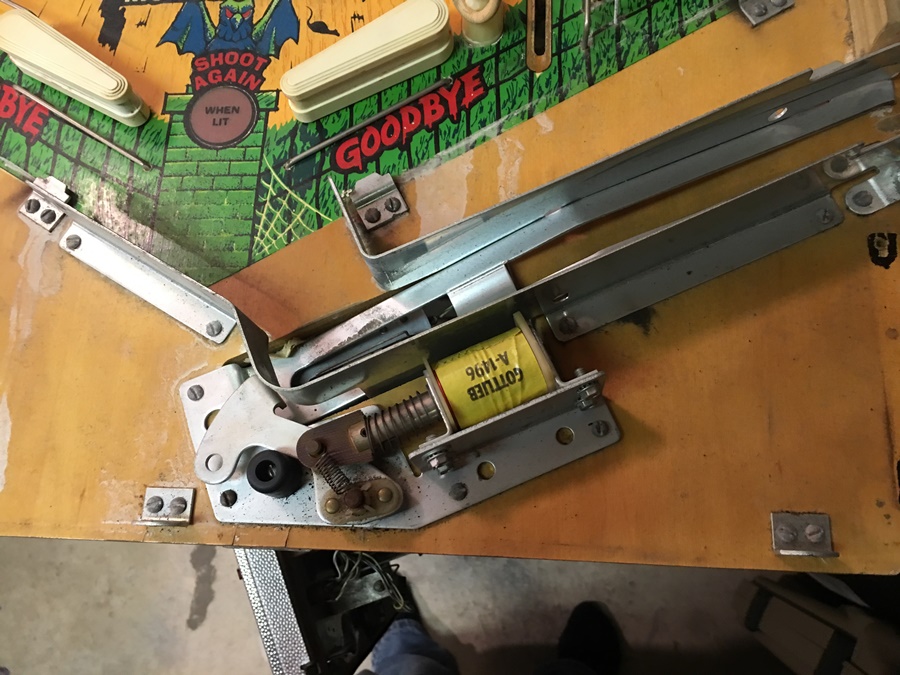
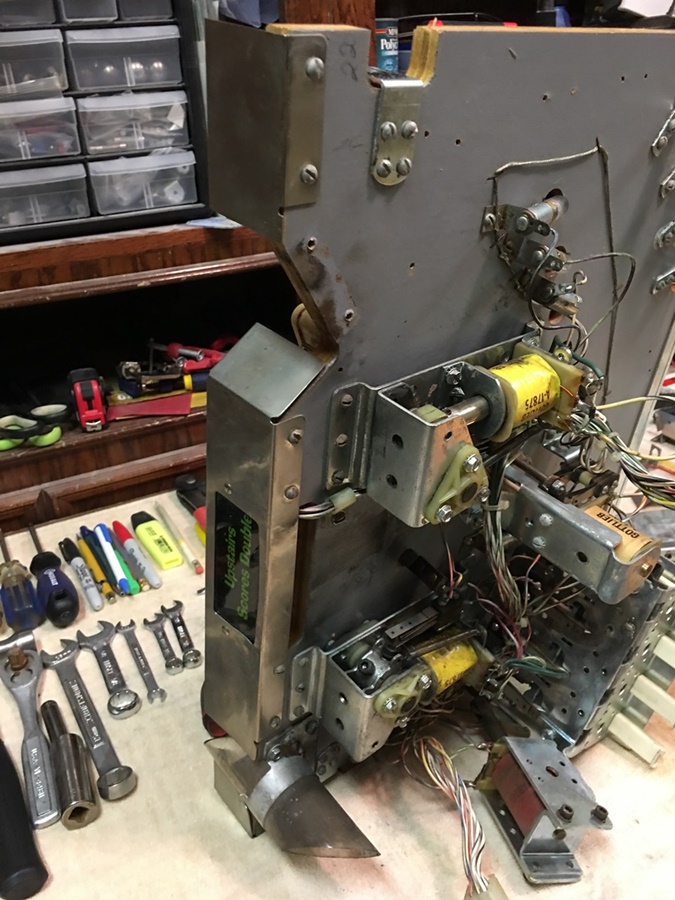
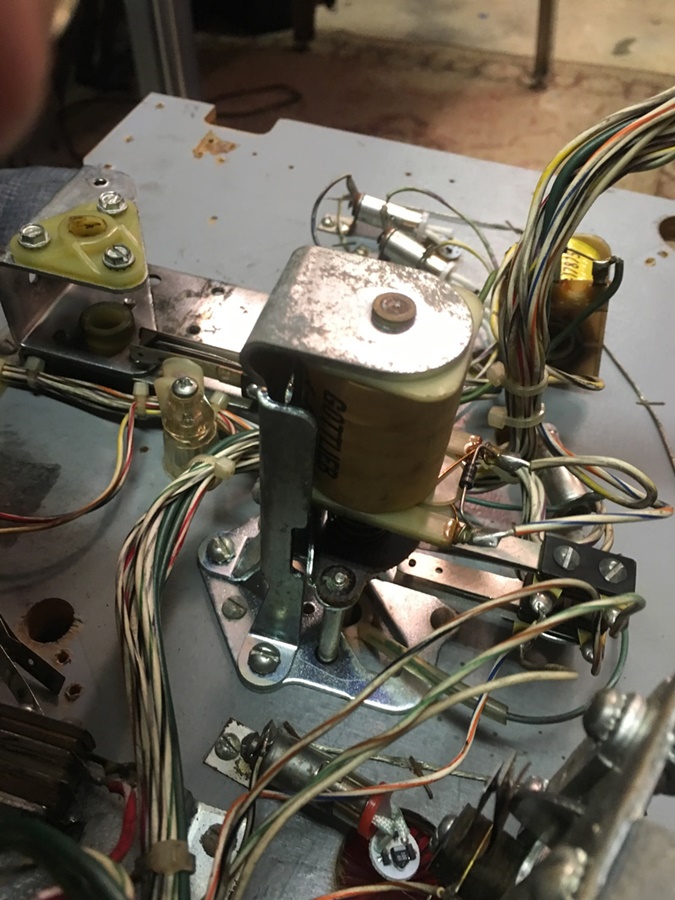
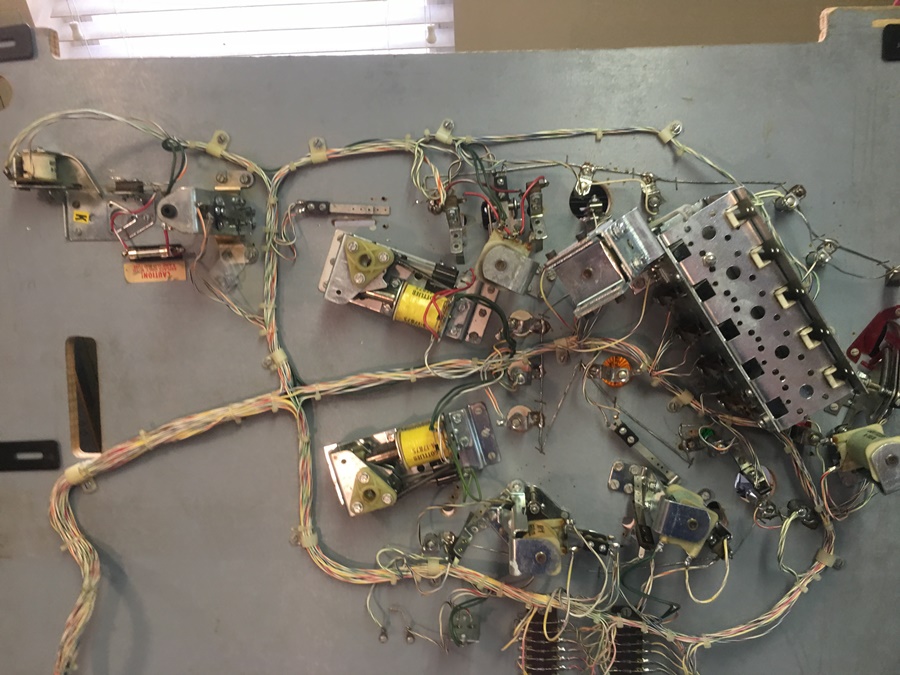
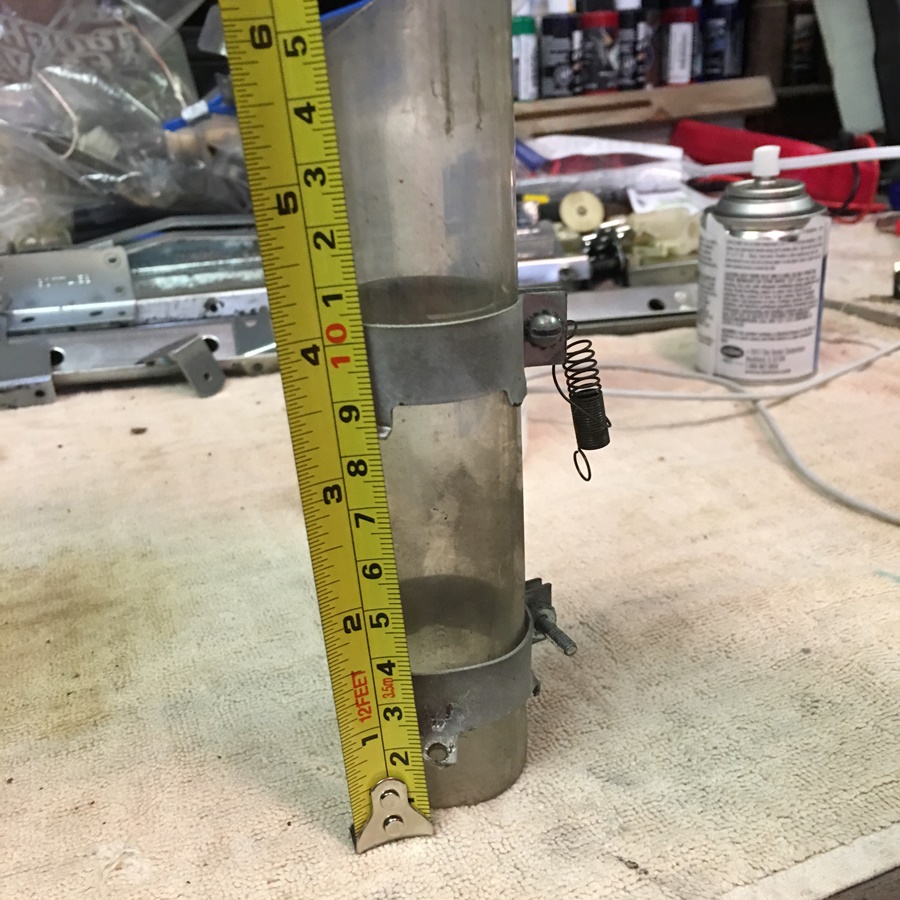
The underside is absolutely PACKED
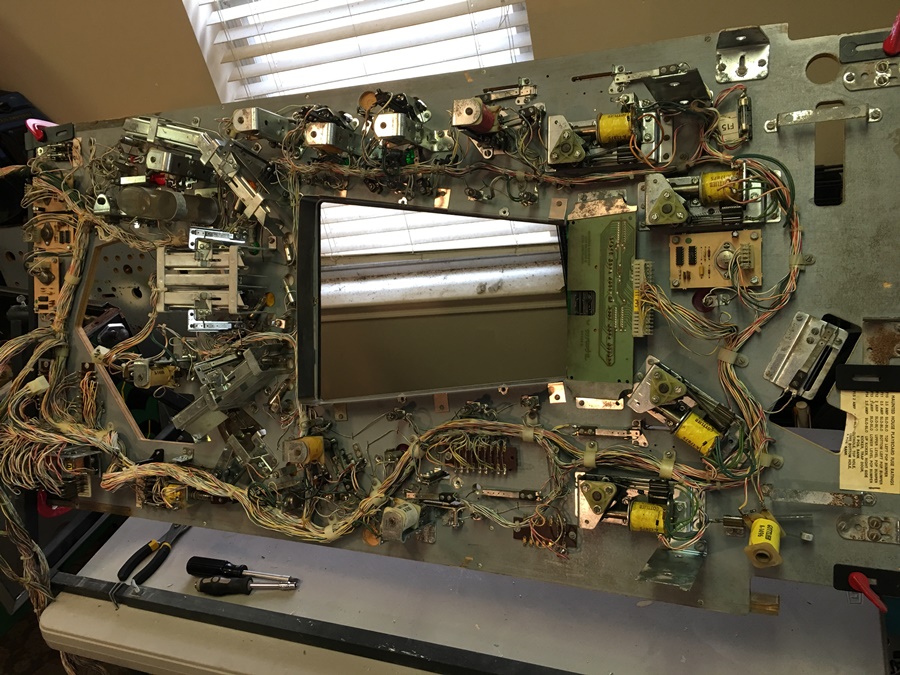
I believe there are FOURTEEN coils under the main PF
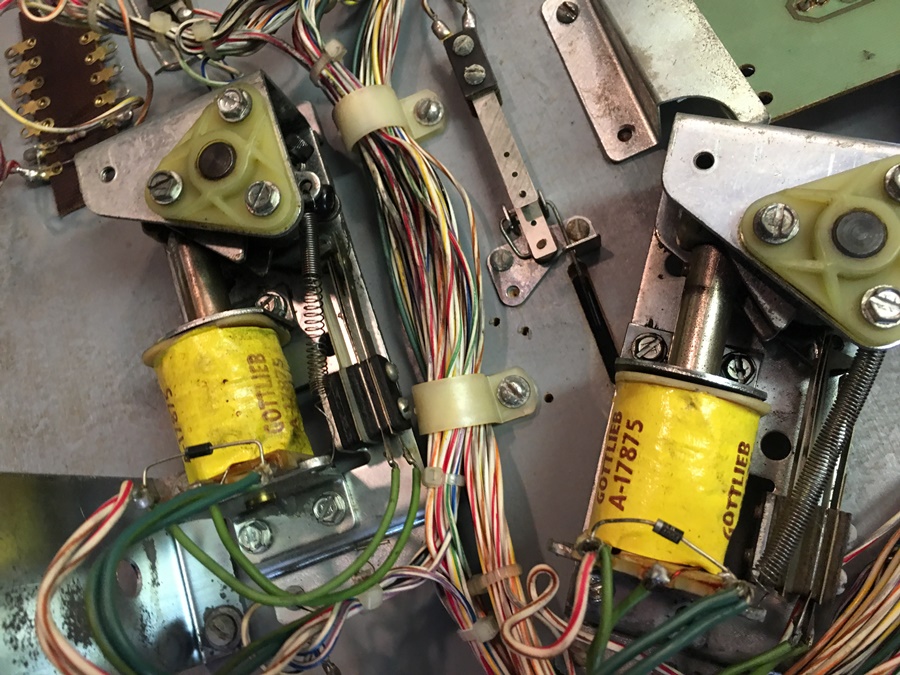
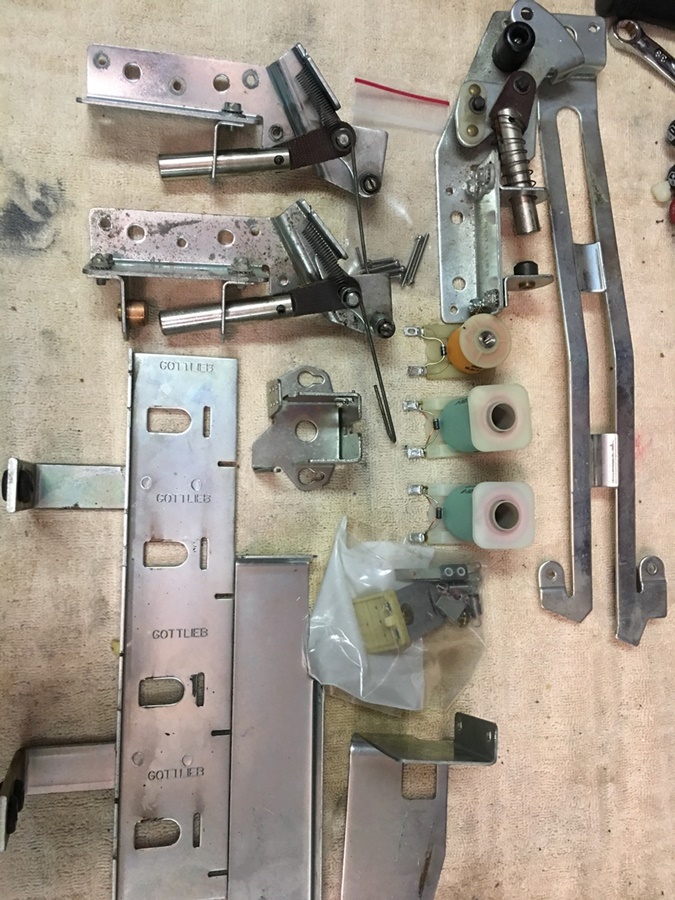
Flipper mechs will all need rebuilding
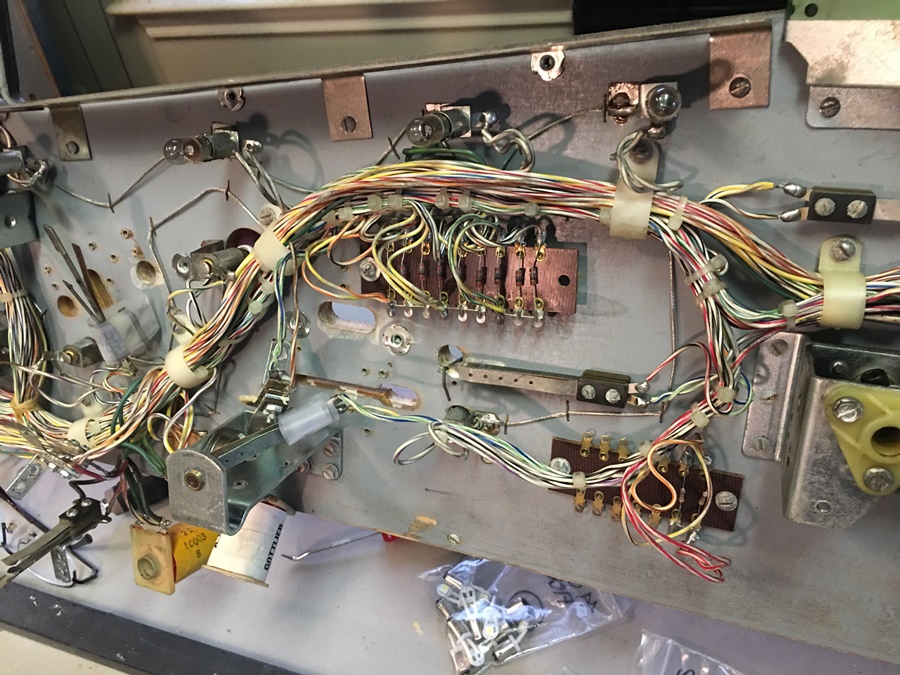
The diode boards

OK - upper PF is almost completely stripped


Documenting all the wear spots

After cleaning for the 1st time...
It's much cleaner, but still has some pretty worn spots
OK - so I tried a shortcut.
Unfortunately, it didn't work out that well, and I ended up making more work
for myself than it should have been.

Here's the bottom playfield after the first round of touchup paint
you can still see the wear spots if you look closely
The upper PF touchups came out really nice
It's easy to see which of the two center pops was in the lower PF
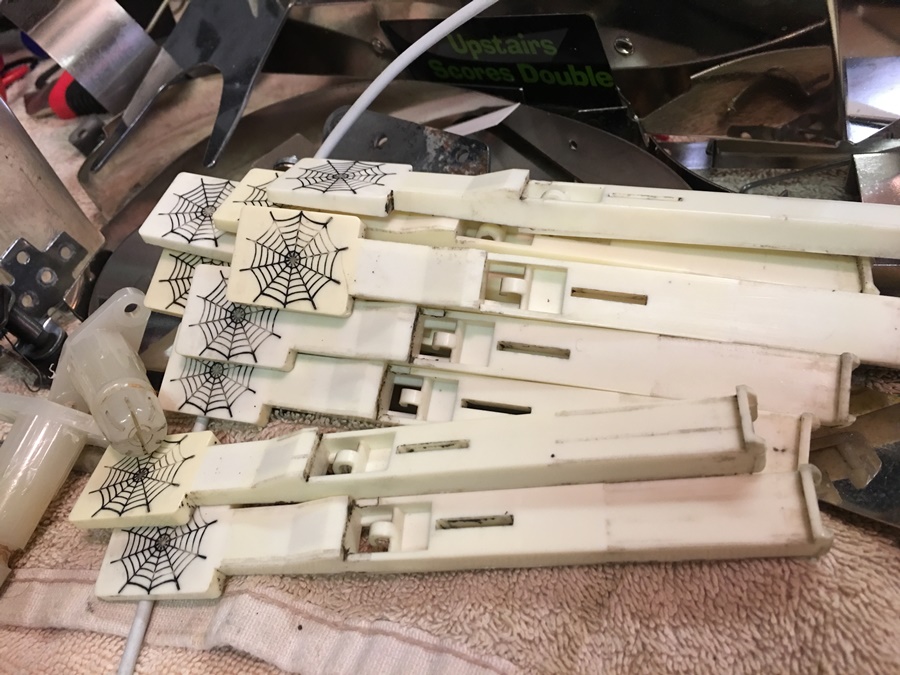
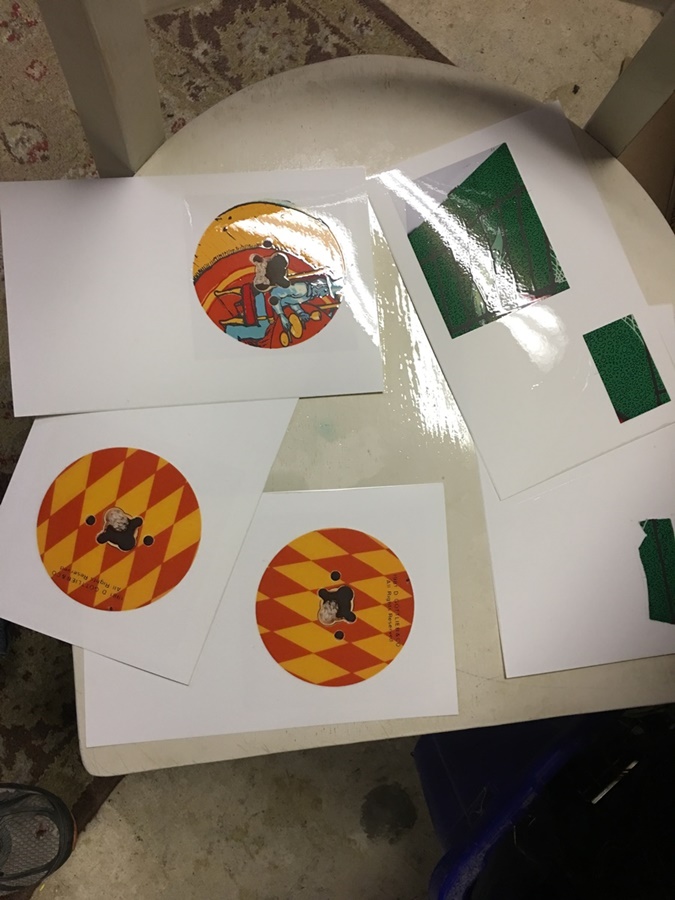
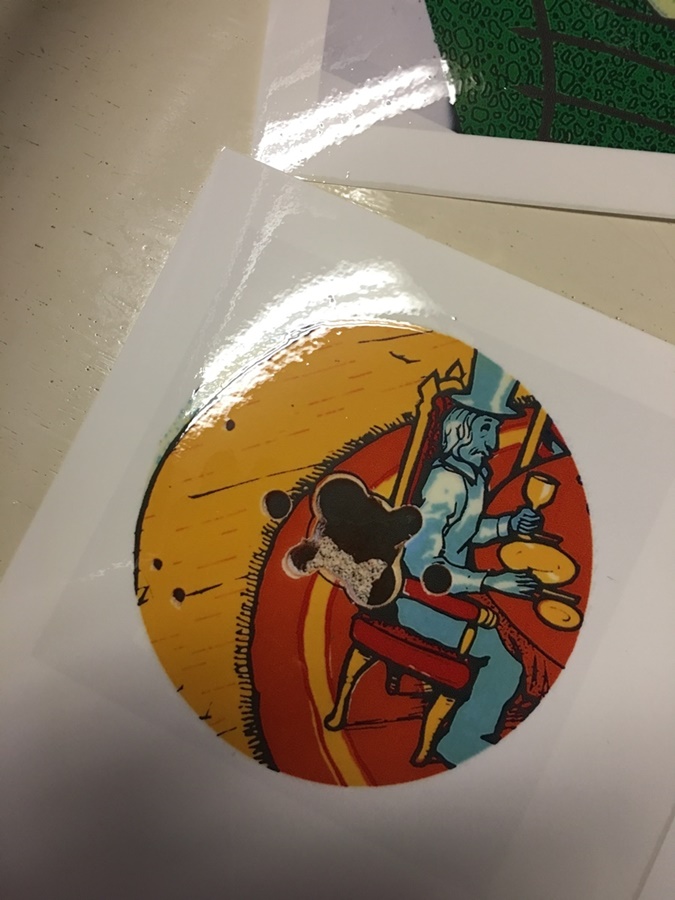
Time to clean some drop targets
My super high-tech method of applying decals

It looks ok....for now...
Yeah....not great...but better than bare wood, I guess.
Repainting the key-lines
This is after the first round of touchup paint
Again, not perfect - but better than it was

So here's what happened, the decals created a high spot.
When you sand over them and try to level the PF - it sands away the ink from
the paper.
Damn.
After some light sanding
Yeah, I've got a long way to go before this will sand completely flat

Yikes..... a lot of work needed here...
Lower is starting to look pretty good
Touchups completed on the upper as well
Another coat of clear....
And another round of sanding.
At this point, everything is mostly flat, with the exception of several low
spots
You can easily see the low spots after a good sanding.
I tried to 'lightly sand' the upper, but it still totally screwed up those decals.
What a mess, I should have just painted it like everywhere else.
See the low spots?

The low spots are shiney.
Jeez - what a mess...
More low spots
Putting clear directly on the low spots
I used a pipette to drop clear on all the low spots
I also cleared the low spots on the lower PF....
...and the upper as well.

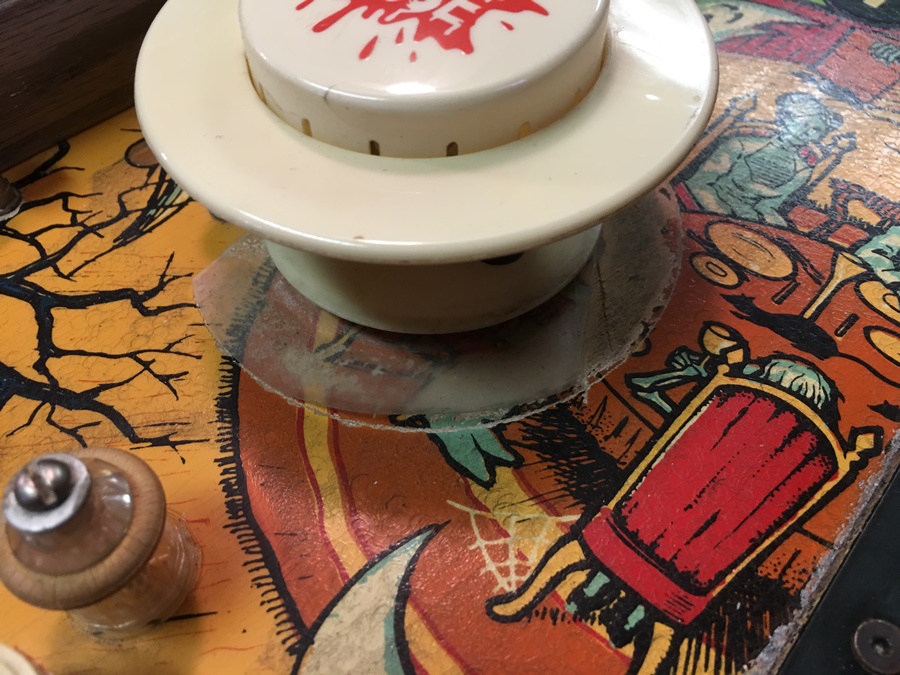
Darn, the clear has bubbled up on the touchups I did on that insert arrow
At some point, to fix this correctly, I will need to fill and sand this entire
area, then recreate the artwork.
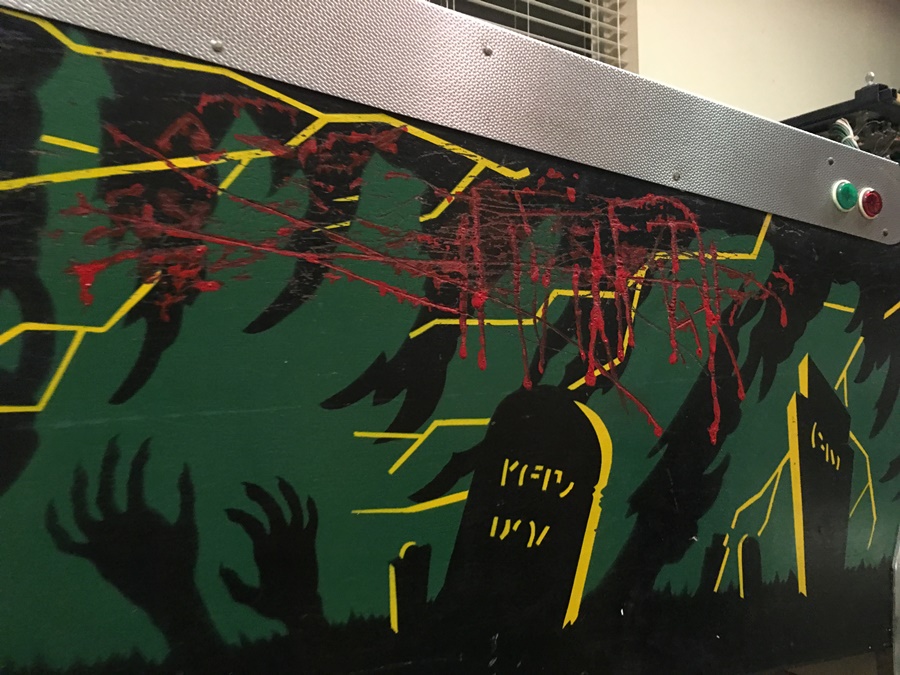
But until that day comes, I decided (over many drinks) to just make it look
like an open wound.
My attempt at repainting over the decal.
hmmmm....

...and here too.

Not terrible I suppose


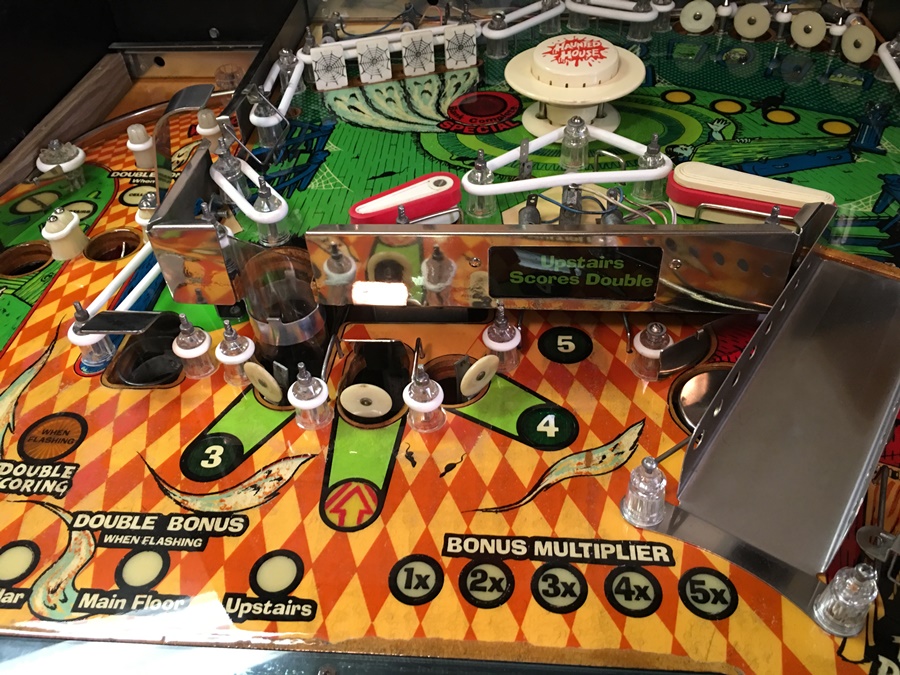
THE FINAL COAT OF CLEAR
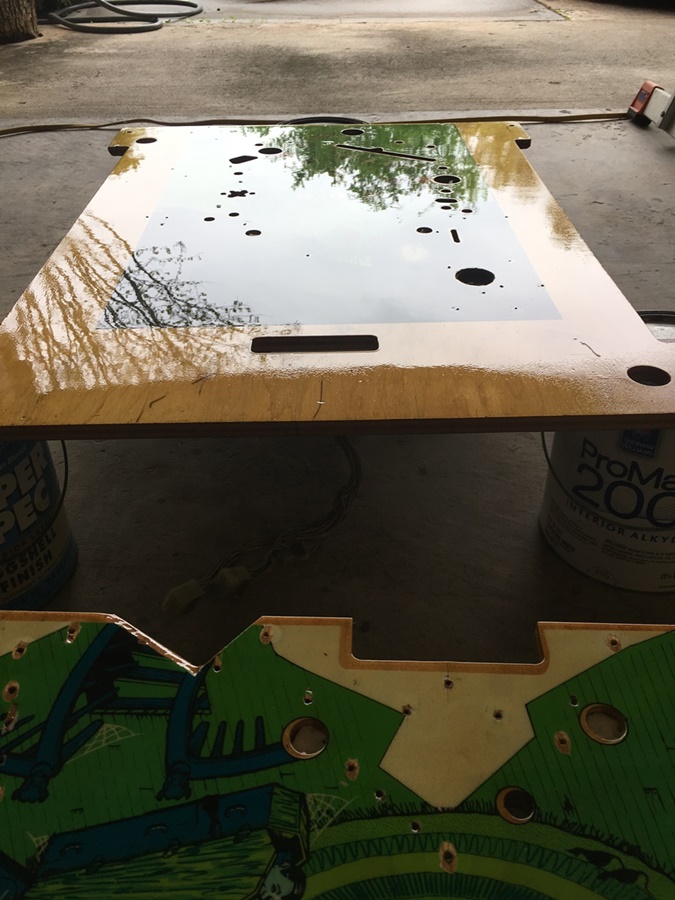
Yep - that looks nice and smooth!

Ahhhh yeah!
UPPER AND LOWER PF ARE DONE!

That's what I like to see!
Looking good!


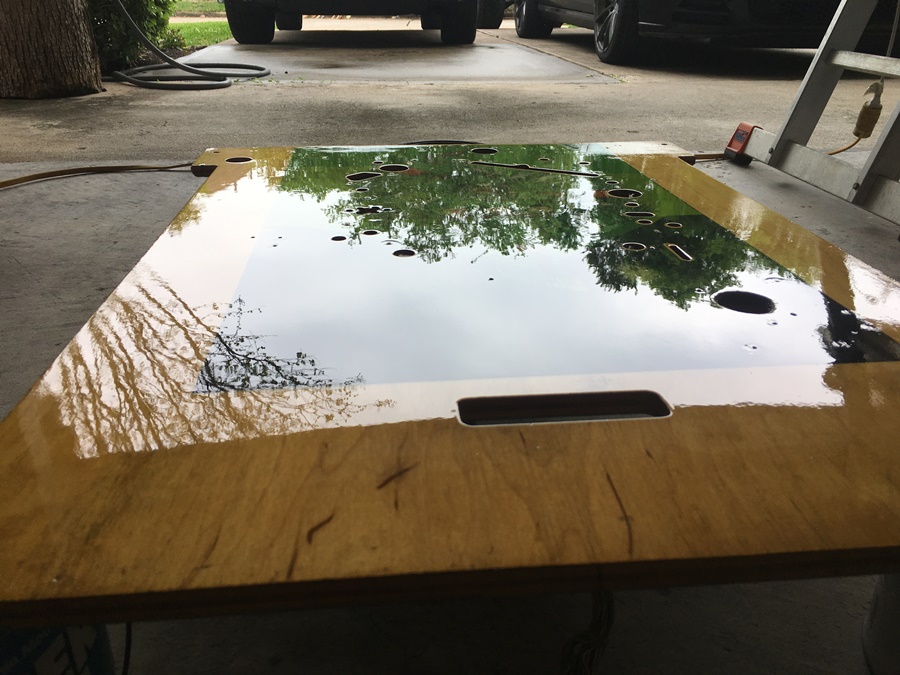
ANd the final coat of clear goes on the main PF
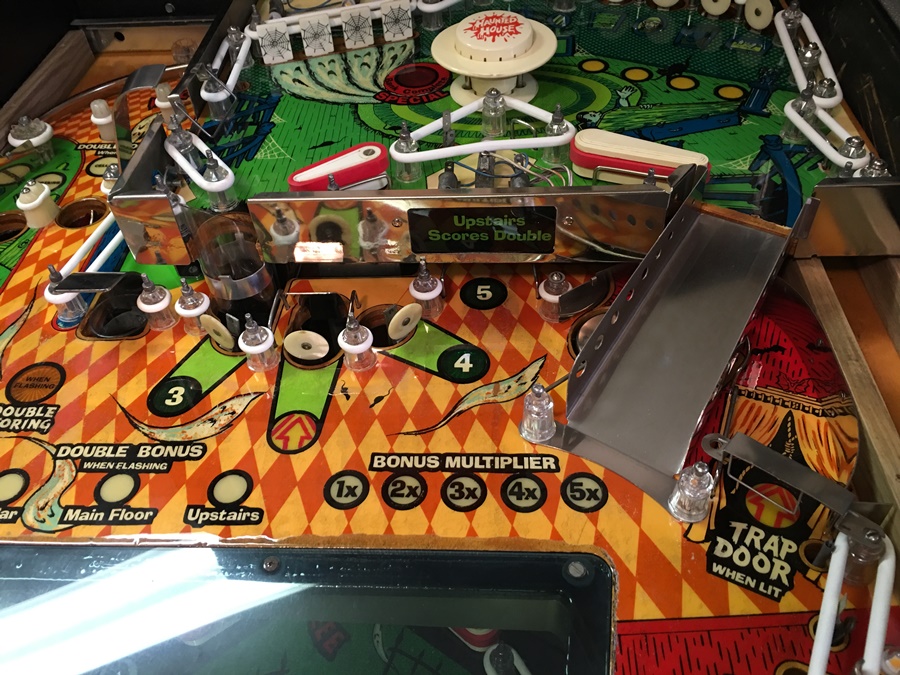
There it is - done!
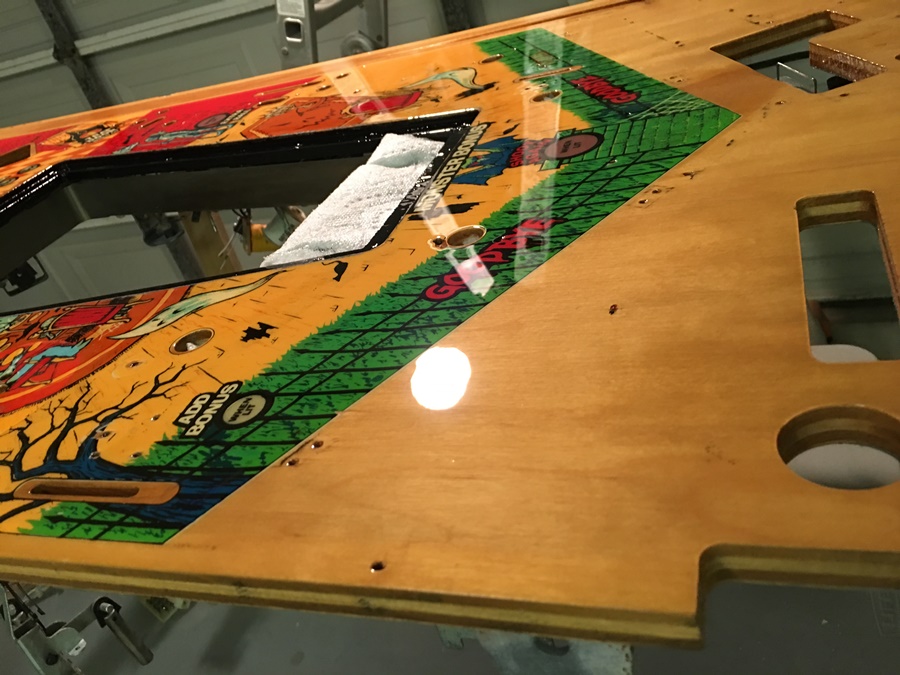
It's nice and smooth too

Not too bad!

One thing's for sure - it will play nice and smooth


I just love seeing polished metal, and new posts reflect in the clear coat
I rebuild, and repair the flipper mechs before reinstalling them.

YEAH BABY!!
Look at that shine!
Yeah, much better
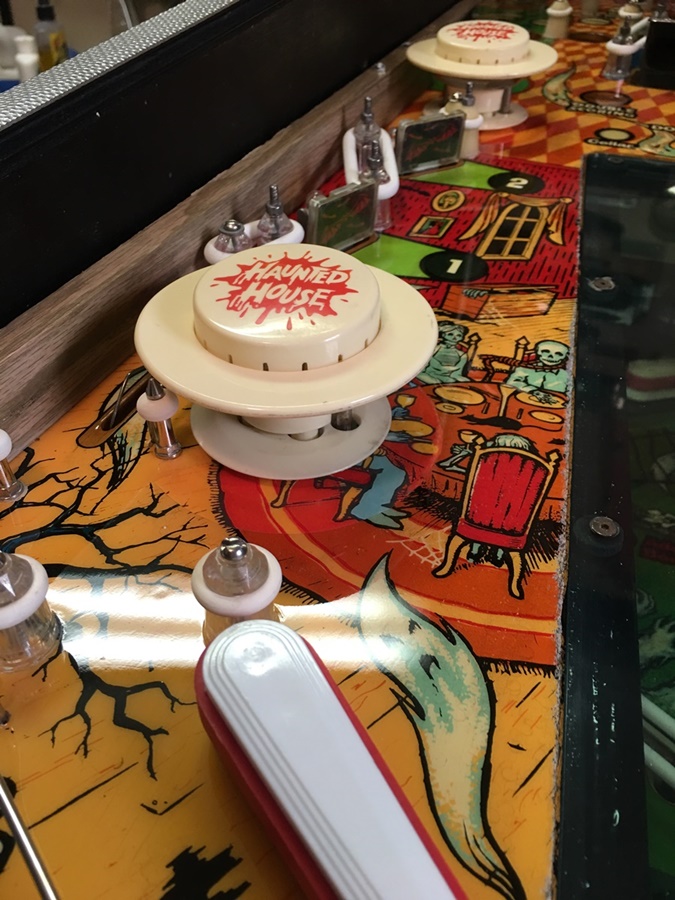
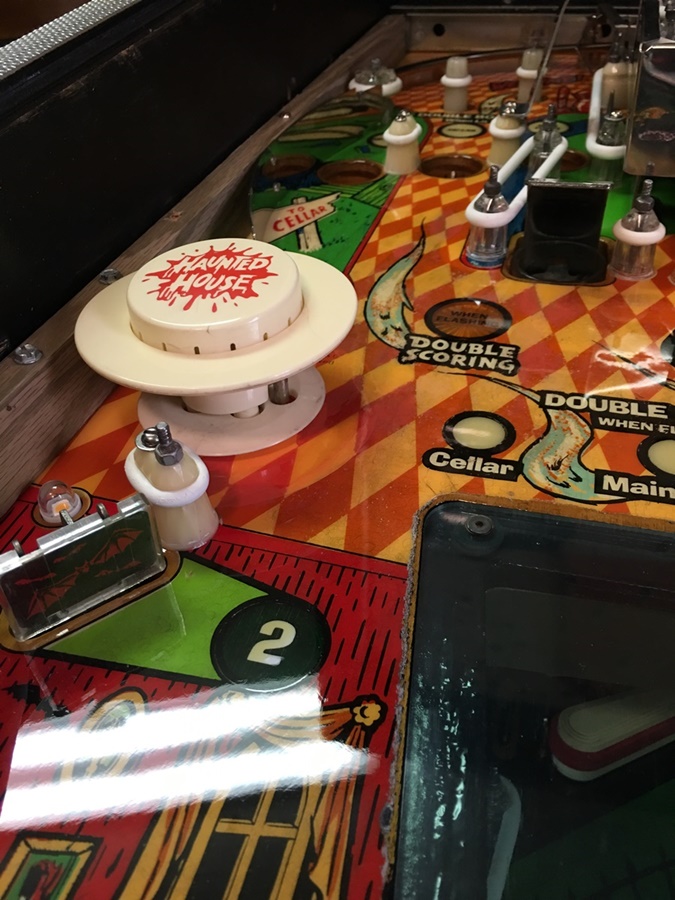
Ohhh YEAH - that looks pretty good!

BOOM!!
Nice and clean and shiny and ready to play!!
...some day, I may convert Haunted House to be a multi-ball machine.
I have all the parts needed.
But that's a project for another day.
Thanks for stopping by - take care!
![]()